
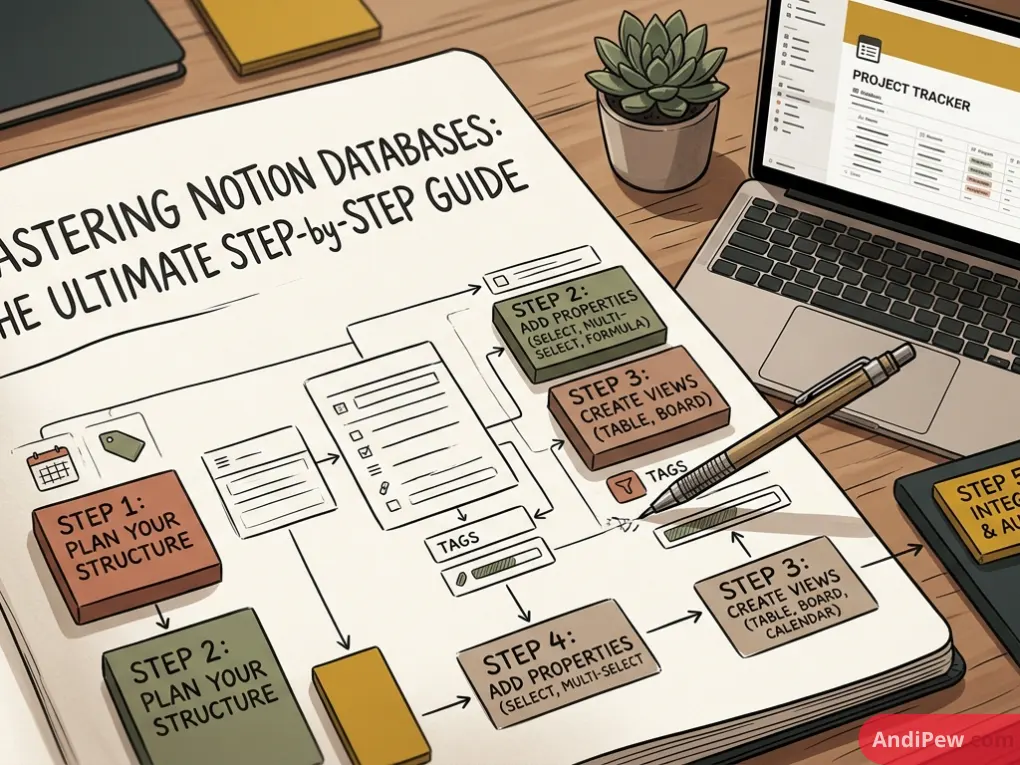
Notion is more than just a digital notebook; it is an all-in-one productivity workspace powered by structured data. At the very core of this workspace sits the database engine. Understanding how to build, query, integrate, and troubleshoot Notion databases is what separates basic note-takers from workflow powerhouses.
Whether you want to build an interconnected project tracker, merge multiple workflows into a central dashboard, query data through the Notion API, or bridge your workspace with tools like Obsidian, this guide covers everything you need to master Notion databases from the ground up.
What Are Notion Databases? (Notion Databases Explained)
In traditional note-taking applications, a document is simply a static page filled with text. In Notion, every entry in a database is both a structured data row and a fully functional standalone page.
To understand Notion’s architecture, it helps to revisit how pages and content blocks operate. As explained in our guide on Notion pages and blocks, every piece of text, image, or embed is an individual block. A Notion database is essentially a collection of these pages organized with customizable properties (metadata) such as dates, tags, statuses, people, and relations.
Key Differences: Basic Pages vs. Databases
| Feature | Standard Notion Page | Notion Database |
| Primary Structure | Freeform text, headers, and media | Structured attributes and metadata fields |
| Data Views | Single standard page view | Table, Board, Calendar, Timeline, List, Gallery |
| Filtering & Sorting | Manual organization | Dynamic rules based on properties |
| Relational Linking | Hyperlinks only | Two-way relational rollups and connected data |
| Automation & API | Static content updates | Queryable programmatically via Notion API |
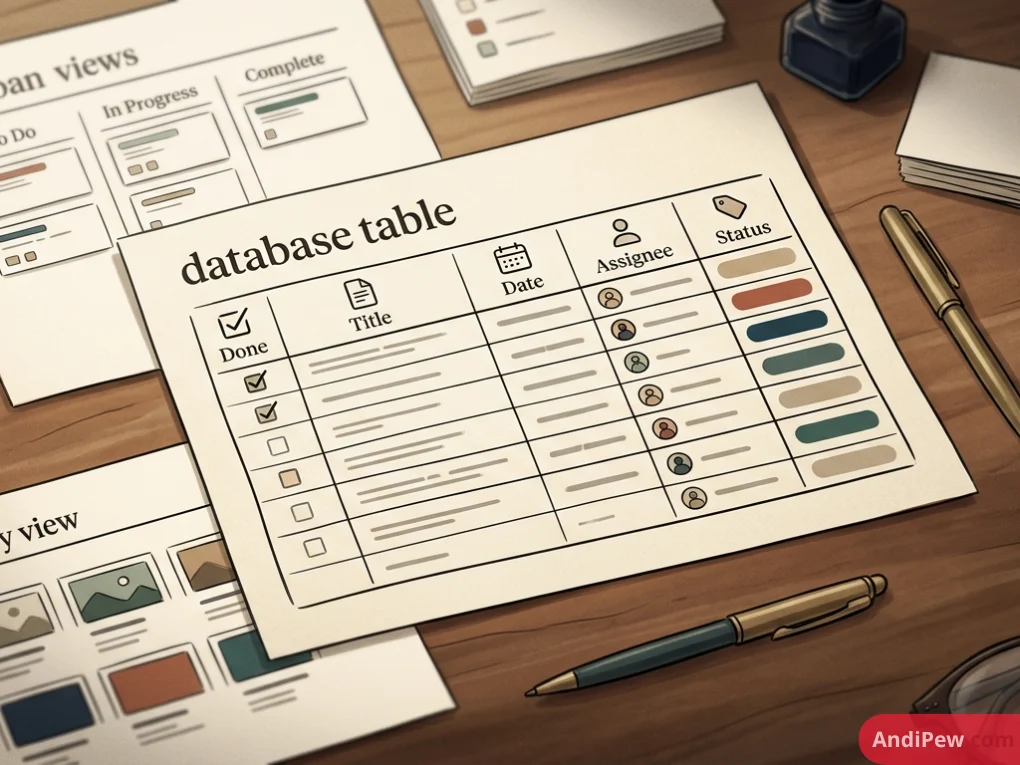
Notion Database Types Explained: 6 Core Layouts
When creating a database, Notion allows you to visualize the exact same dataset across six distinct layouts. Changing the view does not alter your underlying data; it simply changes how that data is displayed.
Table View
The spreadsheet-style layout. Ideal for high-density data management, inventory tracking, budget logs, and broad data entry where you need to see multiple property columns at once.
Board View
A Kanban-style drag-and-drop board categorized by Select, Multi-select, or Status properties. Best for agile project workflows, sprint tracking, and content pipelines (e.g., To Do, In Progress, Done).
Timeline View
A horizontal Gantt-chart style layout. Requires at least one Date property. Ideal for roadmaps, product releases, event schedules, and resource planning across set durations.
Calendar View
A traditional monthly or weekly calendar layout. Best for editorial calendars, social media scheduling, and time-sensitive task deadlines.
List View
A clean, minimalist vertical list that hides most property clutter. Best for reading lists, simple to-do items, quick meeting notes, and mobile-friendly document hubs.
Gallery View
A visual-first card layout that displays page cover images or files from a Files & media property. Perfect for recipe books, mood boards, portfolio showcases, and team directories.
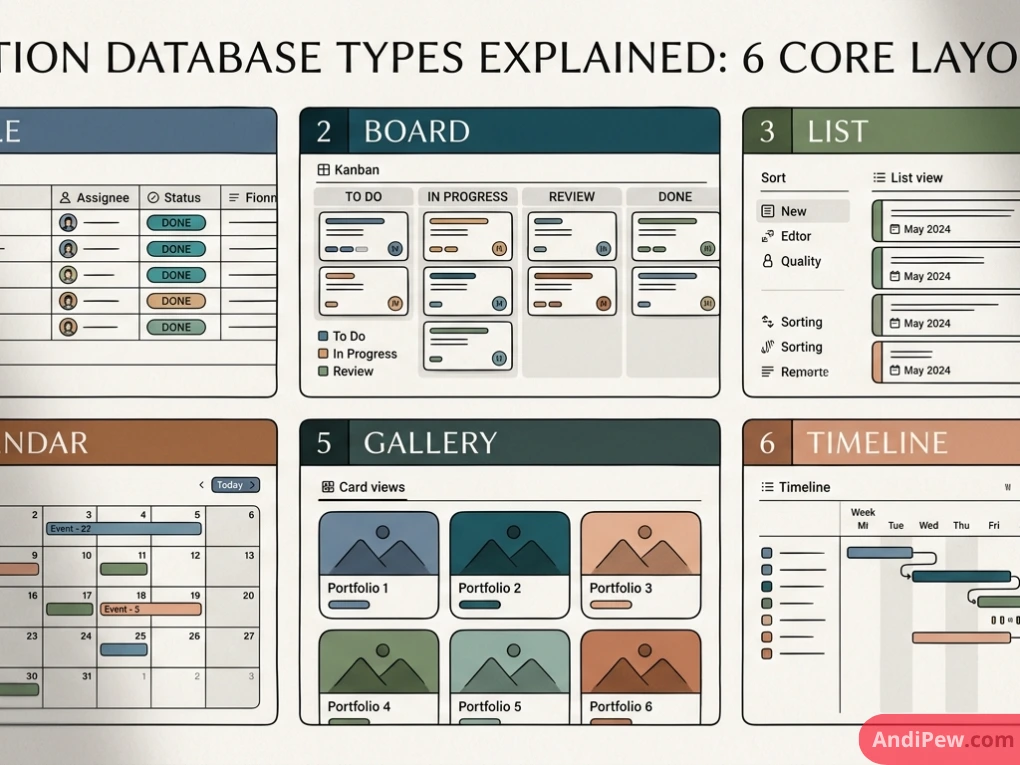
Notion Database Tutorial: Step-by-Step Setup
Creating your first structured workspace takes only a few minutes. Follow this detailed Notion database tutorial to set up a clean data model.
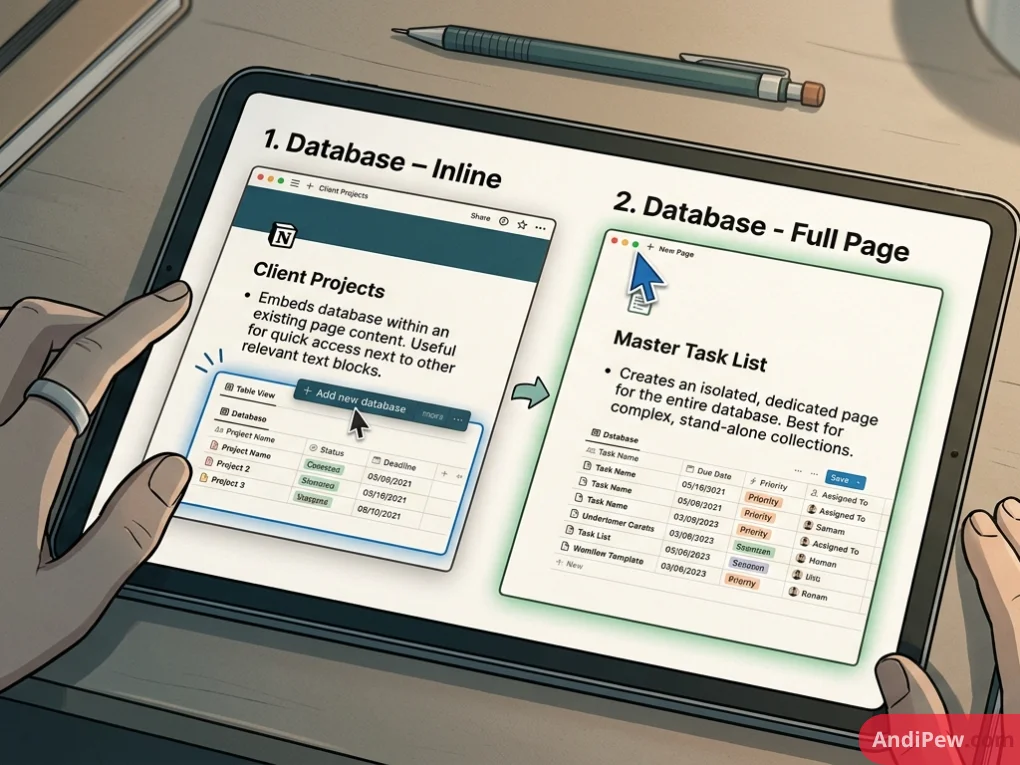
Step 1: Create a New Database (Inline vs. Full Page)
Open any Notion page or create a blank one.
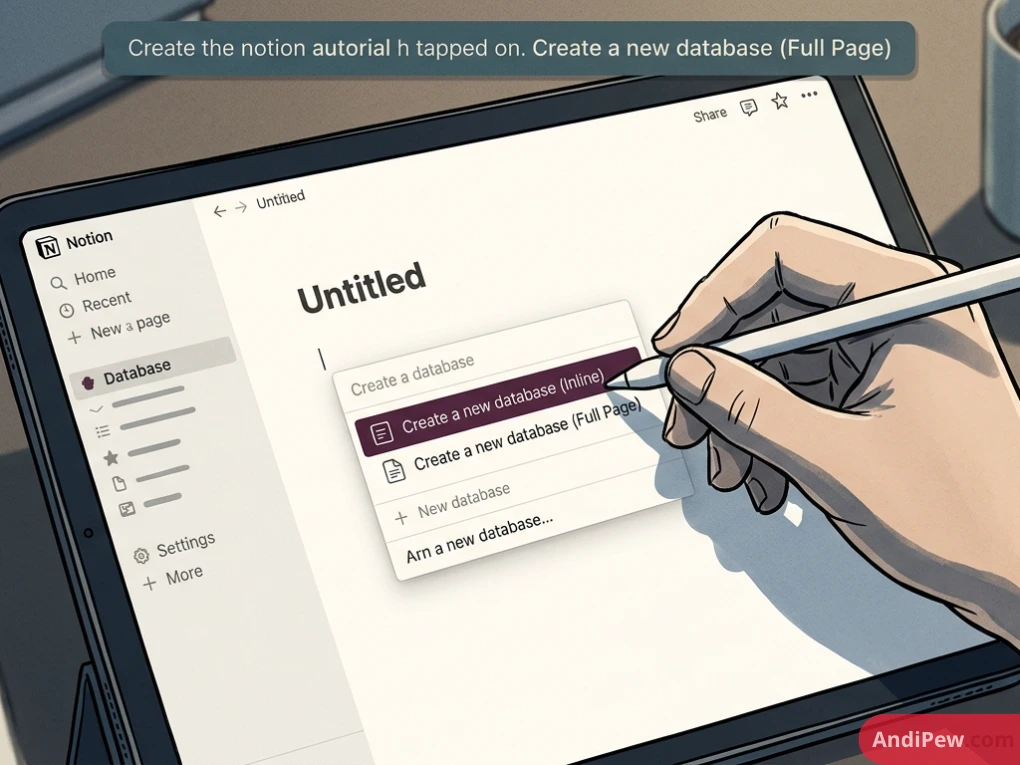
Type /database on a new line.

Choose your placement style:
- Database – Inline: Embeds the database inside an existing page alongside text and other blocks.
- Database – Full Page: Creates an isolated page dedicated entirely to that single database.
Step 2: Define Essential Properties
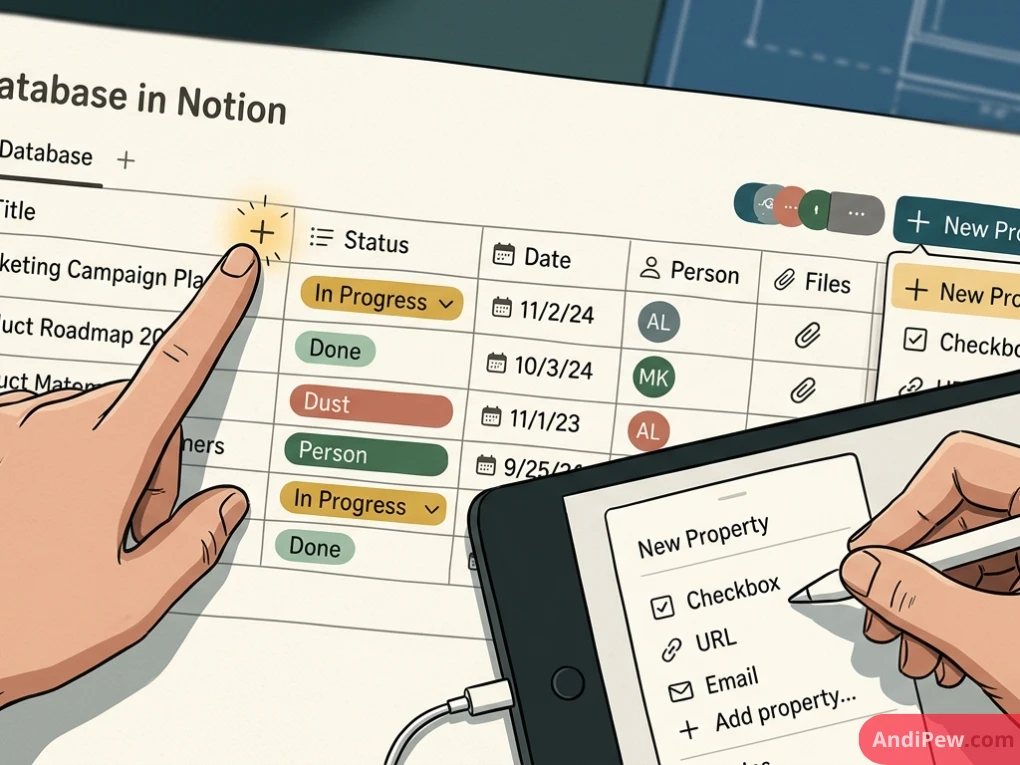
Click the + icon in the rightmost column header to add attributes:
- Title: The primary identifier for each entry (required for every database item).
- Status / Select: Useful for categorizing task progress or grouping board cards.
- Date: Enables Calendar and Timeline views.
- Person: Assigns workspace members to tasks.
- Files & Media: Stores documents, receipts, or visual cover images.
Step 3: Apply Filters and Sort Rules
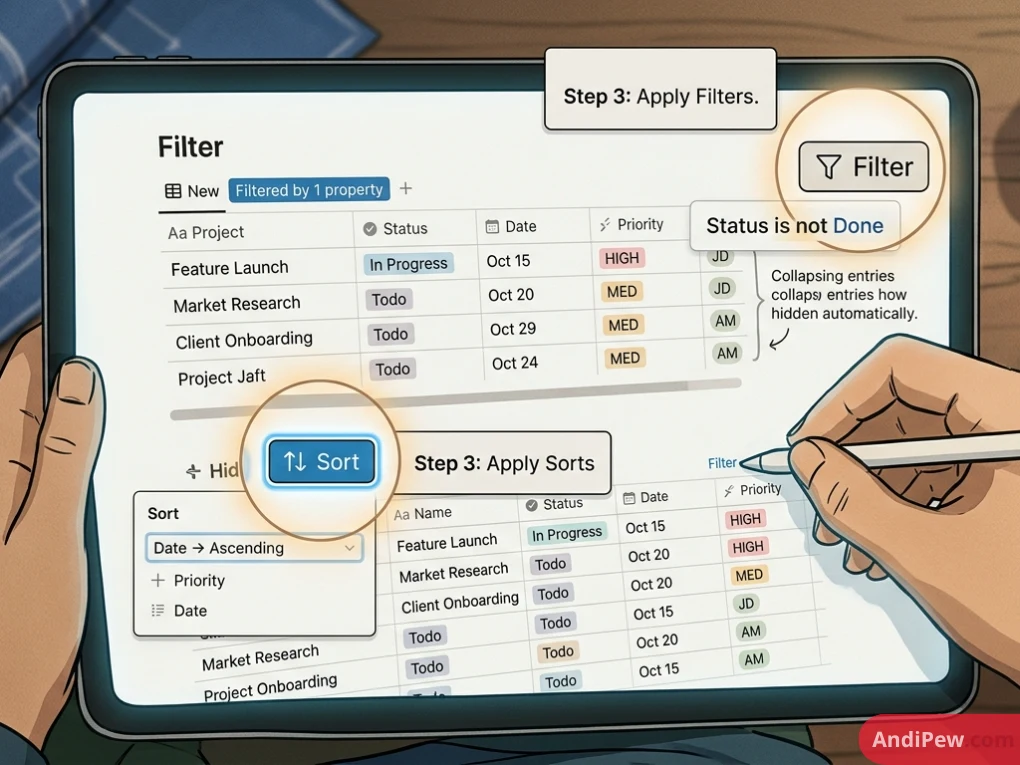
- Filters: Click Filter at the top right of the database view, choose a property (e.g.,
Status is not Done), and hide irrelevant rows automatically. - Sorts: Click Sort and choose an order (e.g.,
Date -> Ascending) to keep priority entries at the top.
For a broader overview of structuring your overall workspace layout, explore our comprehensive Notion guide.
Advanced Data Architectures: Relations, Rollups, and Merging
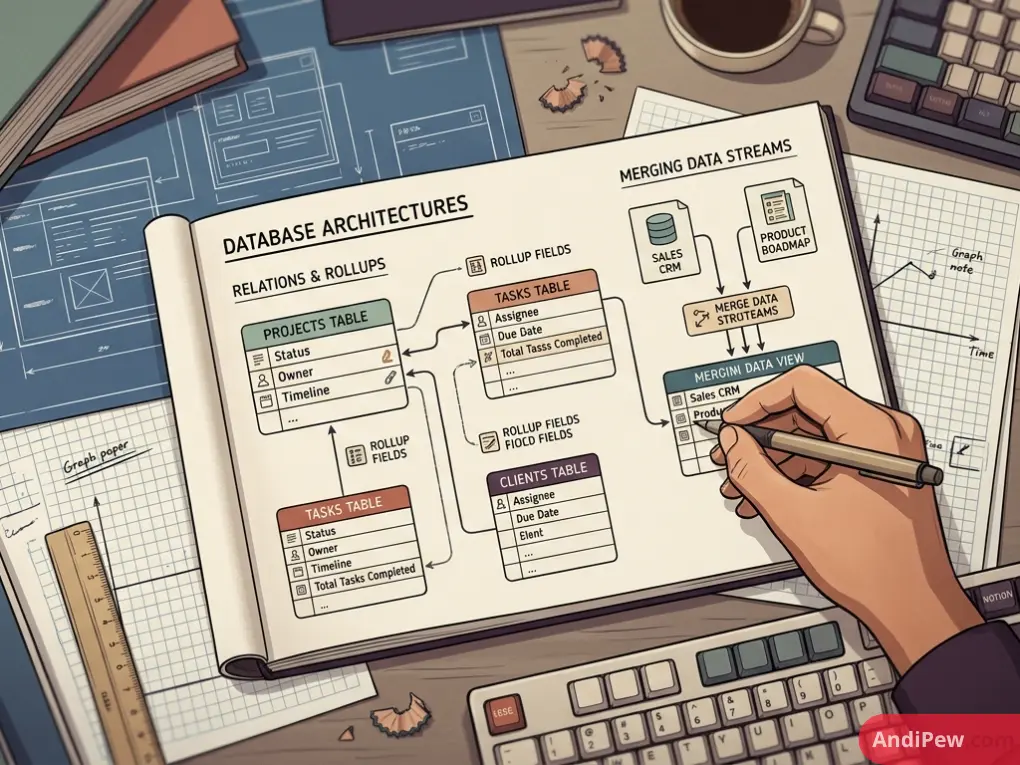
Once you are comfortable with basic databases, you can connect distinct tables to build a relational workspace.
Working with Relations and Rollups
- Relation Property: Links an item in Database A (e.g., Clients) directly to items in Database B (e.g., Invoices). This eliminates data duplication.
- Rollup Property: Reads data from a related database to calculate formulas, count items, or aggregate values (e.g., summing all invoice totals linked to a specific client).
Notion Multiple Databases in One View
A common workspace goal is displaying information from several distinct databases in a single consolidated dashboard. While a single native database view pulls from one data source, you can build a unified multi-database dashboard using Linked Views of Databases:
- On your dashboard page, type
/linked view of database. - Select your first source database (e.g.,
Team Tasks). - Add a new tab inside that same linked block view by clicking the + tab icon.
- Select a different source database (e.g.,
Personal Projects). - Configure independent filters for each tab.
This allows you to switch between entirely separate databases from a single tabbed navigation bar.
How to Merge Notion Databases
If you have two separate databases (e.g., Marketing Tasks and Dev Tasks) and want to combine them into a single centralized database:
- Open the secondary database in Table View.
- Ensure property names and property types match the primary database (e.g., rename Assigned To to Owner).
- Select all rows using
Ctrl + A(Windows) orCmd + A(Mac). - Drag and drop the selected rows directly into your target master database, or click
Move toand select the target database. - Delete the empty secondary database once all items have transferred.
Notion Databases in Obsidian: Bridging the Two Workspaces
Many knowledge management enthusiasts use both Notion (for collaborative projects and relational databases) and Obsidian (for offline Markdown notes and local backlinking). You can bring Notion databases into Obsidian using two primary workflows:
Method 1: Using the Obsidian “Dataview” Plugin
In Notion, click the ••• menu at the top right -> Export -> Format: Markdown & CSV.
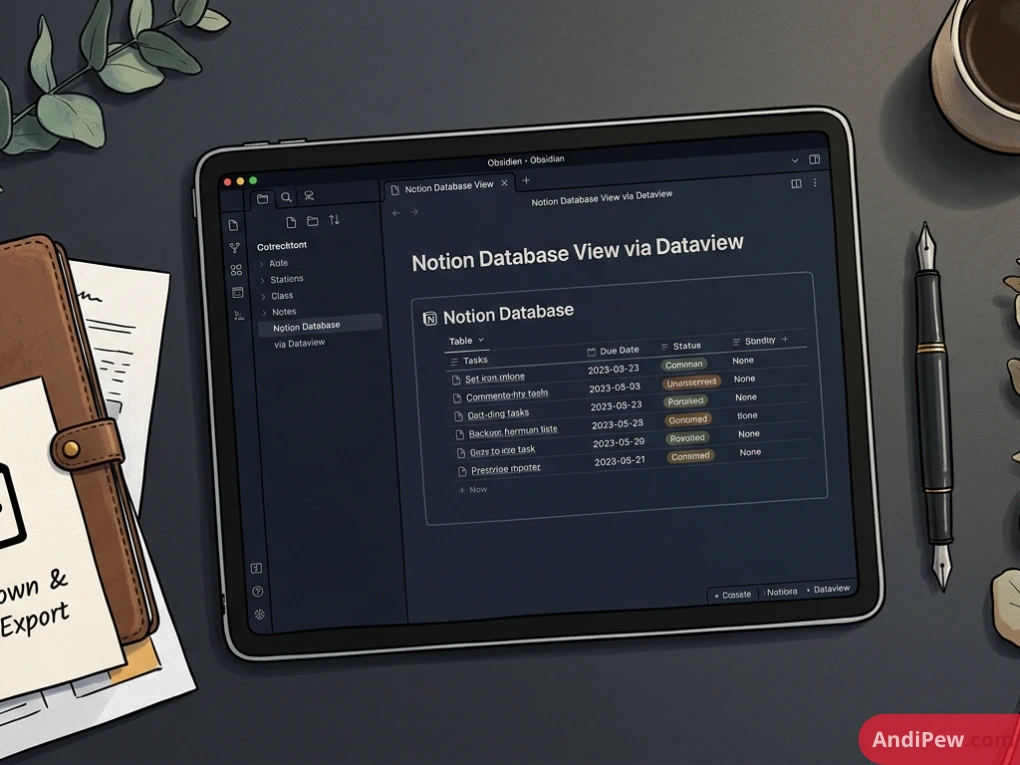
Extract the CSV file into your Obsidian vault.
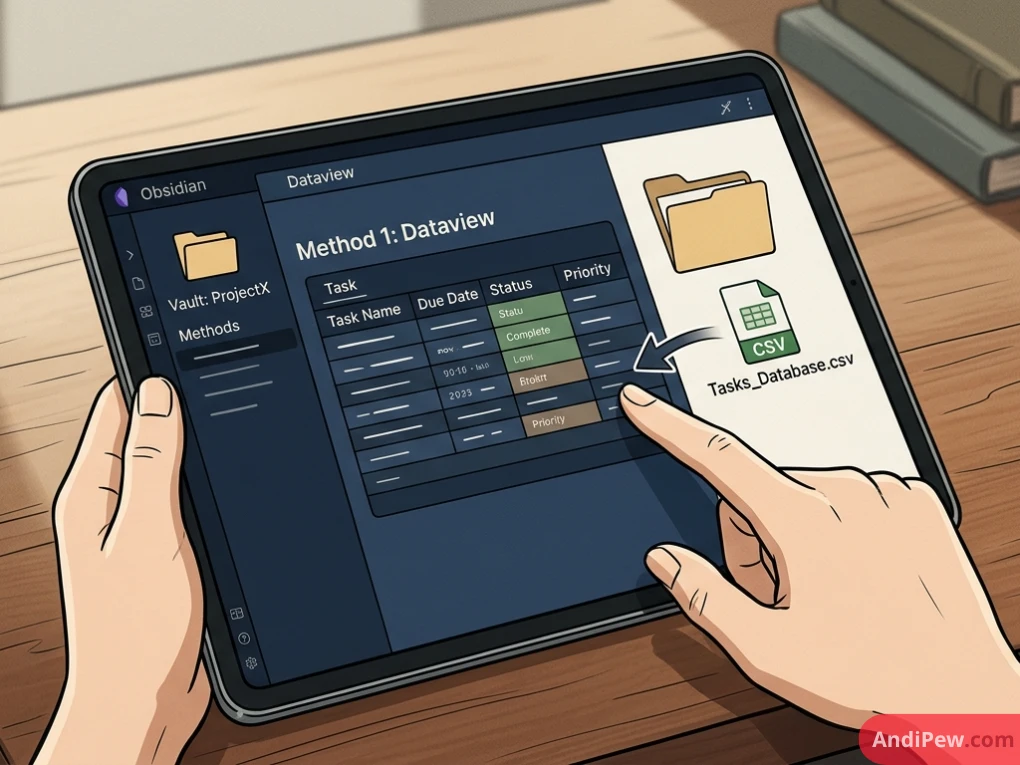
Install the Dataview community plugin in Obsidian.

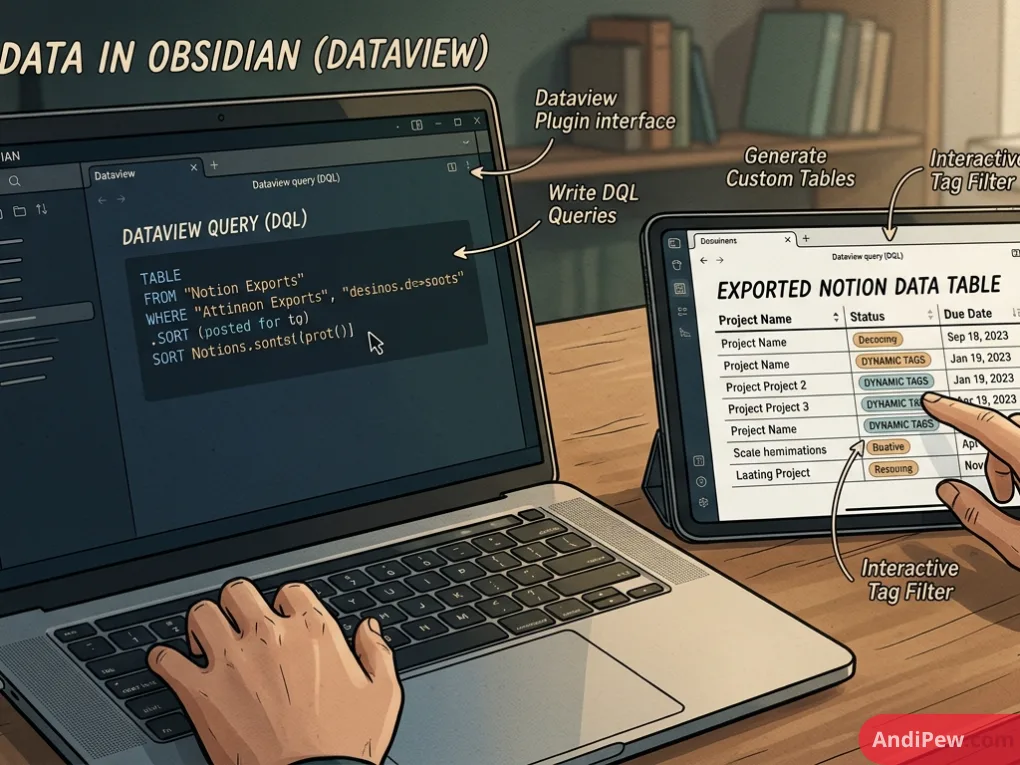
Use Dataview queries (DQL) inside Obsidian to display your exported Notion data with custom tables, dynamic tags, and sorting.
Method 2: Live Sync via Obsidian Community Plugins
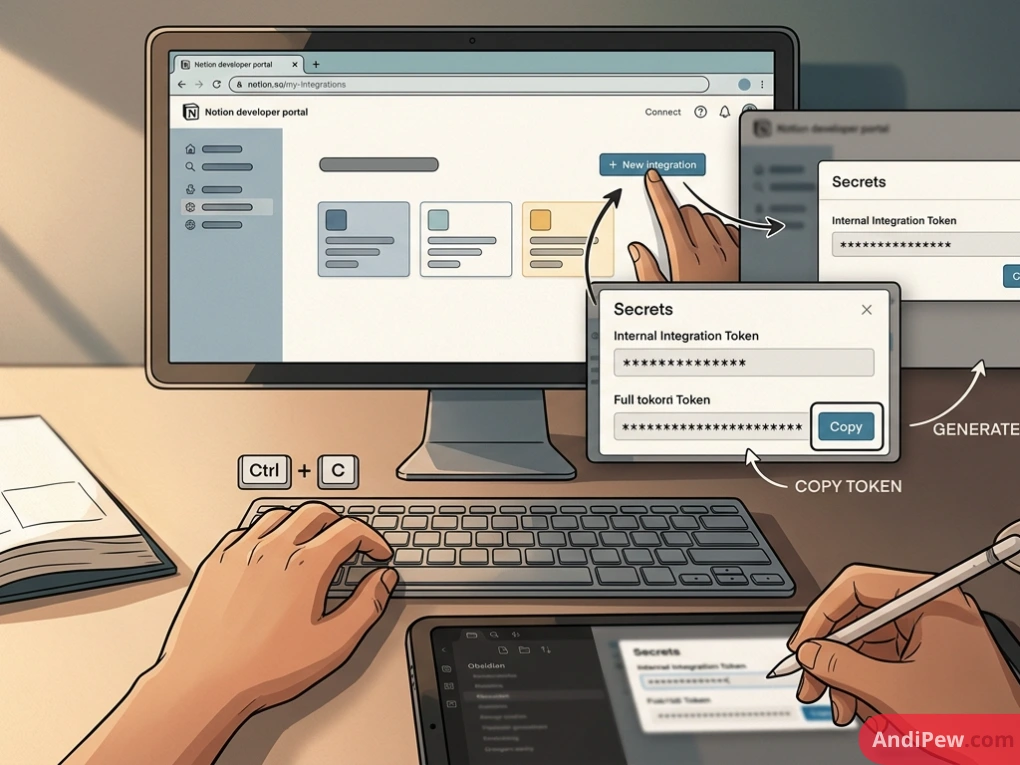
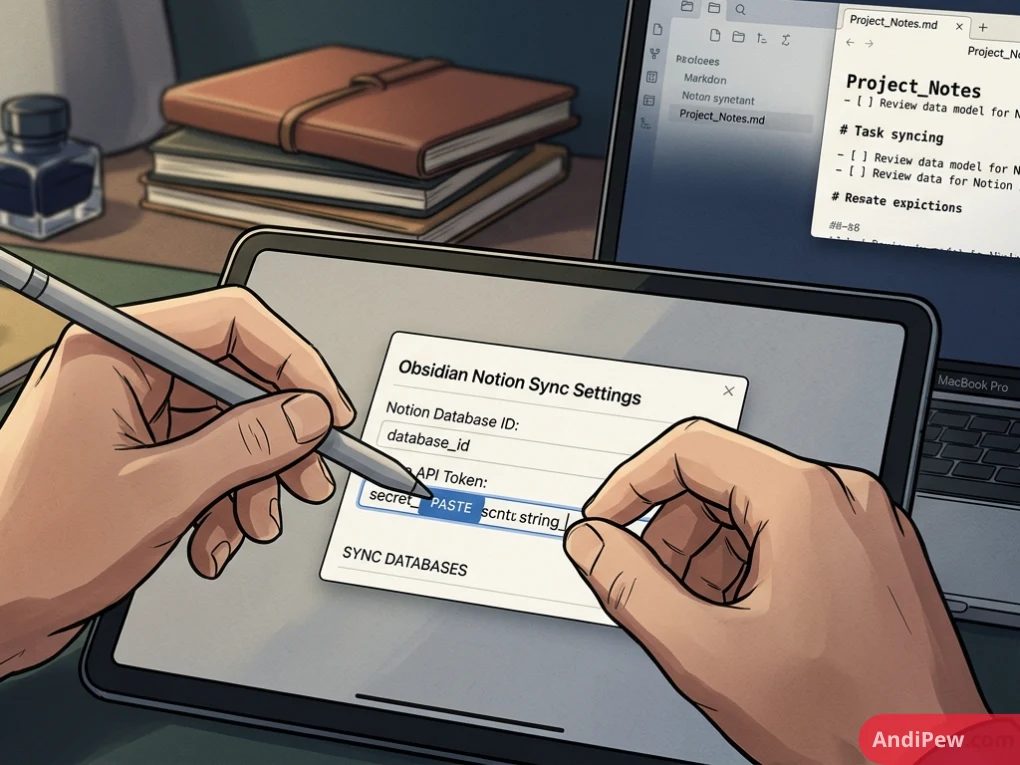
Install an integration plugin like Notion Sync from Obsidian’s Community Plugins catalog.
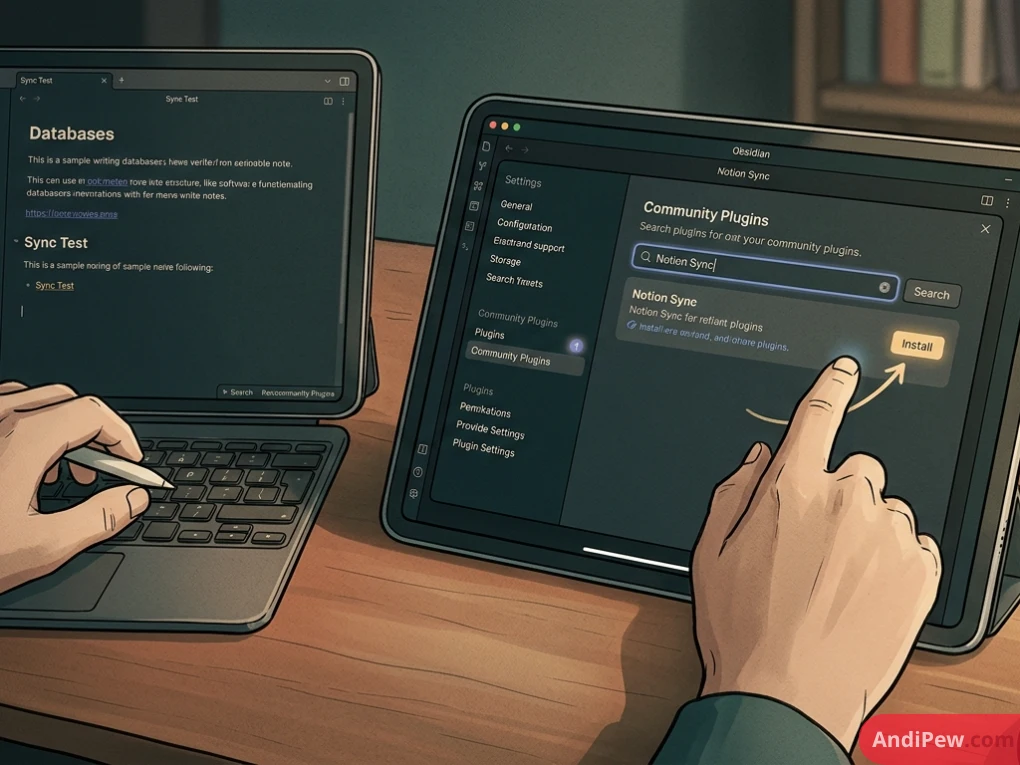
Generate an Internal Integration Token from Notion’s developer portal (notion.so/my-integrations).
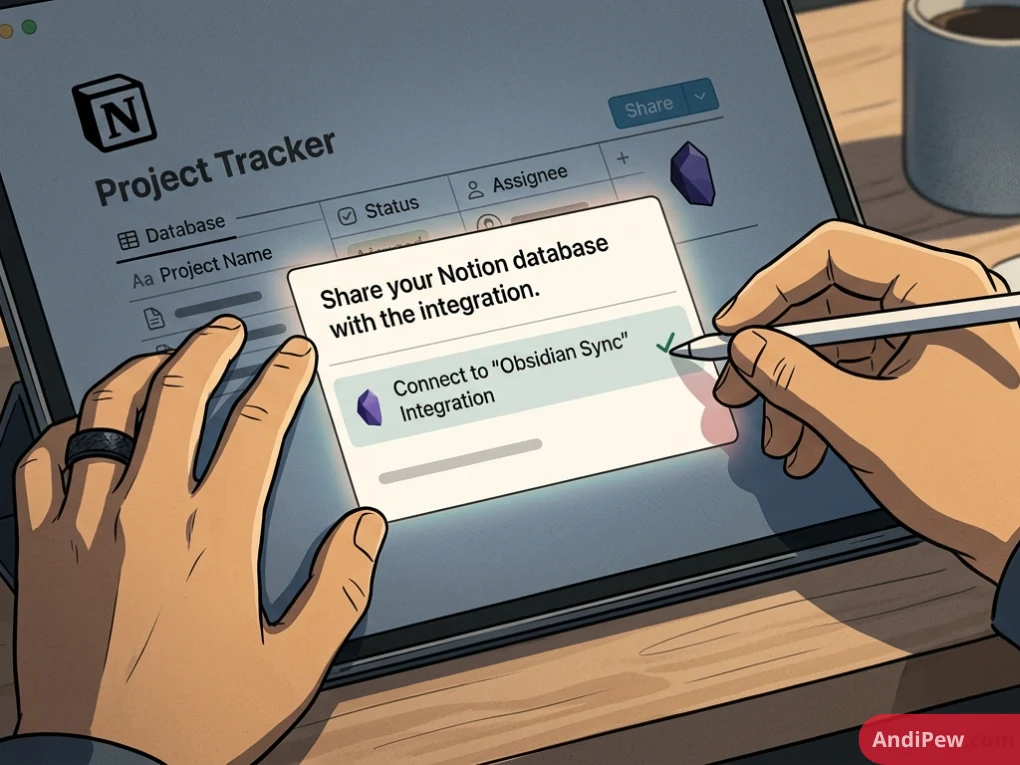
Share your Notion database with the integration.
Paste the database ID and API token into the Obsidian plugin settings to sync database rows down to local Obsidian Markdown files.
Working with the Notion Databases API (Retrieve & Query)
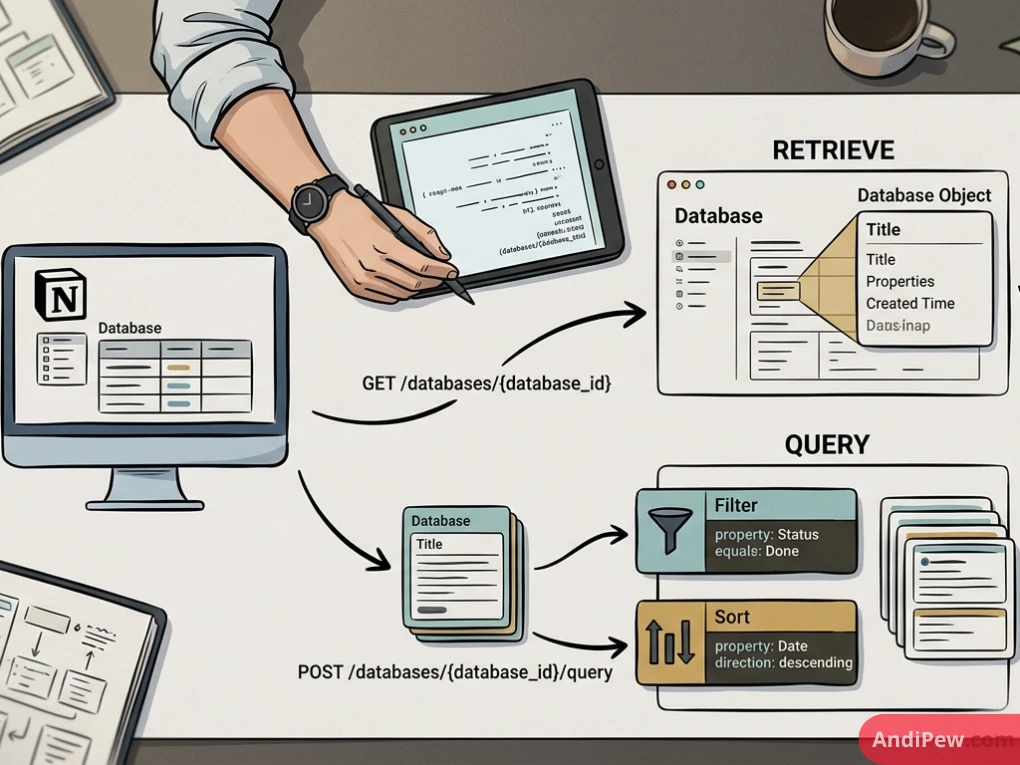
Developers and technical teams can manage Notion databases programmatically using the official Notion REST API and the @notionhq/client JavaScript SDK.
Notion Databases: Retrieve Metadata
To fetch database configuration, properties schema, and title metadata without fetching all individual rows, issue an HTTP GET request:
curl -X GET 'https://api.notion.com/v1/databases/YOUR_DATABASE_ID' \
  -H 'Authorization: Bearer YOUR_INTEGRATION_TOKEN' \
  -H 'Notion-Version: 2022-06-28'
Notion Databases: Query Items
To retrieve specific pages and filter through row data, issue an HTTP POST request to the database query endpoint:
curl -X POST 'https://api.notion.com/v1/databases/YOUR_DATABASE_ID/query' \
  -H 'Authorization: Bearer YOUR_INTEGRATION_TOKEN' \
  -H 'Notion-Version: 2022-06-28' \
  -H 'Content-Type: application/json' \
  -d '{
    "filter": {
      "property": "Status",
      "status": {
        "equals": "In Progress"
      }
    },
    "page_size": 50
  }'
How to Fix: “notion.databases.query is not a function”
A frequent error encountered by developers working with the JavaScript/TypeScript SDK is:
TypeError: notion.databases.query is not a function (or client.databases.query is not a function).
Root Causes & Solutions:
- Outdated
@notionhq/clientpackage: Update your package dependencies. Run:
npm install @notionhq/client@latest
- Incorrect Client Initialization: Ensure you are importing and initializing the
Clientclass properly:
// CommonJS
const { Client } = require("@notionhq/client");
const notion = new Client({ auth: process.env.NOTION_API_KEY });

// ES Modules / TypeScript
import { Client } from "@notionhq/client";
const notion = new Client({ auth: process.env.NOTION_API_KEY });

async function fetchTasks() {
  const response = await notion.databases.query({
    database_id: "YOUR_DATABASE_ID",
  });
  return response.results;
}
- Targeting an API Endpoint on a Block Object: Ensure you call
.databases.query()on yourClientinstance, rather than calling query directly on an uninstantiated helper or sub-object.
Troubleshooting Common Notion Database Errors
When working with heavy databases or cross-device setups, you may encounter synchronization delays or interface errors. Here is how to diagnose and resolve them.
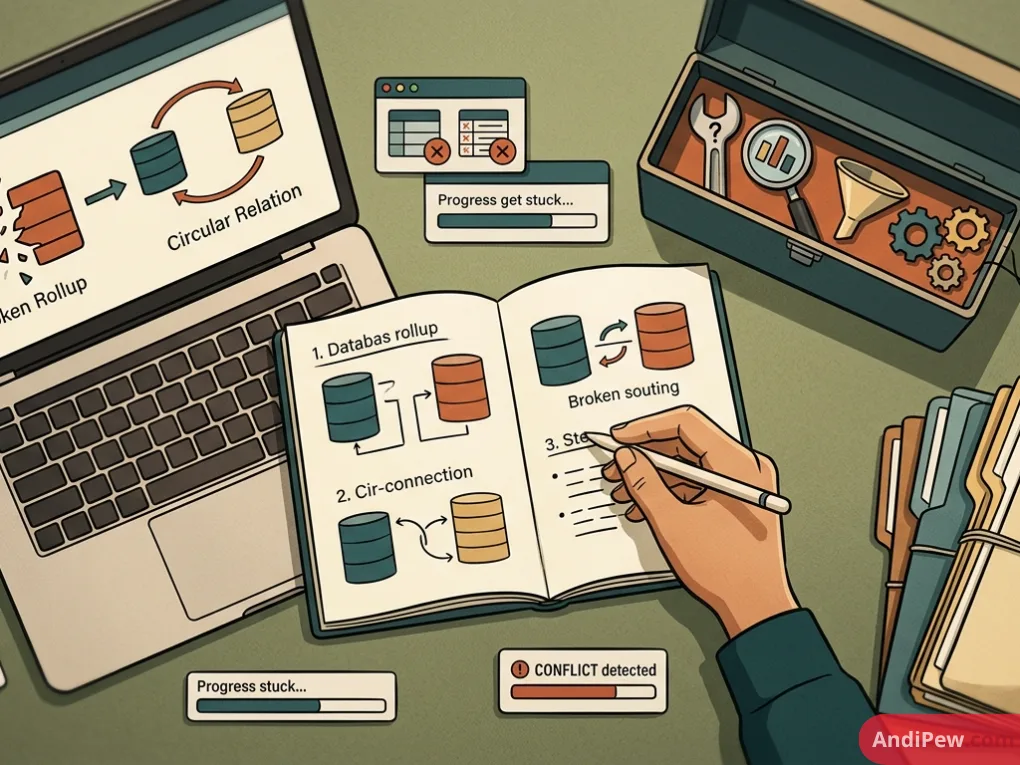
“Something went wrong” Alert
This message usually occurs due to cached browser state conflicts, outdated desktop application versions, or temporary network interruptions during a real-time sync.
- Hard Refresh (Desktop): Press
Ctrl + R(Windows) orCmd + R(Mac). - Reset App Data (Desktop Client): In the top menu bar, click Help -> Troubleshooting -> Reset App & Clear Local Data.
- Browser Fix: Open Notion in an Incognito/Private window. If the error disappears, clear your browser cookies and cache for
notion.so.
Notion Databases Not Loading or Freezing
If a database hangs indefinitely on a loading spinner:
- Limit Display Density: Databases with thousands of rows and multiple Rollup/Formula columns require significant client-side rendering power. Apply a default filter (e.g.,
Created Date is within past 30 days) or switch from Gallery view to List/Table view to reduce memory overhead. - Inspect Formula Loops: Ensure circular relations (Database A referencing Database B which references Database A in an active rollup chain) are not causing recursive rendering stalls.
- Check Service Status: Visit
status.notion.soto confirm there are no active regional database outages or API disruptions.
Database Permissions and Integration Access
If your database displays an access error or third-party integrations cannot read data:
- Open the database in full-page mode.
- Click the ••• icon in the top right corner.
- Scroll to Connections and click Connect to.
- Select your integration from the list to grant read/write access.
Frequently Asked Questions (FAQ)
Can I create multiple databases inside one Notion view?
You cannot natively merge distinct tables into a single database row set, but you can use a Linked View of Databases to create tabbed views that switch between multiple distinct databases within the same block container on your dashboard.
How do I recover a deleted Notion database?
Click Trash at the bottom of the left sidebar, locate your database by title, and click the Restore arrow icon. If a specific row or property was accidentally modified or deleted, open page history by clicking the ••• menu -> Page history to restore a previous version (requires a paid Notion plan for extended history).
What is the difference between a Rollup and a Formula in Notion?
A Formula property performs mathematical, text, or logical operations using values strictly within the current database entry. A Rollup property retrieves and aggregates data (such as counts, sums, or averages) from a different, connected database through a Relation property.
Why is my Notion database slow?
Database latency is commonly caused by displaying hundreds of high-resolution images in Gallery view, keeping thousands of completed items unfiltered, or having multiple complex nested Formula 2.0 properties computing across large datasets. Using pagination, strict date filters, and clean table layouts resolves most performance bottlenecks.
Notion databases transform basic notes into an interactive, automated operating system. By combining flexible views, relational rollups, clean API querying, and proper troubleshooting practices, you can build custom dashboards that scale effortlessly with your personal and professional needs.