
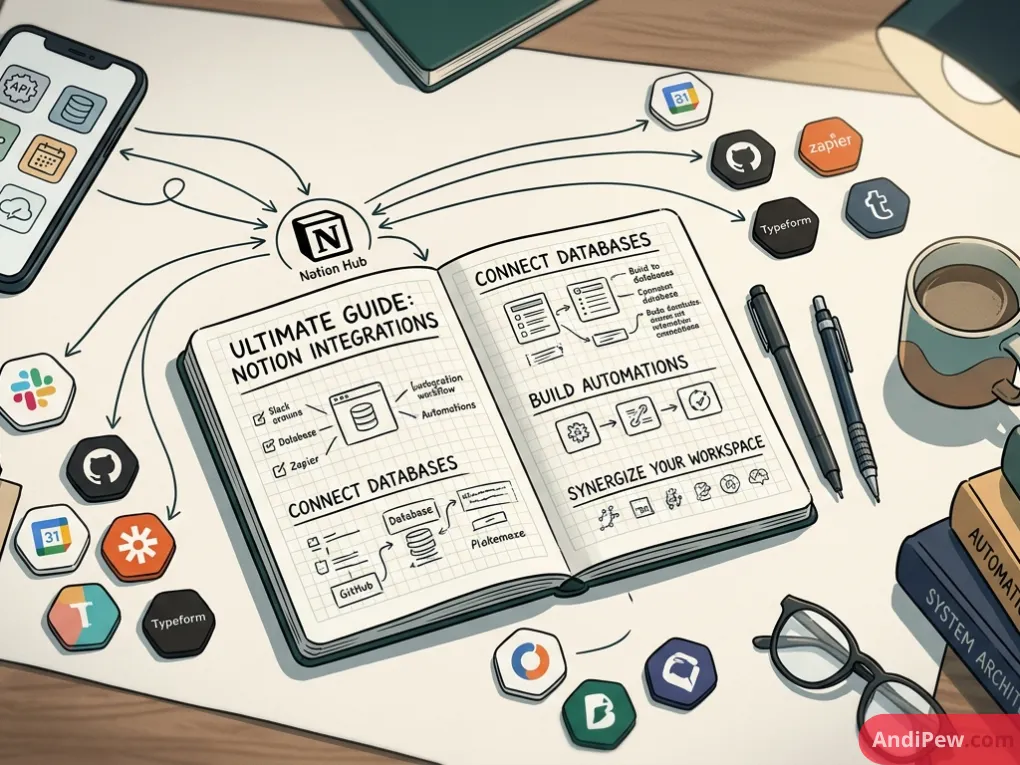
Notion is one of the most flexible productivity environments ever created, but leaving it as an isolated data silo limits its true potential. When you connect your workspace to your wider software stack, you turn static databases into dynamic, automated hubs that update in real time.
Whether you want to sync task notifications to Slack, embed live design files from Figma, or build a custom programmatic bot from scratch, mastering Notion integrations is the key to unlocking seamless productivity.
This comprehensive notion integration guide walks you through every layer of workspace connectivity—from native one-click connections in the notion integrations marketplace to managing permissions, generating an internal notion integrations api key, and configuring the notion integrations developer portal.
What Are Notion Integrations?
At its core, a Notion integration is a secure bridge between your Notion workspace and external tools. Through integrations, data flows bidirectionally: external applications can read from or write to your pages, and changes inside Notion can trigger actions across other platforms.
Integrations operate primarily via the official notion integrations api, which provides structured endpoints to query databases, append child blocks, modify page properties, and retrieve user metadata.
If you are already familiar with structuring your workspace using our foundational Notion guide and organizing content across Notion pages and blocks, connecting integrations represents the natural next level of workspace maturity.
Public vs. Internal Integrations: Understanding the Difference
When working with Notion connections, you will encounter two primary integration types:
- Public Integrations (Pre-built Apps): Packaged tools built by third-party software companies (e.g., Slack, Asana, Google Drive, Jira) that use standard OAuth authorization flows. You authorize them directly via the app directory without manually writing code.
- Internal Integrations (Custom Builds): Private connections built specifically for your workspace. They use a static secret token (or notion integrations api key) that you generate inside your developer settings to automate custom company scripts, web scrapers, or internal analytics dashboards.
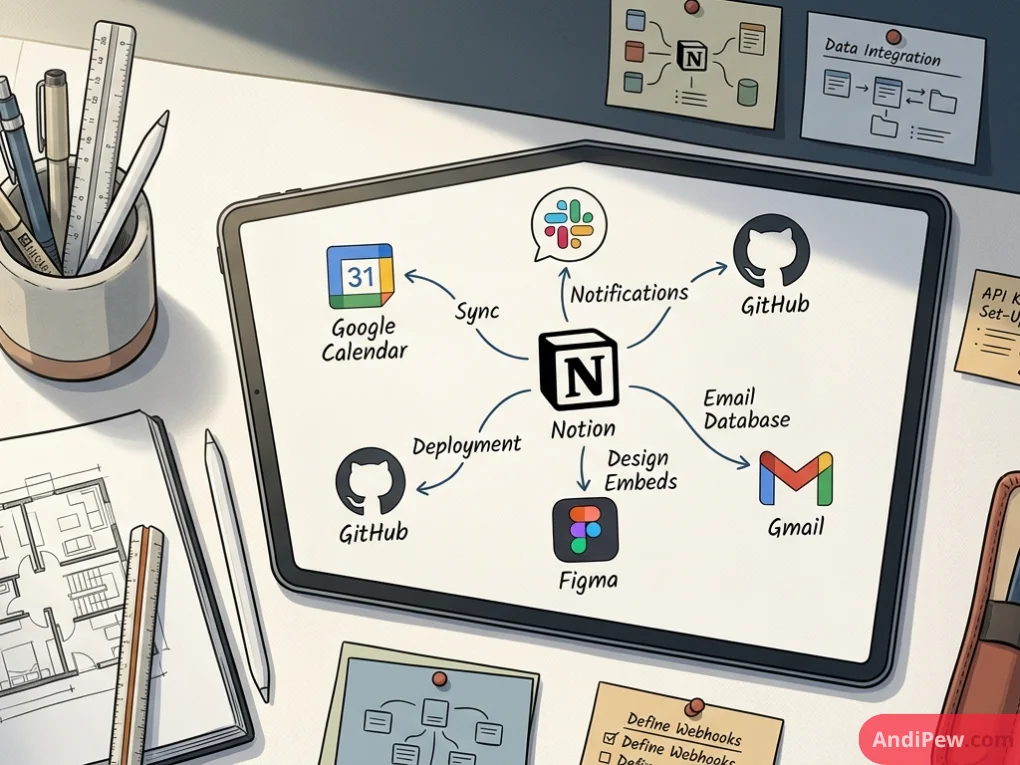
Why Connect Notion to Other Apps?
Connecting Notion to your digital toolchain eliminates manual data entry, prevents duplicate data across systems, and ensures your team works from a single source of truth.
- Centralize Team Knowledge: Automatically aggregate customer feedback, CRM records, support tickets, and form submissions directly into a structured Notion database.
- Eliminate Context Switching: View live Figma embeds, interactive GitHub pull requests, or Jira issue trackers without ever leaving your Notion documentation page.
- Supercharge Native Automations: While Notion includes built-in database buttons and automated triggers, linking external webhooks allows you to run multi-step logic across multiple platforms at once. For more advanced built-in tricks, check our guide on Notion formulas and automations.
- Standardize Operational Templates: Pairing automated data pipelines with pre-configured Notion templates ensures every team member follows identical project tracking standards.
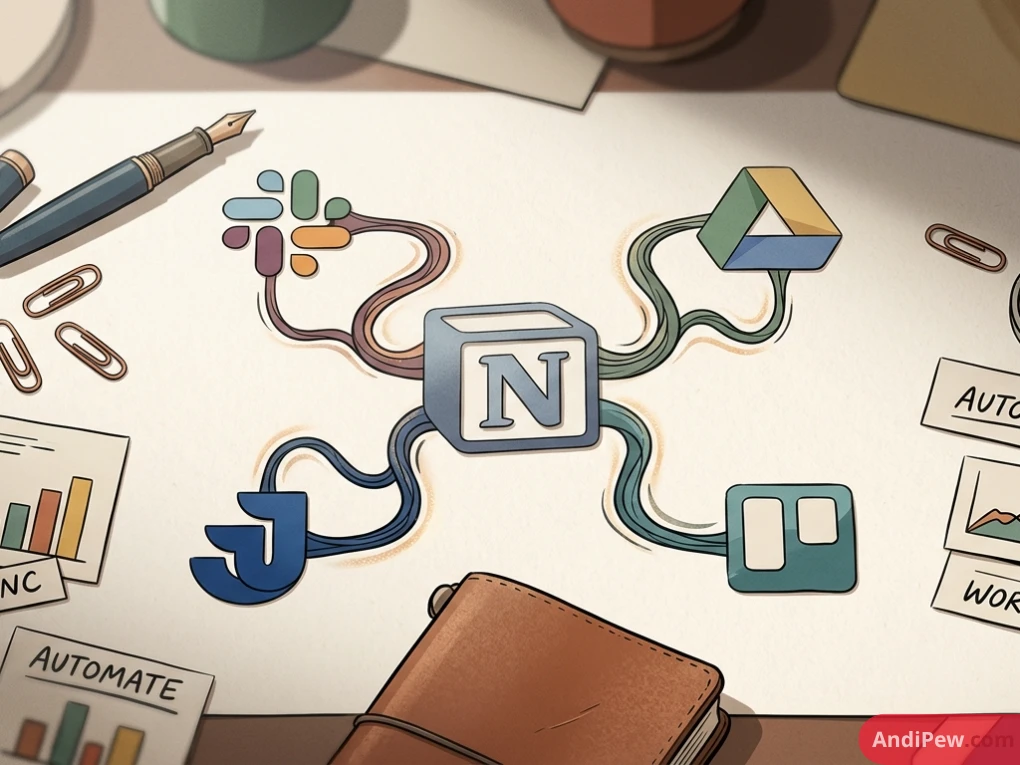
How to Manage Notion Integrations Settings in Your Workspace
Before installing apps or distributing access tokens, it is critical to know where your connection settings live and how permission scoping works.
Navigating the Notion Integrations Dashboard
To view, install, or audit existing connections in your workspace:
Open Notion on desktop or in your browser.
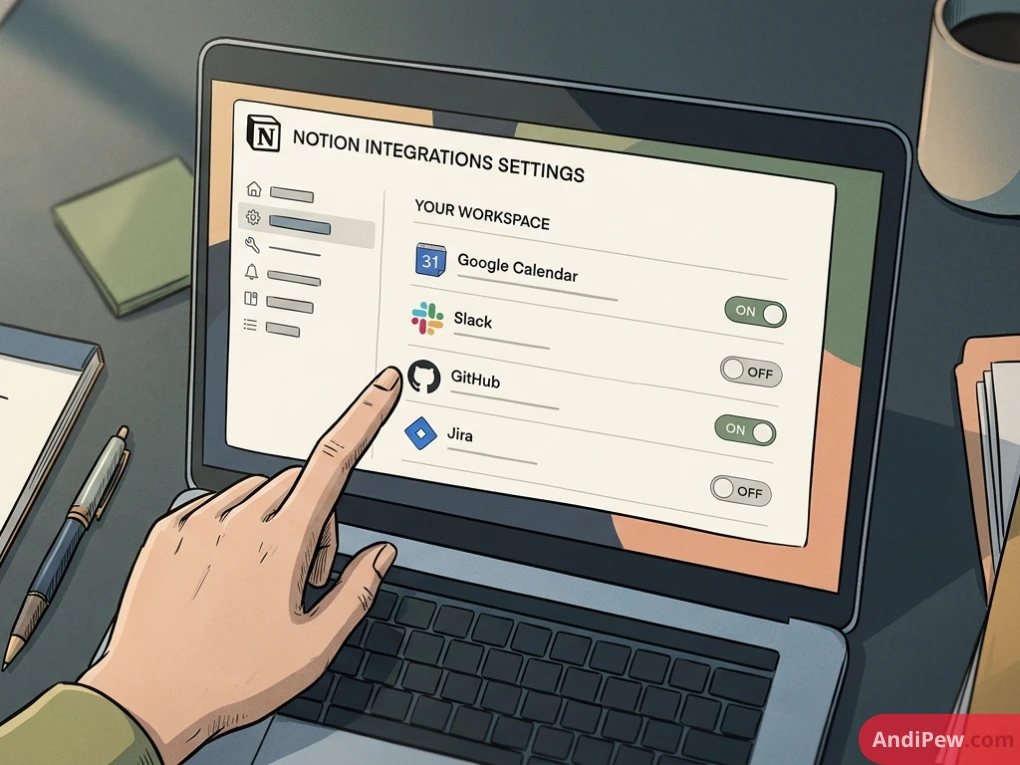
In the left-hand sidebar, click on Settings (or Settings & members).

In the settings modal sidebar, select Connections.
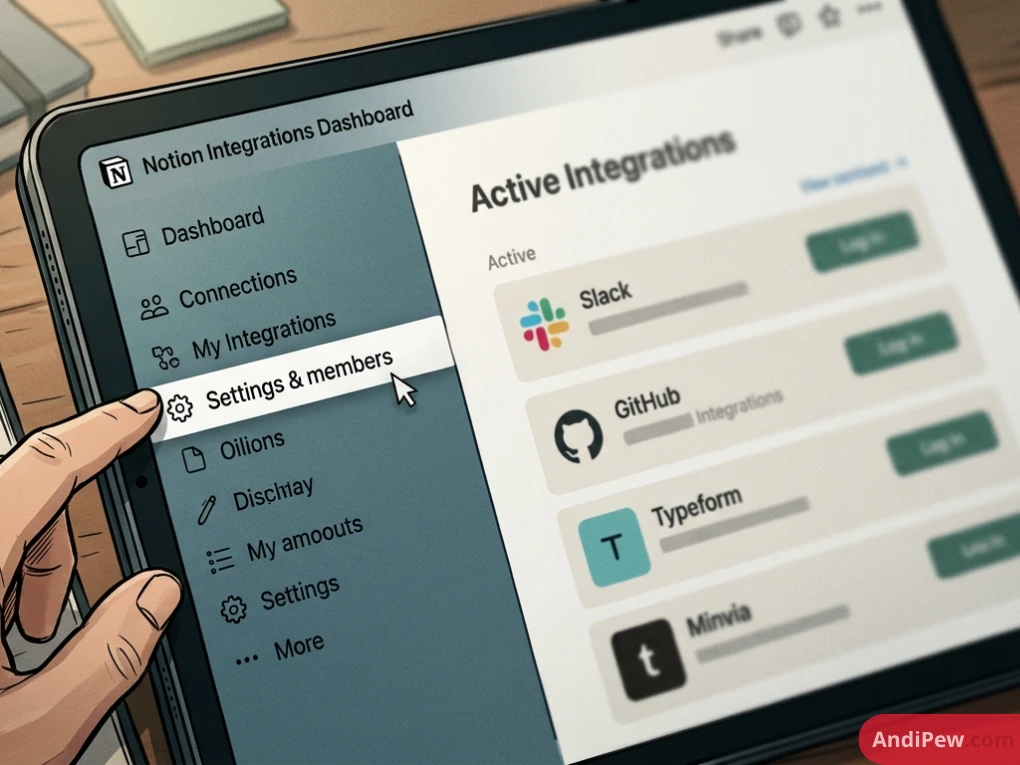
In this notion integrations dashboard, you will see two main tabs:
- Discover: Browse the curated catalog of popular third-party tools organized by category (Productivity, Project Management, Communication, Design, and Developer Tools).
- Manage: Review all currently installed connections, inspect which workspace members authorized them, adjust page access permissions, or disconnect tools entirely.
How to Connect Notion to Other Apps: 3 Proven Methods
Depending on your technical skill and the apps you use, there are three primary ways to connect notion to other apps:
| Integration Method | Technical Effort | Best For | Typical Use Cases |
| Direct Native Connections | Zero code (1-click) | Everyday productivity apps | Slack notifications, Google Drive file search, Figma embeds, GitHub PR links |
| No-Code Automation Platforms | Low code (Visual builders) | Multi-app conditional workflows | Zapier, Make, Relay.app, n8n, Pipedream |
| Custom Notion API Scripts | Developer required (REST API) | Proprietary business logic | Custom CRMs, internal databases, data warehousing, automated scrapers |
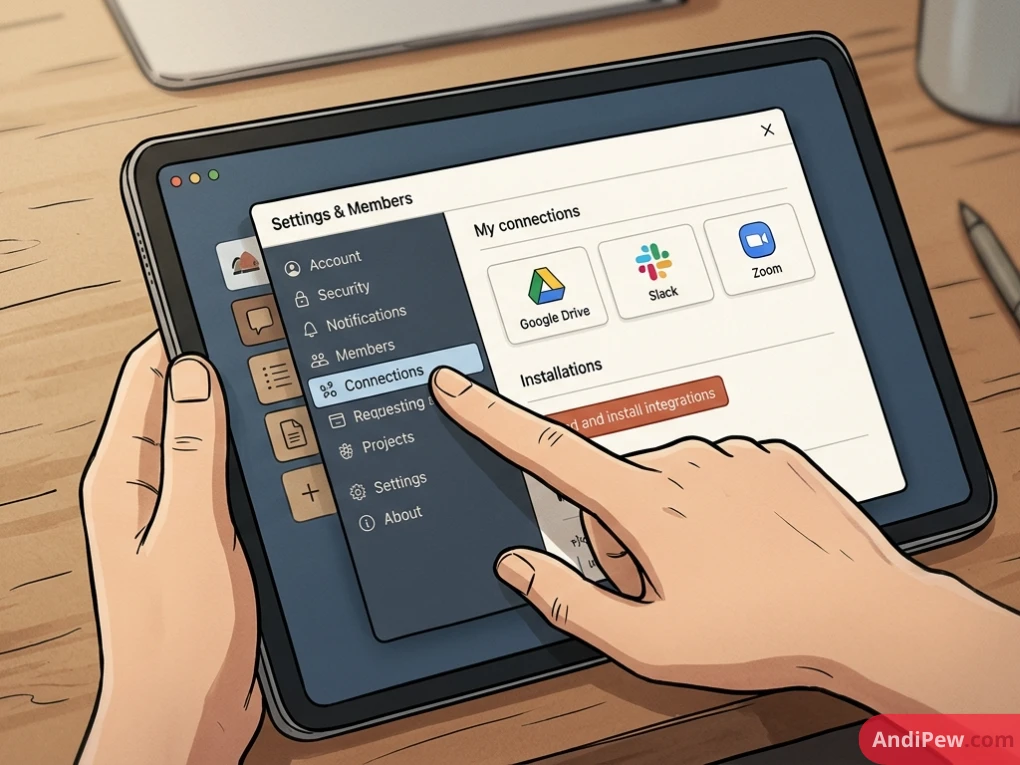
Method 1: Installing Pre-Built Apps from the Notion Integrations Marketplace
The fastest way to connect third-party software is through Notion’s native app directory.
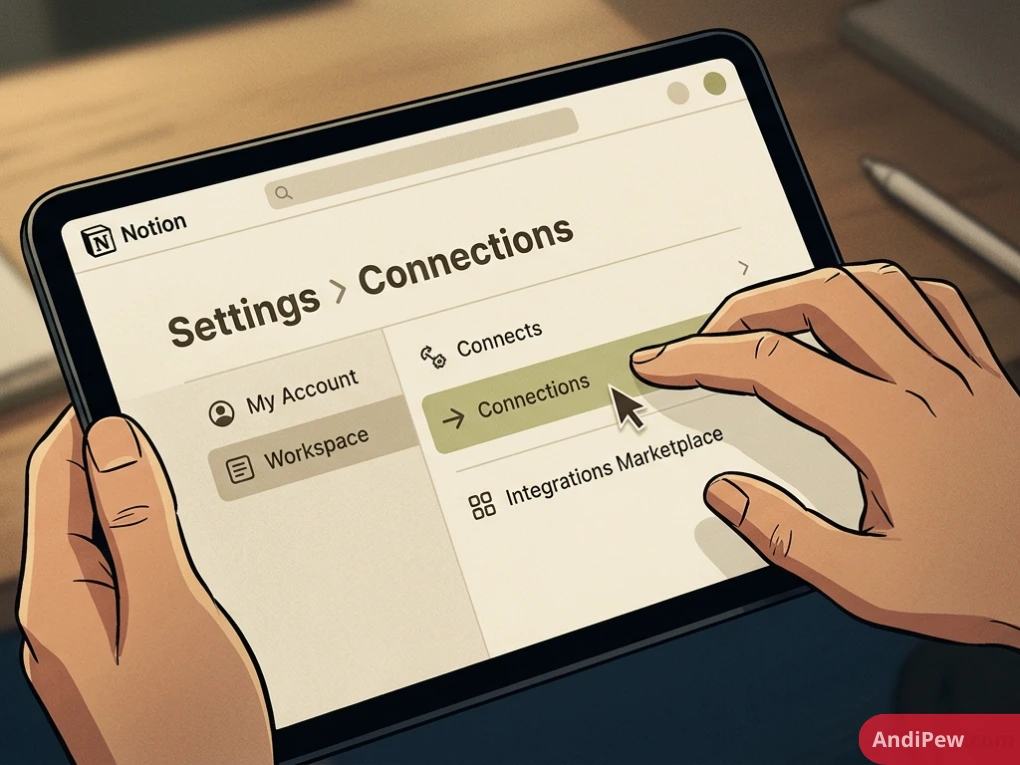
Navigate to Settings rightarrow Connections.
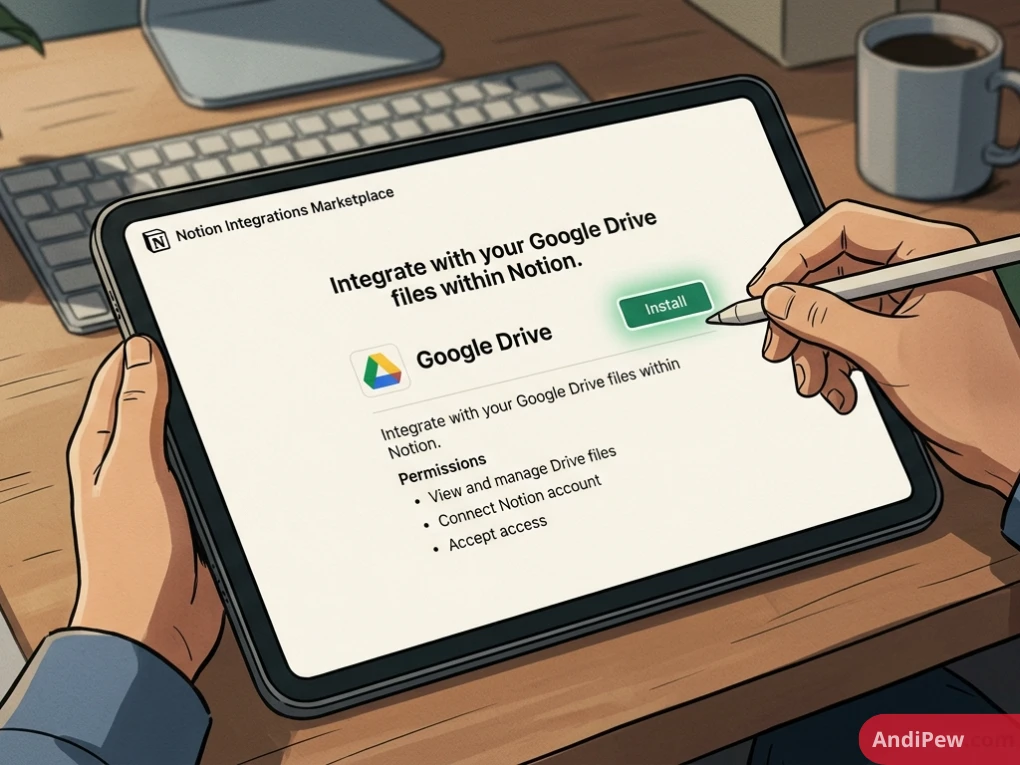
Search for the app you wish to install (e.g., Slack, Google Drive, Asana).
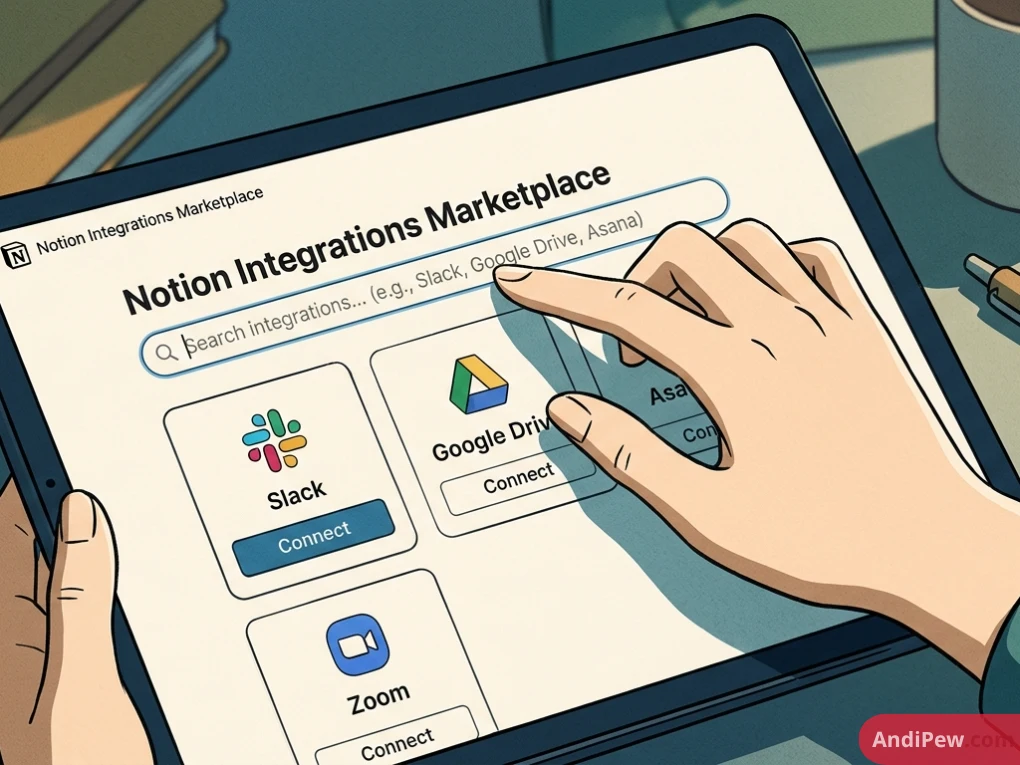
Click on the app card and select Connect or follow the external OAuth redirect.
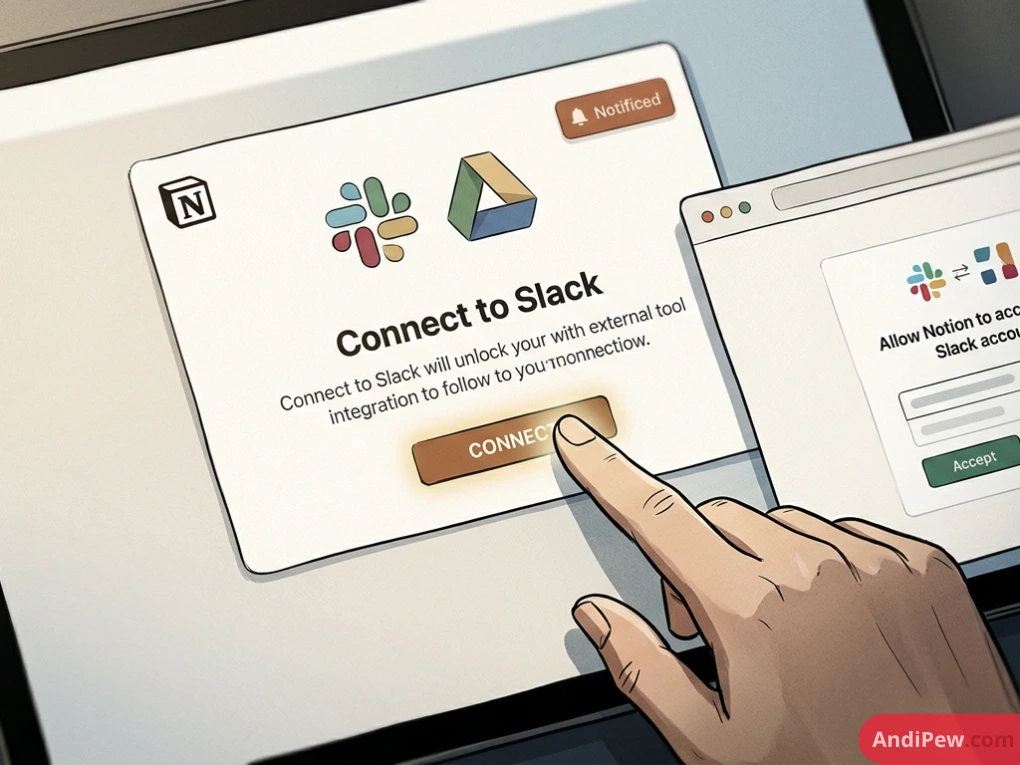
Choose the specific workspace and verify the permissions requested by the partner application.
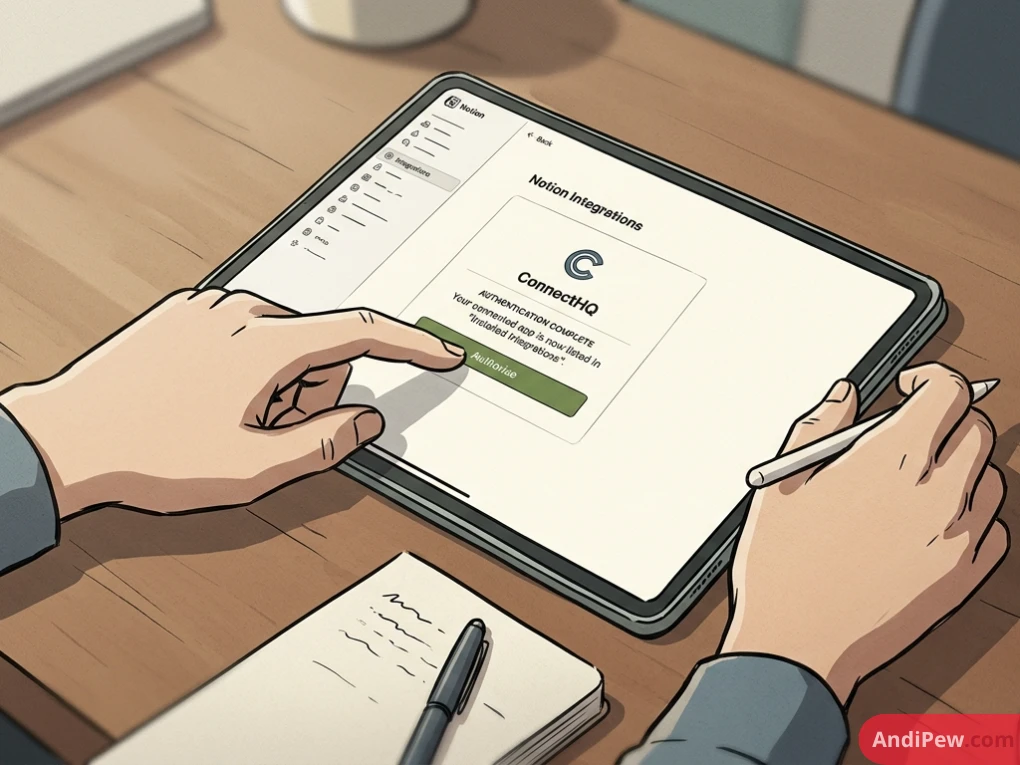
Complete authentication. The connected app will now appear inside your notion integrations list.
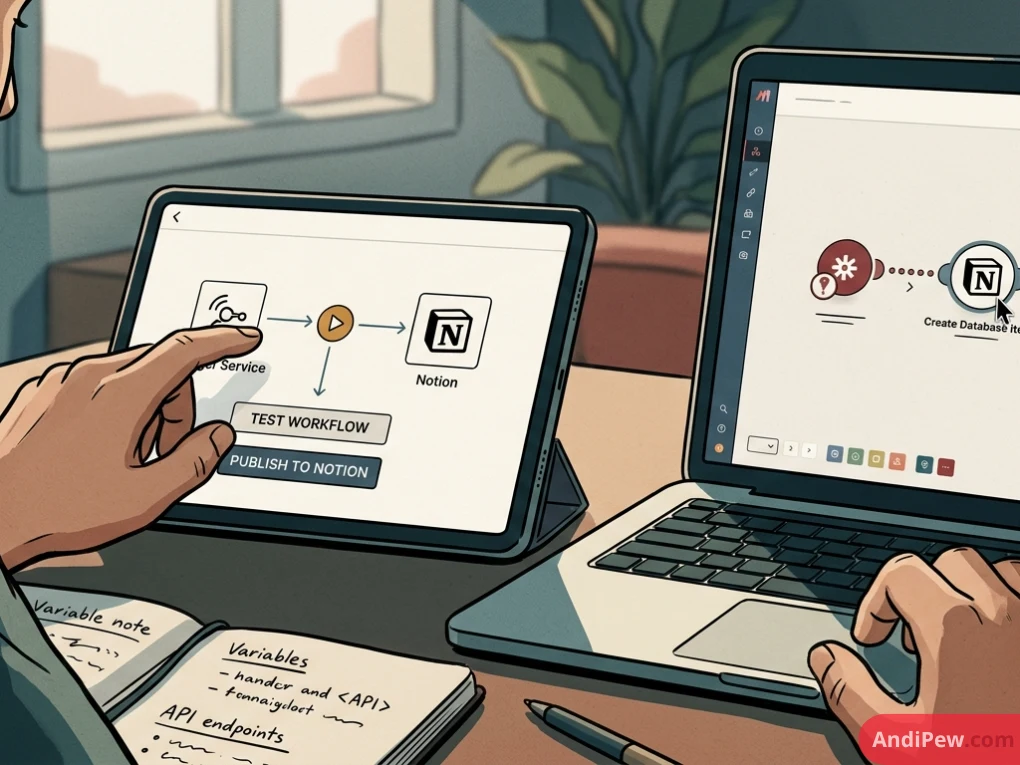
Method 2: Connecting via No-Code Platforms (Zapier, Make, n8n)
If you need conditional “If This, Then That” logic between Notion and tools without native direct integrations, visual integration platforms provide an ideal middle ground.
Step-by-Step Setup:
Log in to your automation tool (such as Zapier or Make.com).
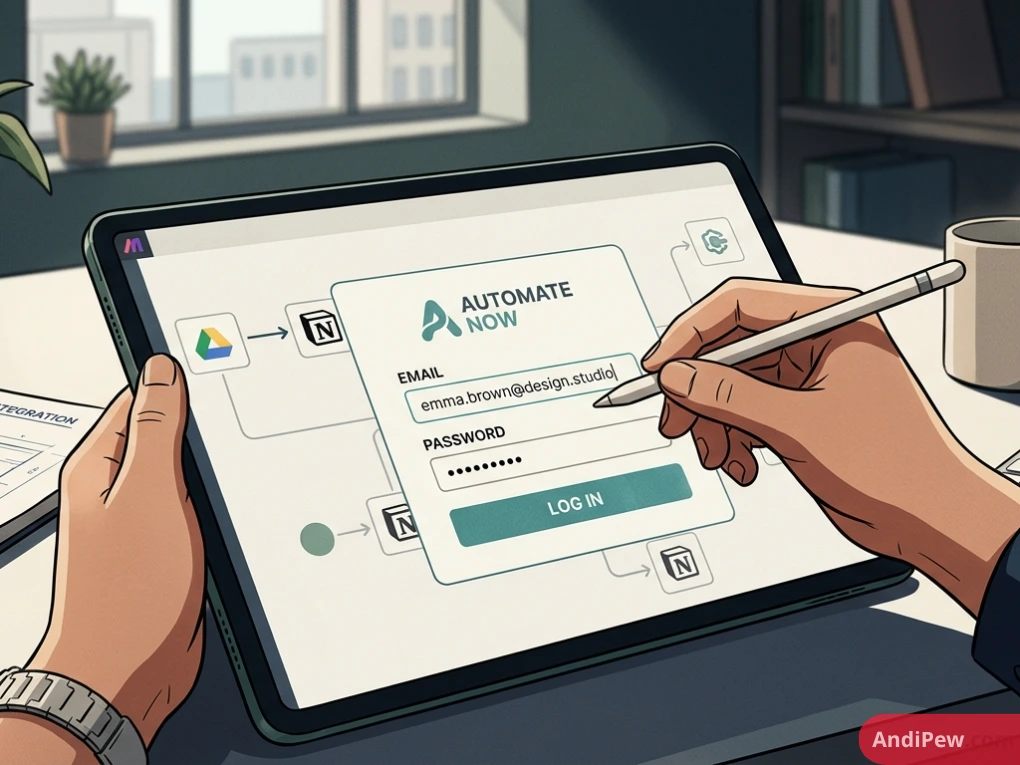
Create a new scenario or “Zap”.
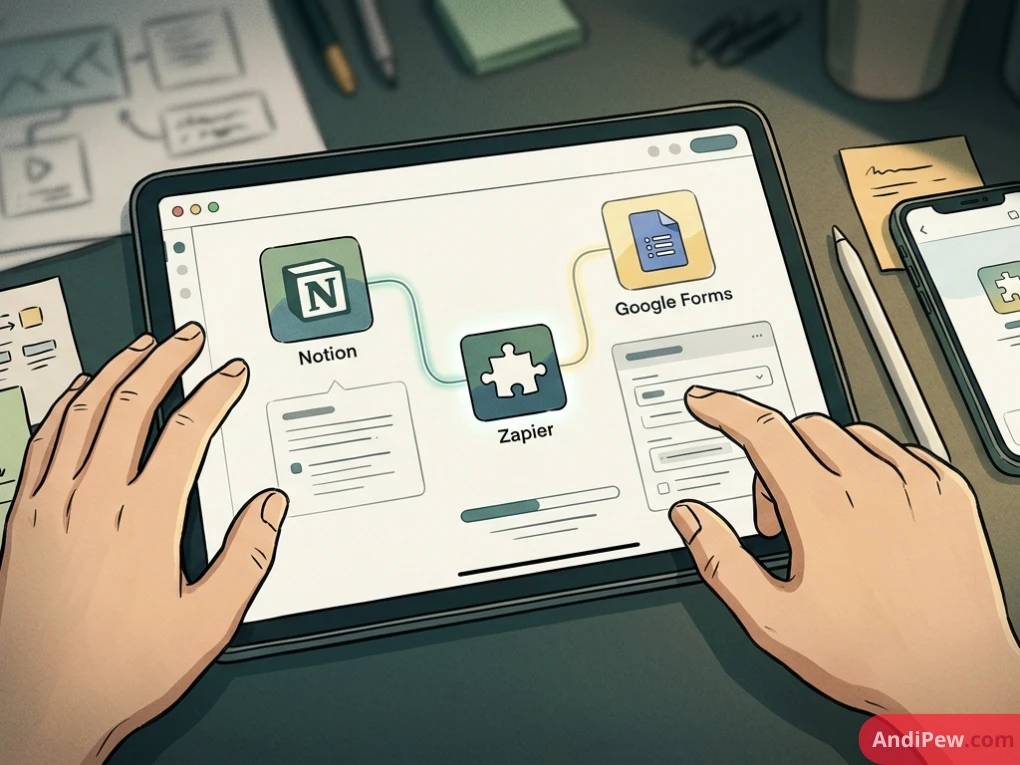
Choose your trigger application (for instance, New Stripe Payment or New Typeform Response).
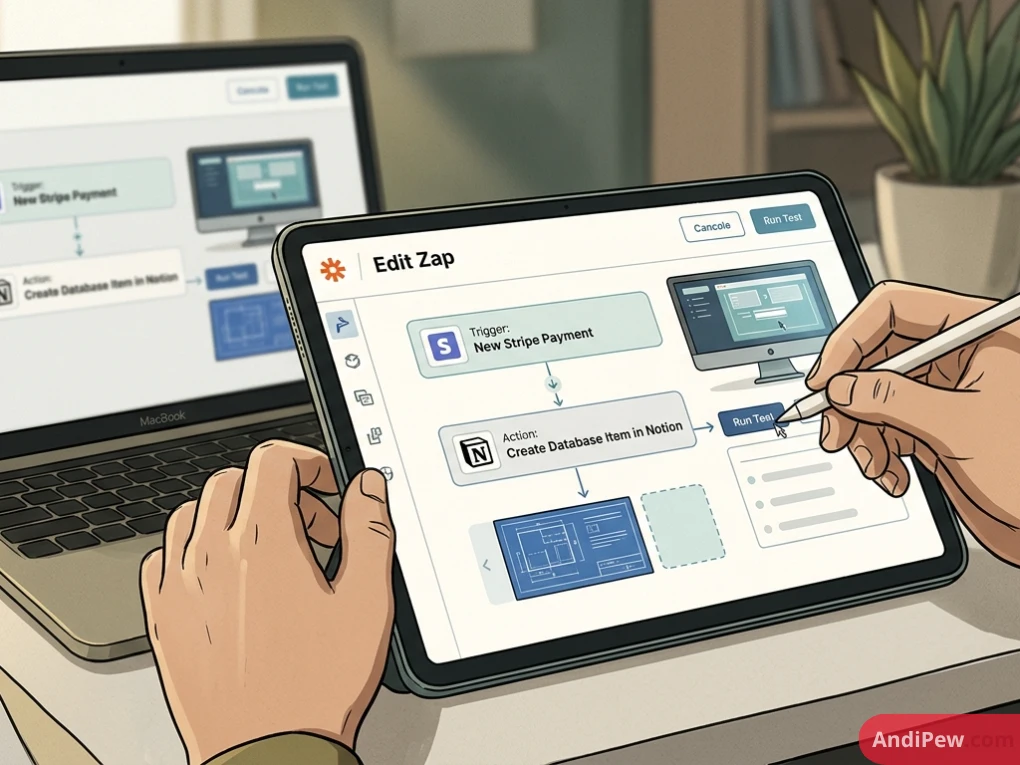
Select Notion as the Action application and choose an action event (such as Create Database Item or Update Page Property).
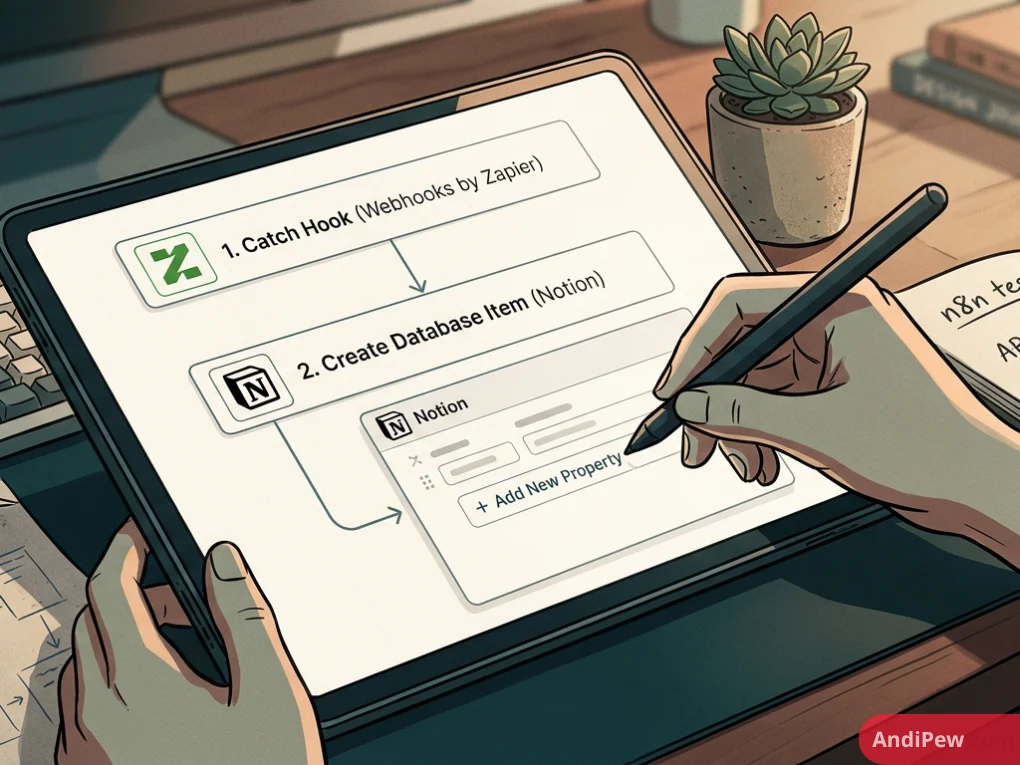
Follow the prompt to log in and select the exact Notion pages and databases the automation engine can access.

Map the incoming fields from your trigger app to your Notion database properties (e.g., mapping “Customer Email” to an Email property).
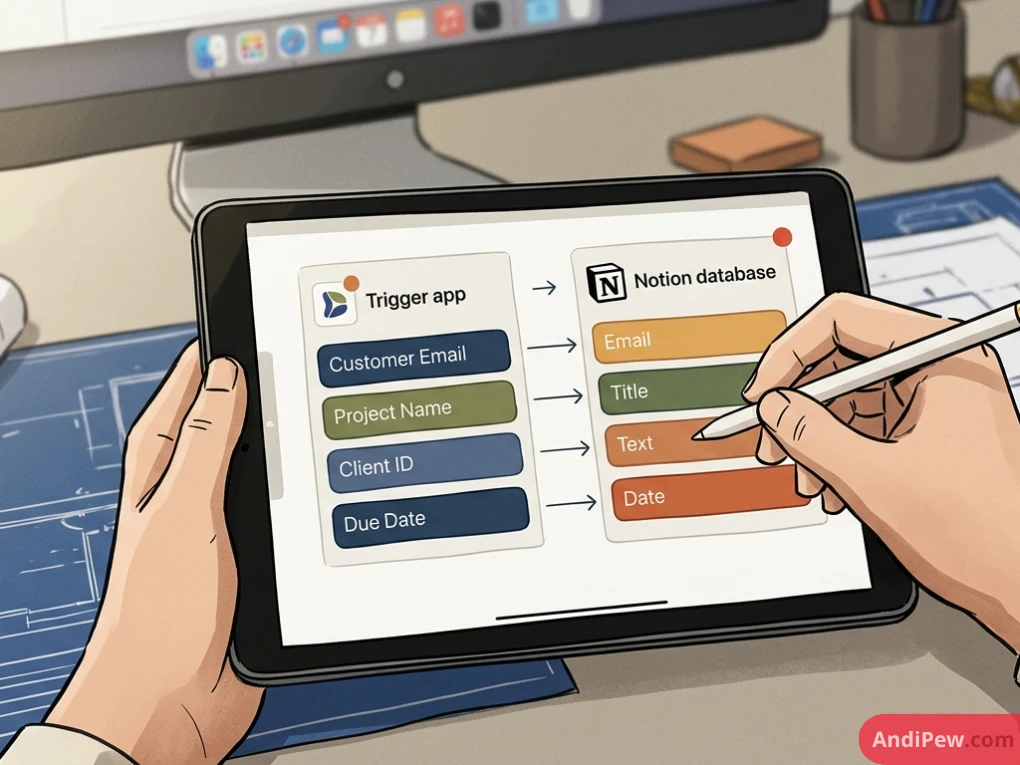
Test the workflow and publish.
Method 3: Building Custom Internal Integrations via the Notion Developer Portal
When standard plugins do not cover your proprietary requirements, building an internal integration gives you complete control over your data structures.
To notion integrations create your own integration, follow this developer setup:
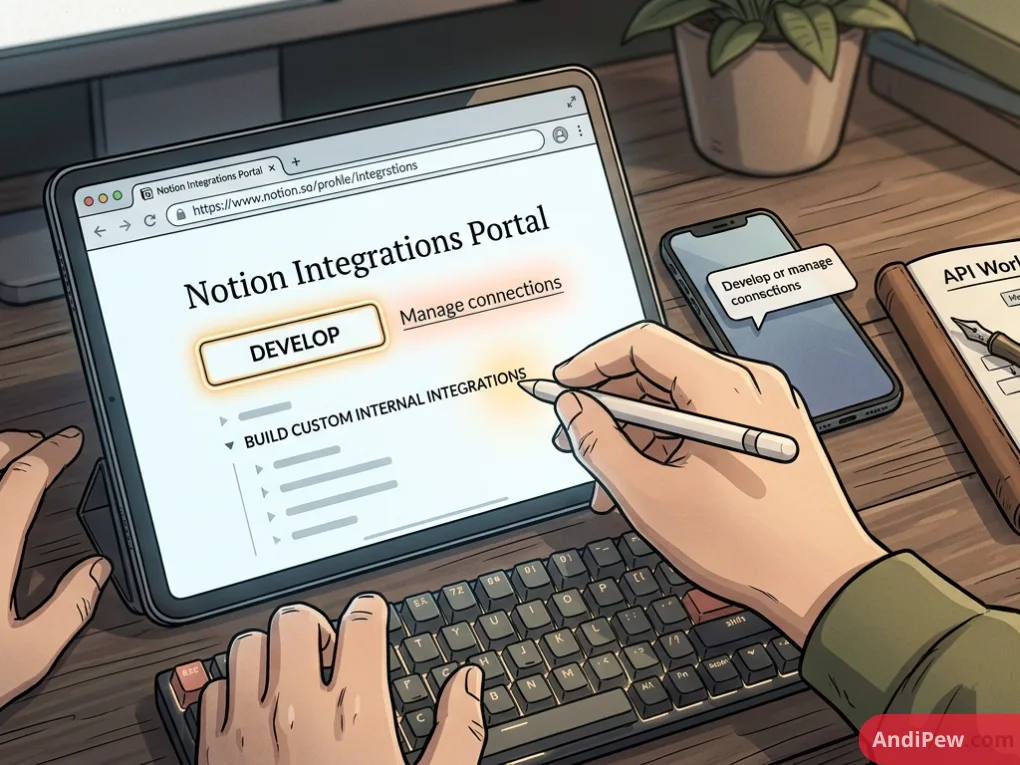
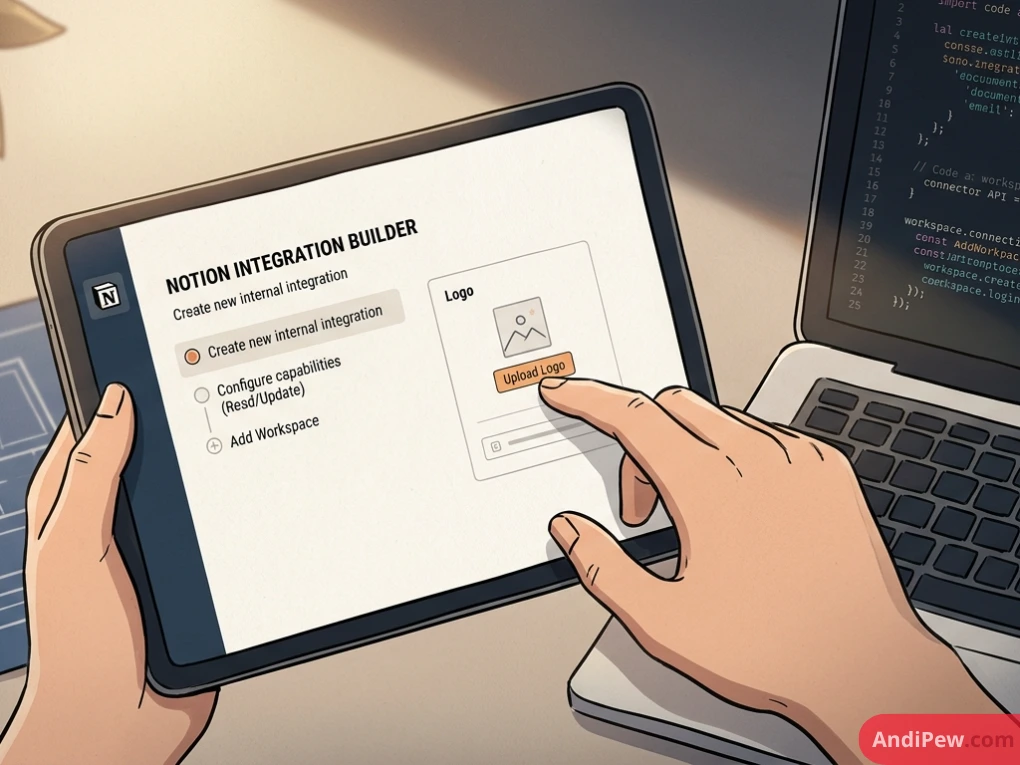
Step 1: Open the Notion Integrations Portal
Navigate to the official notion integrations portal by visiting https://www.notion.so/profile/integrations in your browser, or click Develop or manage connections at the bottom of your workspace Connections menu.
Step 2: Create a New Internal Integration
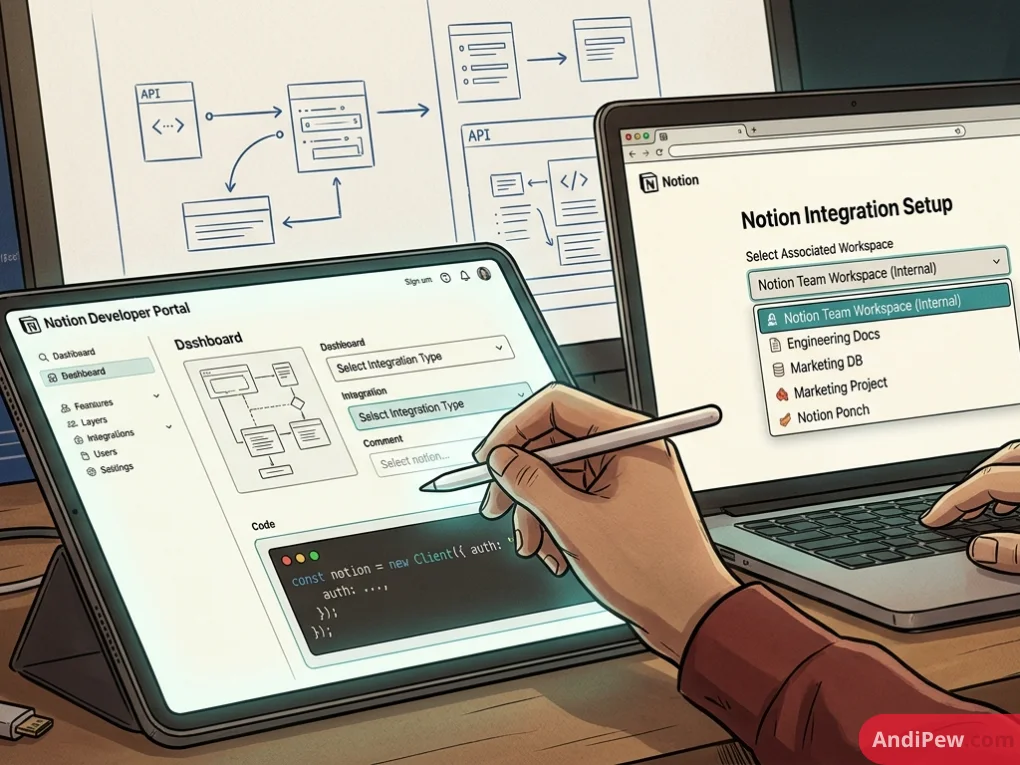
Click the + New integration button.

Select the Associated workspace where this integration will run.
Enter a descriptive Name (e.g., “Internal CRM Data Ingestor”).
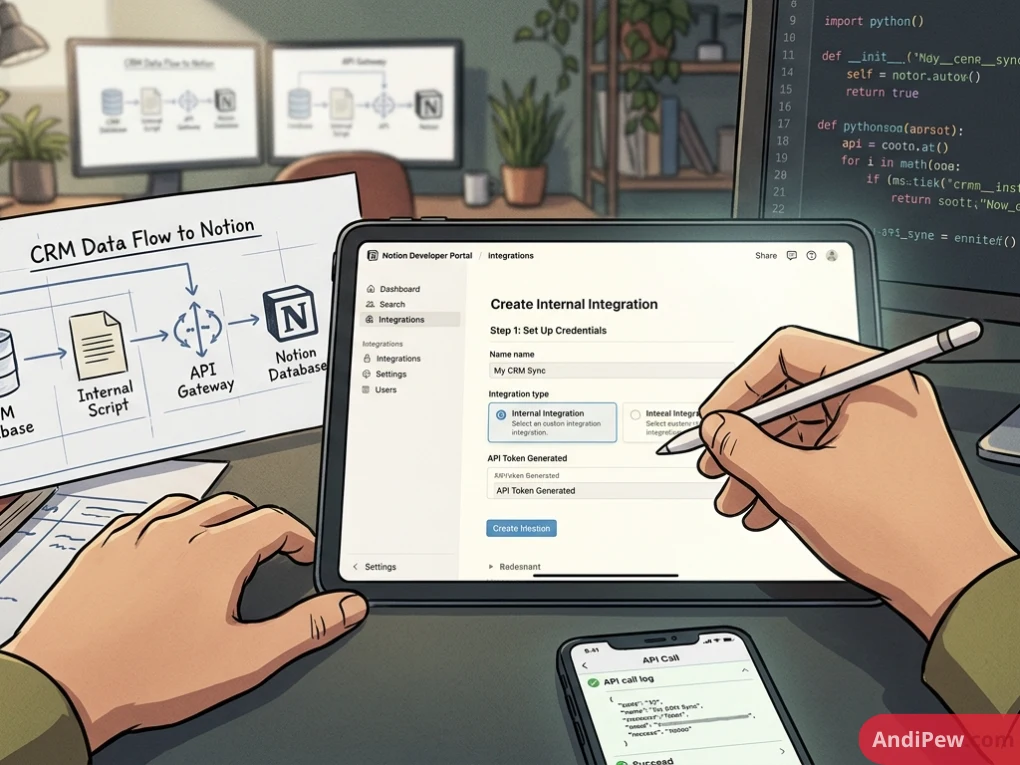
Upload an optional logo so team members can easily identify the bot.
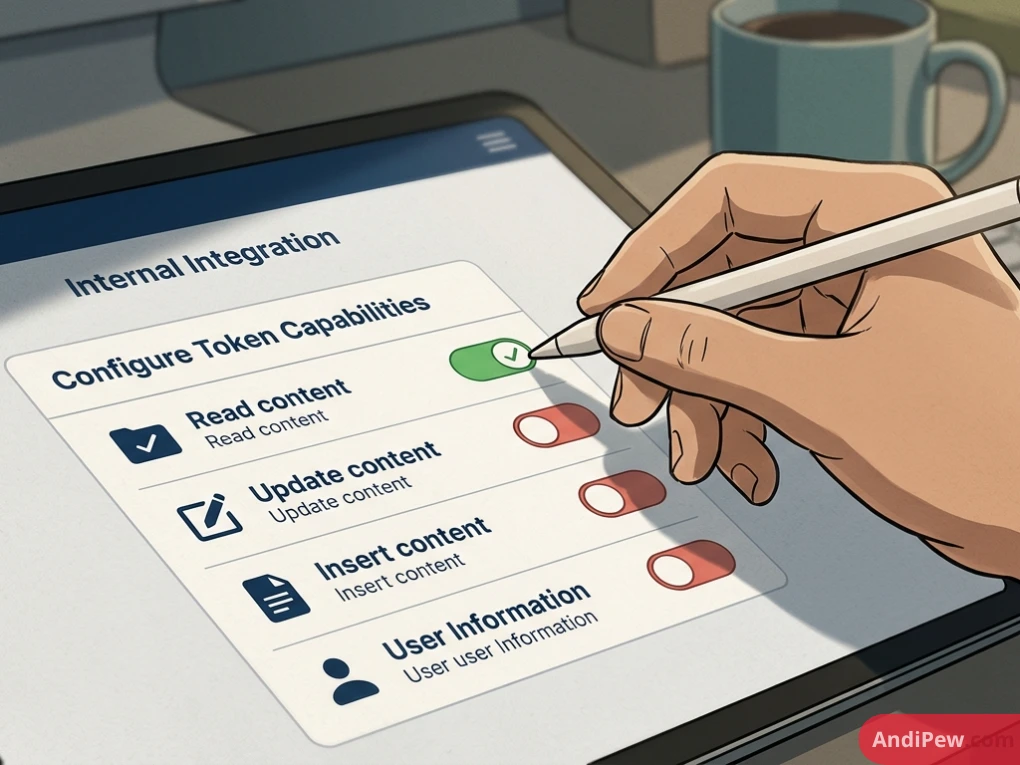
Step 3: Configure Token Capabilities
Under the Capabilities tab, apply the principle of least privilege by selecting only the permissions your application strictly requires:
- Read content: Allows reading page content and database schemas.
- Update content: Allows editing existing page text, blocks, and database values.
- Insert content: Allows creating new pages, blocks, and database rows.
- User Information: Choose whether the integration can read workspace user emails or basic member metadata.
Step 4: Secure Your Notion Integrations Token
Once saved, Notion generates an Internal Integration Secret (also referred to as the notion integrations key or notion integrations token, typically starting with ntn_ or secret_).
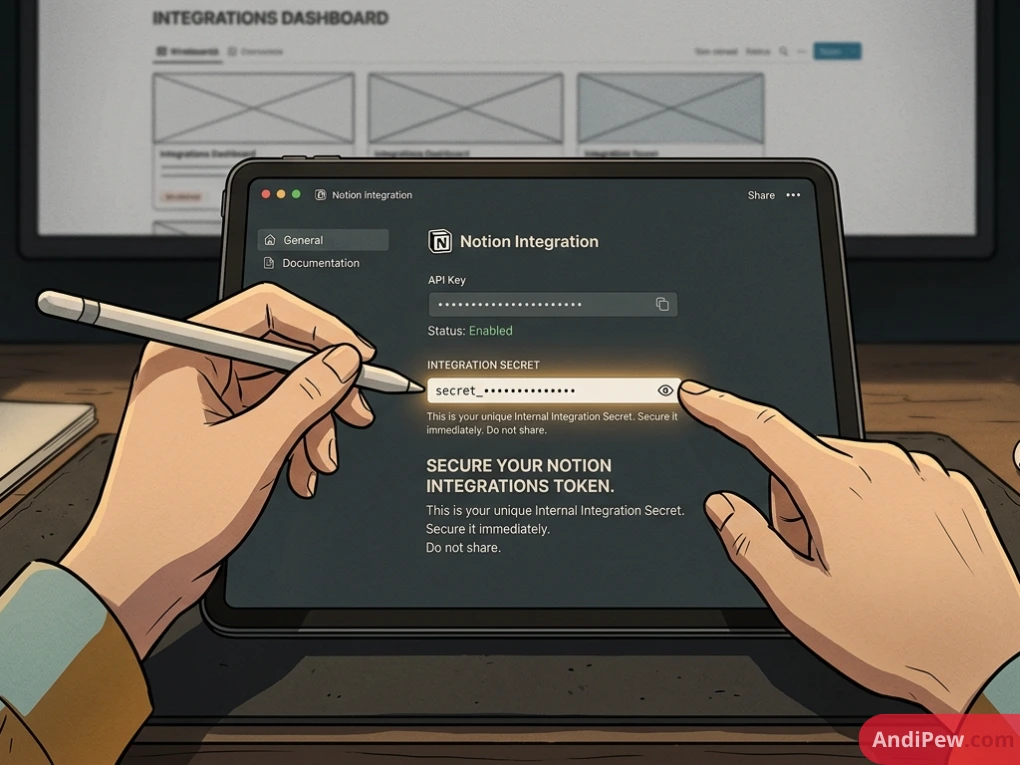
Security Warning: Treat your notion integrations api key like a database password. Never commit this token to public GitHub repositories or client-side front-end code. Always store it in server-side environment variables (
.env) or encrypted cloud secret managers.
Critical Step: Granting Page & Database Access to Your Integration
A frequent roadblock when working with the notion integrations developer API is the object_not_found (404) error.
By default, an internal integration cannot see any content in your workspace until you explicitly grant it access to specific parent pages or databases.
How to Connect a Page or Database to an Integration:
Open the specific page or Notion database you want the integration to read or modify.
Click the ••• (More options) icon in the top right-hand corner of the page.
Scroll down and click Add connections.
Search for your internal integration name in the dropdown list and confirm.
Inheritance Tip: When you connect an integration to a parent page, all nested child sub-pages and inline databases automatically inherit those connection permissions.
Practical Code Example: Querying a Database with the Notion API
Once your integration is authorized on a database, you can interact with it using official client libraries (available for JavaScript/TypeScript, Python, and raw cURL).
Here is a practical Node.js example using the @notionhq/client package:
import { Client } from "@notionhq/client";

// Initialize the client with your internal integration token
const notion = new Client({
  auth: process.env.NOTION_API_KEY,
});

async function fetchProjectTasks(databaseId) {
  try {
    const response = await notion.databases.query({
      database_id: databaseId,
      filter: {
        property: "Status",
        status: {
          equals: "In Progress",
        },
      },
      sorts: [
        {
          property: "Priority",
          direction: "descending",
        },
      ],
    });

    console.log(`Retrieved ${response.results.length} active tasks.`);
    return response.results;
  } catch (error) {
    console.error("Failed to query Notion database:", error.body || error.message);
  }
}

// Replace with your 32-character Database ID from the database URL
fetchProjectTasks("YOUR_DATABASE_ID_HERE");
The Top 10 Notion Integrations for Everyday Workflows
To help you choose the best pre-built tools, here is a curated notion integrations list across the most popular productivity categories:
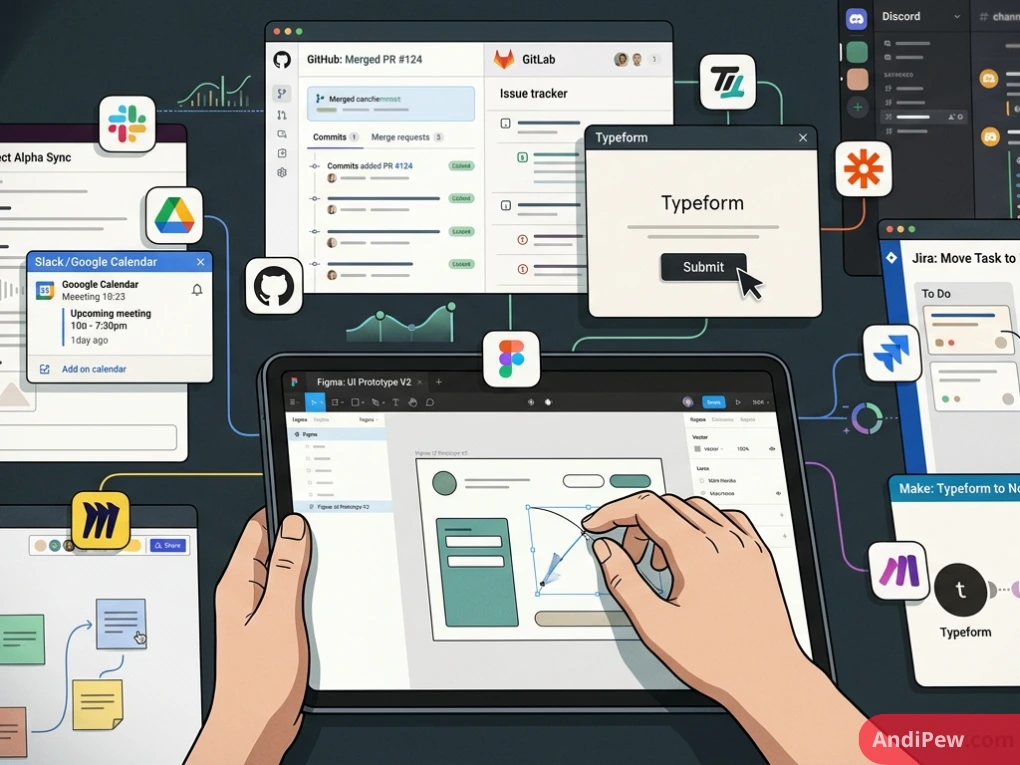
Slack
Sync Notion notifications directly to dedicated team channels. Get pinged when pages are edited, team members are mentioned, or database task statuses update.
Google Drive & Calendar
Embed interactive Google Docs, Sheets, and Slides directly within project pages. Sync your Google Calendar meetings into timeline views.
GitHub & GitLab
Link commits, pull requests, and code branches directly to task cards in your project roadmap. Keep engineering progress synchronized with product documentation.
Figma
Paste interactive, live-updating design canvas frames directly inside product spec documents without taking manual screenshots.
Typeform & Tally
Automatically capture inbound survey answers, contact requests, and job applications, converting every submission into a cleanly formatted row in your database.
Jira
Sync sprint tickets and epic roadmaps between Jira and Notion so executive leadership can monitor progress without needing full Jira software licenses.
Make (formerly Integromat)
Build complex visual automation pipelines with error handling, branching conditions, and multi-app data transformations.
Zapier
Connect Notion to thousands of SaaS applications in minutes using intuitive trigger-action templates.
Miro
Embed collaborative whiteboards and mind-mapping diagrams inside strategy documentation for asynchronous team workshops.
Discord
Broadcast community announcements, updates, or bug reports from your internal Notion workspace straight to your Discord community channels.
Best Practices for Securing Notion Integrations
Granting external applications access to your workspace requires proactive security hygiene:
- Adhere to the Principle of Least Privilege: When creating custom tokens, restrict capabilities strictly to what is required. If a script only reads data, do not enable write or user management permissions.
- Audit Active Connections Regularly: Review
Settings$\rightarrow$Connections$\rightarrow$Managequarterly to remove legacy apps or unseat departing team members’ authorized tokens. - Avoid Workspace-Wide Page Sharing: Connect integrations specifically to target parent folders or isolated databases rather than granting access to your entire company root workspace.
- Rotate API Keys Periodically: If an internal API token has been shared across multiple environments or used in test pipelines, refresh and replace the token directly from the notion integrations portal.
Frequently Asked Questions (FAQ)
Are Notion integrations free to use?
Yes. Creating custom internal integrations and using the Notion API is completely free on all Notion plans (including the Free Personal plan). However, third-party automation tools like Zapier or Make may charge subscription fees based on your monthly task volume.
Where can I find my Notion API key?
You can find and generate your Notion API key (Internal Integration Secret) by navigating to the Notion Developer Portal (notion.so/profile/integrations). Select your integration from the dashboard to view and copy the secret token.
Why is my integration returning an “Object Not Found” error?
An object_not_found error occurs when your integration does not have permission to view the target page or database. To fix this, navigate to the specific page in Notion, click the ••• menu in the top right, select Add connections, and choose your integration.
Can public members install integrations on Enterprise plans?
On Notion Enterprise plans, workspace administrators can configure connection management controls to restrict which integrations members are permitted to install or access.
What is the difference between an API token and a connection?
A connection is the high-level link established between Notion and an application. An API token (or key) is the specific cryptographic credential used by the software to authenticate and execute requests securely through that connection.
Connecting Notion to the rest of your software stack turns a simple document editor into an agile operating system. Whether you start by connecting Slack alerts or developing custom data scripts with the notion integrations api, automating your repetitive workflows gives hours of focus time back to your team.