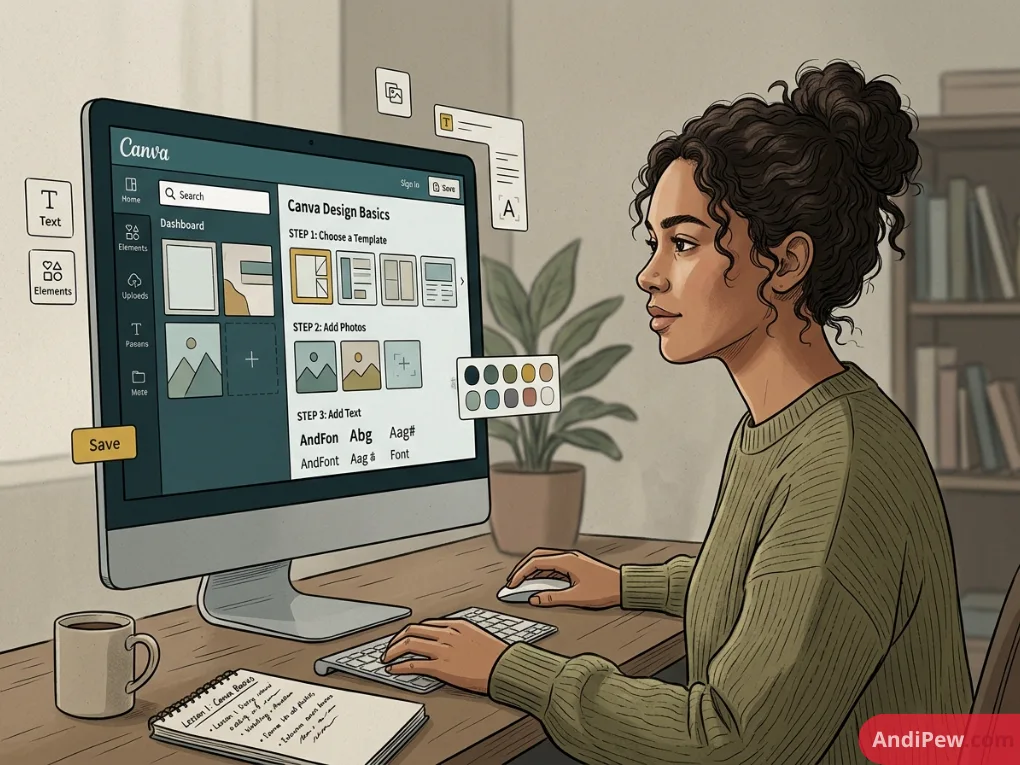
Creating professional-grade visual content once required years of software training, a mastery of complex shortcut keys, and costly desktop programs.
Today, that barrier has vanished.
Whether you are launching a business, managing social media channels, or preparing a presentation for stakeholders, mastering canva design basics gives you the power to transform raw ideas into visually compelling designs in minutes.
In this comprehensive guide, we will break down essential canva design fundamentals, explore how to leverage built-in canva design tools, apply timeless graphic design principles, and highlight the best free resources—including the popular Canva Design School basics courses—to elevate your design workflow.
What Is Canva and Why Should You Learn It?
Canva is a cloud-based graphic design platform engineered to democratize visual communication. Built around an intuitive drag-and-drop interface, Canva allows anyone to produce high-quality graphics without needing an extensive background in fine arts or digital illustration.
+-----------------------------------------------------------------------+
|                         CANVA AT A GLANCE                             |
|  * Drag-and-Drop Interface      * Cross-Device Cloud Syncing          |
|  * Millions of Free Elements    * Real-Time Team Collaboration        |
|  * Pre-Sized Smart Canvas       * Direct Social & Print Publishing    |
+-----------------------------------------------------------------------+
Key Advantages of Learning Canva Fundamentals
- Speed and Accessibility: Launch a pre-formatted canvas in seconds for any format (Instagram Reels, PDF brochures, pitch decks, infographics).
- Cross-Platform Synchronization: Work seamlessly across desktop browsers, tablets, and mobile devices.
- Cost Efficiency: Canva’s robust free tier provides all the essential features needed to create polished marketing collateral.
- Collaborative Capabilities: Share live editing links, leave real-time comments, and maintain brand consistency across distributed teams.
For more specialized walkthroughs on advanced design setups, explore our library of detailed canva tutorials.
Navigating the Canva Workspace: Core Design Tools Explained
To build confidence, you must first understand the layout of the Canva editor. When you open a design, the interface is split into three main regions: the Top Navigation Bar, the Left Sidebar Panel, and the Main Canvas.
+-----------------------------------------------------------------------+
| Top Menu: File | Resize | Undo/Redo | Share & Export Options          |
+---------------------+-------------------------------------------------+
| SIDEBAR:            |                                                 |
| - Templates         |                 MAIN CANVAS                     |
| - Elements          |                                                 |
| - Text              |             [ Your Active Work ]                |
| - Uploads           |                                                 |
| - Brand             |                                                 |
+---------------------+-------------------------------------------------+
The Left-Hand Sidebar (Your Creative Arsenal)
The left panel contains all the canva design tools required to build and customize your layout:
- Templates: Search thousands of ready-made designs categorized by document type, industry, theme, and aesthetic.
- Elements: Access geometric shapes, lines, frames, grids, vector illustrations, stickers, tables, and interactive charts.
- Text: Add pre-styled font combinations, headings, subheadings, and dynamic body text blocks.
- Uploads: Import your own assets, including SVG logos, high-resolution photography, audio tracks, and video clips.
- Draw & Apps: Access freehand sketching tools and third-party integrations (such as QR code generators, Google Drive, and AI-assisted mockup tools).
The Contextual Floating Toolbar
Whenever you select an element on the canvas, a contextual toolbar appears above it. This toolbar dynamically changes based on what is selected:
- For Text Elements: Controls font family, font size, text color, bold/italic styles, alignment, bulleted lists, letter spacing, and line height.
- For Photos & Shapes: Controls fill color, border styles, image filters, manual crop, flip orientation, and layer positioning (bringing elements forward or backward).
Canva Basic Design Principles Every Creator Must Know
Having access to great design tools is only half the battle. To create graphics that look polished, clear, and professional, you need to apply canva basic design principles.
Even the most beautiful template will look cluttered if you neglect foundational design rules.
       +---------------------------------------------------------+
       |             THE 5 PILLARS OF VISUAL DESIGN              |
       |                                                         |
       |  [Hierarchy]      --> Directs the viewer's eye          |
       |  [Contrast]       --> Ensures readable, bold elements   |
       |  [Balance]        --> Creates physical visual stability |
       |  [White Space]    --> Gives composition room to breathe |
       |  [Consistency]    --> Builds recognizable brand trust   |
       +---------------------------------------------------------+
Visual Hierarchy
Visual hierarchy organizes information so the viewer immediately understands what to read first, second, and third.
- Heading (H1 Level): Large, bold, high-contrast text stating the core message.
- Subheading (H2/H3 Level): Medium-sized text providing essential context or supporting information.
- Body Text: Small, highly legible text containing details, dates, or descriptions.
Contrast and Legibility
Contrast ensures that elements stand out cleanly from their background:
- Avoid light gray text on a white canvas or dark blue text on a black canvas.
- If you place text over a busy photograph, add a semi-transparent dark or light overlay behind the text box using the Shapes tool to maintain readability.
White Space (Negative Space)
White space is the empty area surrounding text, graphics, and margins.
- Never crowd the edges of your canvas. Keep all critical text at least 15–20 pixels inside the outer boundary.
- Resist the urge to fill every blank corner with icons or illustrations. Empty space makes your design look deliberate, organized, and sophisticated.
Balance and Alignment
Canva provides built-in alignment guides (magenta snapping lines) whenever you drag elements across the canvas.
- Use Tidy Up (found under Position > Space Evenly) to distribute multiple shapes or text boxes with identical mathematical spacing.
- Group related elements together so they behave as a unified visual cluster.
Step-by-Step Tutorial: Creating Your First Project from Scratch
Let’s apply these canva graphic design basics by building a promotional social media graphic from a completely blank canvas.
+-----------------------------------------------------------------------------------+
|                            STEP-BY-STEP PROJECT FLOW                              |
|                                                                                   |
|  [1. Canvas Setup] -> [2. Background] -> [3. Visual Anchor] -> [4. Typography]     |
|          |                                                            |           |
|          +----------------- [5. Align & Export] <---------------------+           |
+-----------------------------------------------------------------------------------+
Step 1: Select Your Dimensions
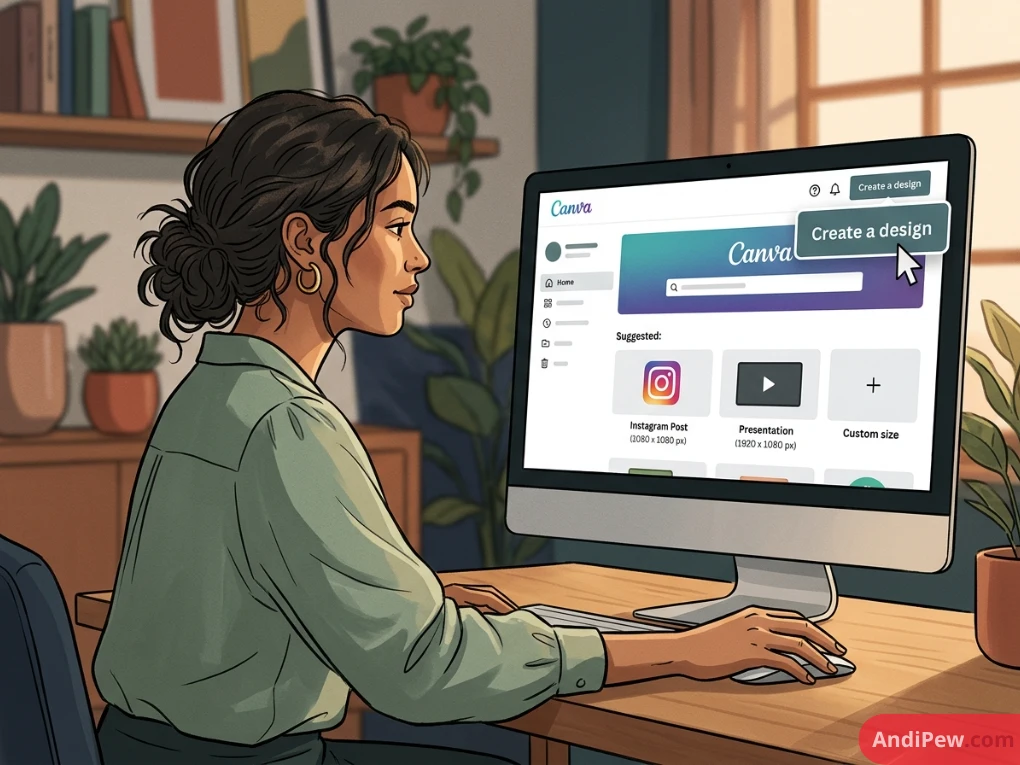
- On the Canva homepage, click Create a design in the upper-right corner.
- Choose a preset format (such as Instagram Post 1080 x 1350 px or Presentation 1920 x 1080 px), or select Custom size to enter exact pixel/millimeter dimensions.
Step 2: Establish the Background
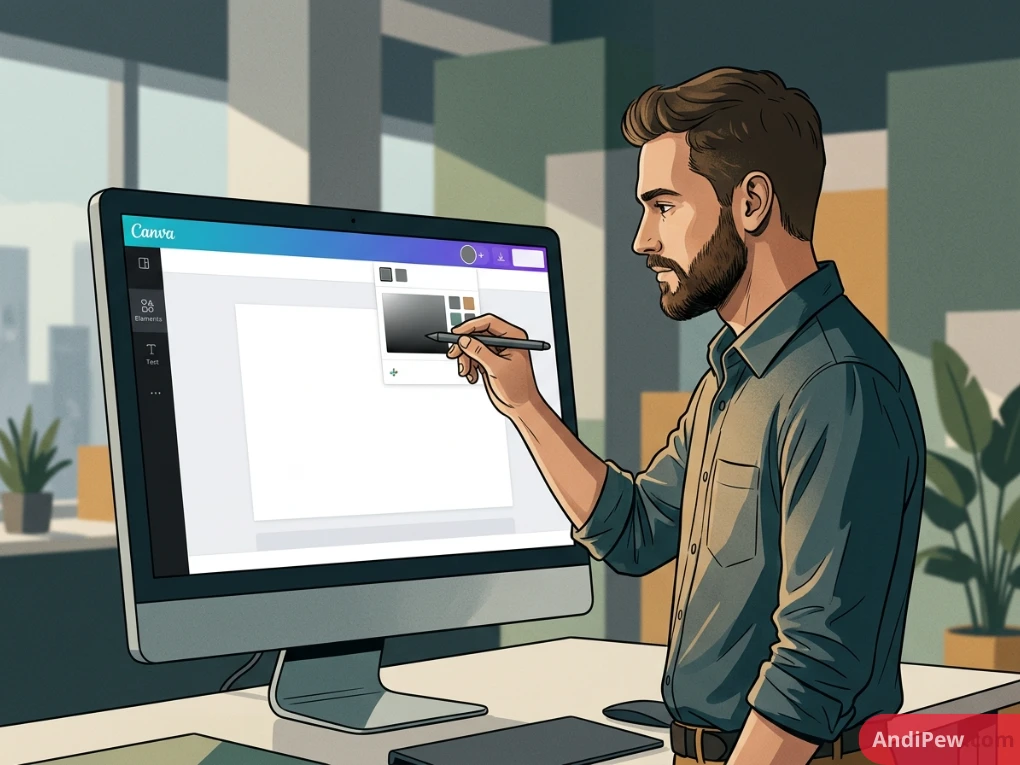
- Click the blank canvas to select it.
- Select the color tile in the top menu to set a solid background tone, or open the Elements tab to search for subtle background textures (e.g., “minimalist paper texture” or “soft gradient”).
- Keep the background subtle so it does not compete with your foreground message.
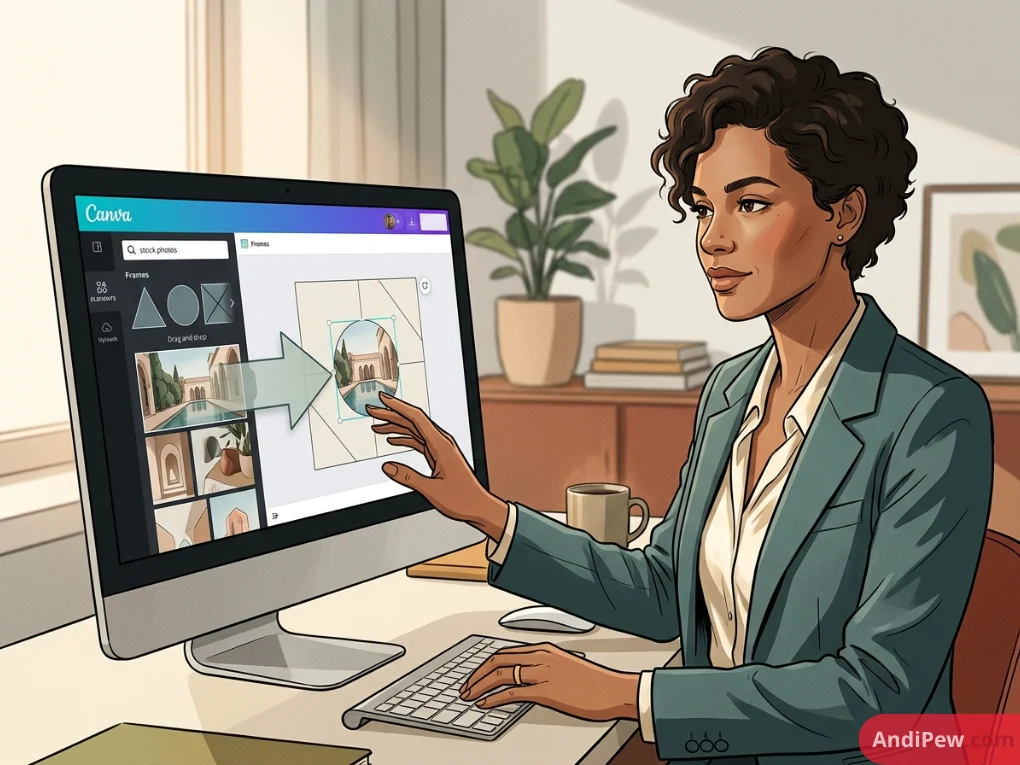
Step 3: Add a Visual Anchor (Image or Frame)
- Go to Elements > Frames. Select a geometric frame (like a clean circle or soft rectangle).
- Go to Uploads to add your own photo, or search Canva’s free stock photo library under Elements.
- Drag and drop the photo directly into the frame. Double-click the frame to adjust the crop and focus point.
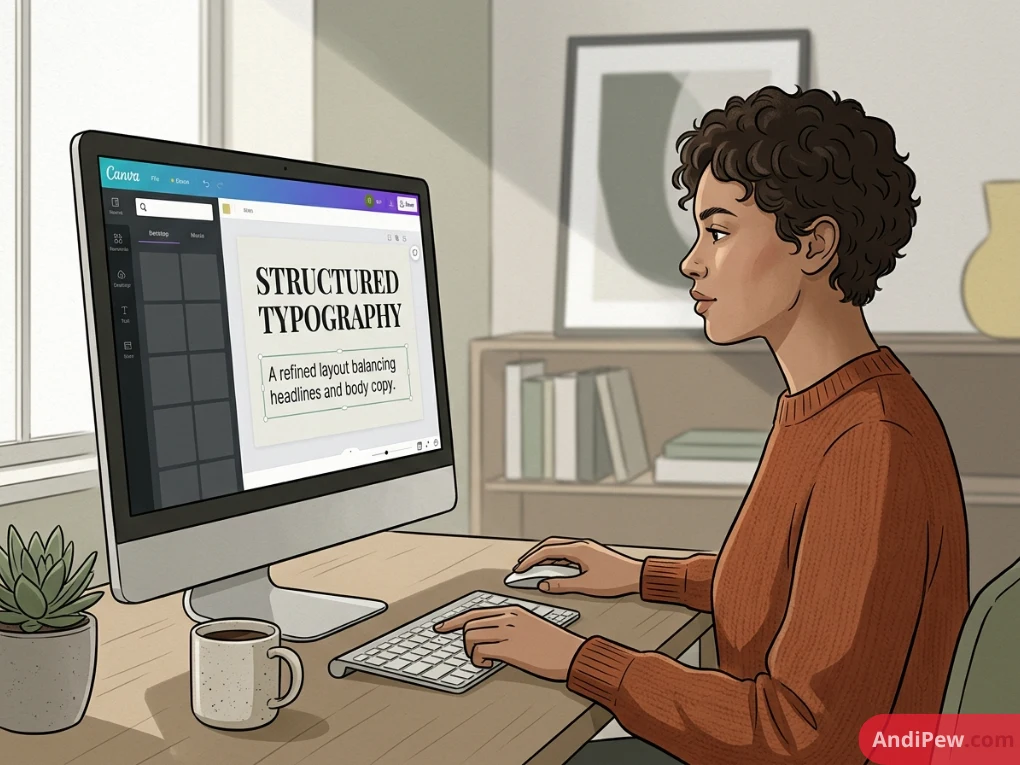
Step 4: Add Structured Typography
- Press
Ton your keyboard to instantly spawn a new text box. - Type your main headline. Select a clean, modern font (such as Montserrat, Playfair Display, or League Spartan).
- Add a secondary text box for your supporting details using a neutral, highly readable sans-serif font (such as Open Sans or Inter).
Step 5: Check Alignment and Export
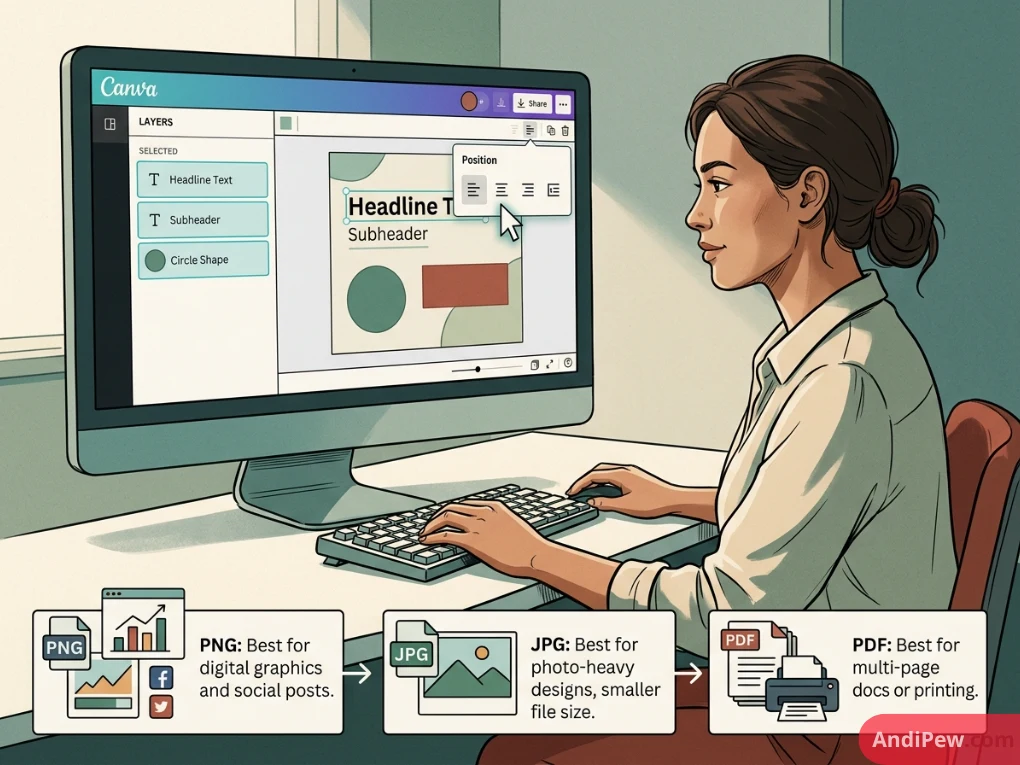
- Highlight all text and shape layers together.
- Click Position in the top toolbar and select Align Left or Center.
- Click the Share button in the top-right corner.
- Select Download and choose your preferred file format:
-
-
PNG: Best for digital graphics, social posts, and crisp vector typography.
-
JPG: Best for photo-heavy designs requiring smaller file sizes.
-
PDF Standard / Print: Best for multi-page documents, digital lead magnets, or commercial printing.
-
Free Canva Design School Courses to Level Up Your Skills
If you want structured learning paths, Canva offers an official, completely free educational hub called Canva Design School. These courses feature short, bite-sized video lessons taught by professional designers.
+-------------------------------------------------------------------------+
|                  CANVA DESIGN SCHOOL: POPULAR PATHWAYS                  |
+------------------------------------+------------------------------------+
| Course Name                        | Core Skill Taught                  |
+------------------------------------+------------------------------------+
| Graphic Design Basics              | Color theory, balance, hierarchy   |
| Visual Design Basics               | Composition, typography, layout    |
| Branding Basics                    | Brand kits, palettes, voice        |
| Social Media Basics                | Campaign planning, formats, trends |
+------------------------------------+------------------------------------+
Canva Design School Graphic Design Basics (Free)
The canva design school graphic design basics free course is the ideal starting point for beginners. It strips away complex jargon and breaks down core visual rules into practical exercises:
- Understanding mood, contrast, and color wheels.
- Combining fonts without creating visual discord.
- Structuring layouts so they guide the viewer’s eye naturally.
Canva Design School Branding Basics
For entrepreneurs and freelancers, the canva design school branding basics module covers:
- How to establish a memorable color palette (primary, secondary, and neutral accent tones).
- Selecting brand-safe fonts that remain legible across print and digital media.
- Maintaining a consistent visual identity across every customer touchpoint.
Canva Design School Social Media Basics
The canva design school social media basics curriculum focuses on:
- Adapting one core visual into multiple aspect ratios (1:1 square, 9:16 vertical story, 16:9 banner).
- Designing thumb-stopping visual hooks that drive engagement.
- Organizing multi-slide carousel presentations that keep viewers scrolling.
Enrolling in a formal canva design basics course on the platform is completely free and requires only a standard Canva account.
Canva Free vs. Canva Pro: Feature Comparison
A common question among beginners is whether they can create professional work using the free version of Canva, or if upgrading to Canva Pro is necessary.
+-------------------------------------------------------------------------+
|                 CANVA FREE VS. CANVA PRO FEATURE MATRIX                 |
+--------------------------+-----------------------+----------------------+
| Feature                  | Canva Free            | Canva Pro            |
+--------------------------+-----------------------+----------------------+
| Template Library         | 250,000+ templates    | 610,000+ templates   |
| Stock Photos & Vectors   | 1+ Million free items | 100+ Million premium |
| Background Remover       | Not included          | 1-Click AI Tool      |
| Magic Resize             | Manual resizing       | Instant Auto-Resize  |
| Brand Kit Management     | Limited (1 palette)   | Unlimited Brand Kits |
| Cloud Storage            | 5 GB                  | 1 TB                 |
| Custom Font Uploads      | No                    | Yes                  |
+--------------------------+-----------------------+----------------------+
Verdict for Beginners
Start with the free version. It provides all the tools, shapes, grids, and typography controls you need to master canva design fundamentals. Once your design volume increases—or you require one-click tools like Background Remover and automated Magic Resizing—upgrading to Canva Pro becomes a logical productivity investment.
Common Canva Design Mistakes (and How to Fix Them)
Even when working with high-quality templates, beginners often fall into predictable design traps. Here is how to audit your graphics before publishing them:
+-------------------------------------------------------------------------+
|                          DESIGN PITFALL AUDIT                           |
|                                                                         |
|  [X] Mistake: Too Many Fonts      --> [O] Fix: Stick to 2 Pairings      |
|  [X] Mistake: Poor Margin Spacing --> [O] Fix: Turn on Rulers & Guides  |
|  [X] Mistake: Low Contrast Text   --> [O] Fix: Use Solid Shapes Behind  |
|  [X] Mistake: Stretched Images    --> [O] Fix: Always Use Frames/Grids  |
+-------------------------------------------------------------------------+
Using Too Many Font Families
- The Mistake: Using 4 or 5 different typefaces in a single graphic.
- The Fix: Stick to a maximum of two font pairings—one bold display or serif font for headlines, and a neutral, legible sans-serif for subtitles and body text.
Ignoring Margins and Bleed
- The Mistake: Placing text right up against the edge of the canvas, causing it to look cramped or get cropped on mobile displays.
- The Fix: Go to File > View settings > Show margins. Keep all essential copy inside the safety margin box.
Over-Decorating with Clashing Elements
- The Mistake: Adding stars, glitter, multiple sticker styles, and clashing vectors that distract from the main message.
- The Fix: Every element on the canvas must serve a clear purpose. If an icon does not clarify or strengthen your message, delete it.
Distorting Aspect Ratios
- The Mistake: Manually dragging the top or side handles of an image, stretching faces and shapes unnaturally.
- The Fix: Always hold shift or scale images proportionally from the corner handles, or drop photos into a pre-made Frame element.
Frequently Asked Questions (FAQs)
Is Canva completely free to use for commercial projects?
Yes. Canva Free allows you to create and download designs for personal and commercial use, provided you follow their Content License Agreement (e.g., you cannot sell standalone Canva stock photos or unaltered templates as your own stock assets).
What are the best Canva fonts for clean, modern designs?
Top free modern fonts include:
- Headings: League Spartan, Montserrat, Playfair Display, Anton, Oswald.
- Body Copy: Inter, Open Sans, Lato, Roboto, Poppins.
How do I learn Canva design basics quickly?
The fastest way to learn canva design is to complete the free Canva Design School graphic design basics video series while recreating 3–5 real-world projects from scratch (such as a business card, a social media post, and a slide presentation).
Can I upload my own fonts to Canva?
Custom font uploads are available exclusively to Canva Pro, Canva for Teams, and Canva for Education accounts through the Brand Kit panel. Free accounts have access to hundreds of pre-installed open-source fonts.
Conclusion
Mastering canva design basics is not about memorizing complex design theory—it is about understanding how to use visual hierarchy, balanced layouts, clean typography, and purposeful white space to communicate your message effectively.
By applying these canva design fundamentals and taking advantage of free training inside Canva Design School, you can create high-impact graphics that captivate your audience, build brand authority, and save hours of production time.