Typography forms the backbone of effective visual communication. Whether you are creating a quick social media graphic, a pitch deck, an invoice, or a high-impact marketing poster, knowing how to add, format, and style text quickly in Canva is an essential design skill.
Canva makes graphic design accessible to everyone. However, moving beyond basic text entry to mastering font pairing, text effects, layering, responsive documents, and mobile editing requires a structured approach.
In this comprehensive guide, you will learn how to add text in Canva across every device, optimize text placement across various formats, apply advanced styling, and avoid common design mistakes.
The Quick-Start Method: How to Add Text in Canva on PC & Mac
If you are working on a desktop browser or the Canva desktop application, adding text to any design takes just seconds.
[Canva Left Sidebar] ➔ Click "Text" (or press 'T' on your keyboard) ➔ Select Text Type ➔ Type Your Copy
Step 1: Open Your Design
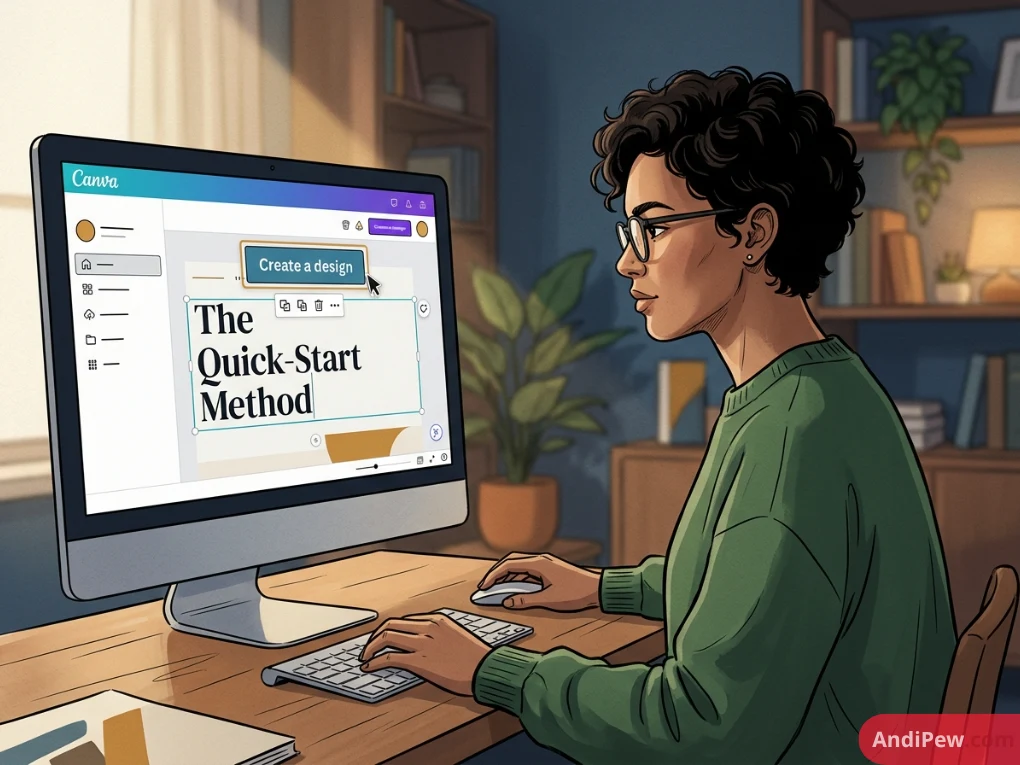
Log into your Canva account and open an existing project or click Create a design in the top right corner to start with custom dimensions or a preset canvas.
Step 2: Access the Canva Text Tool
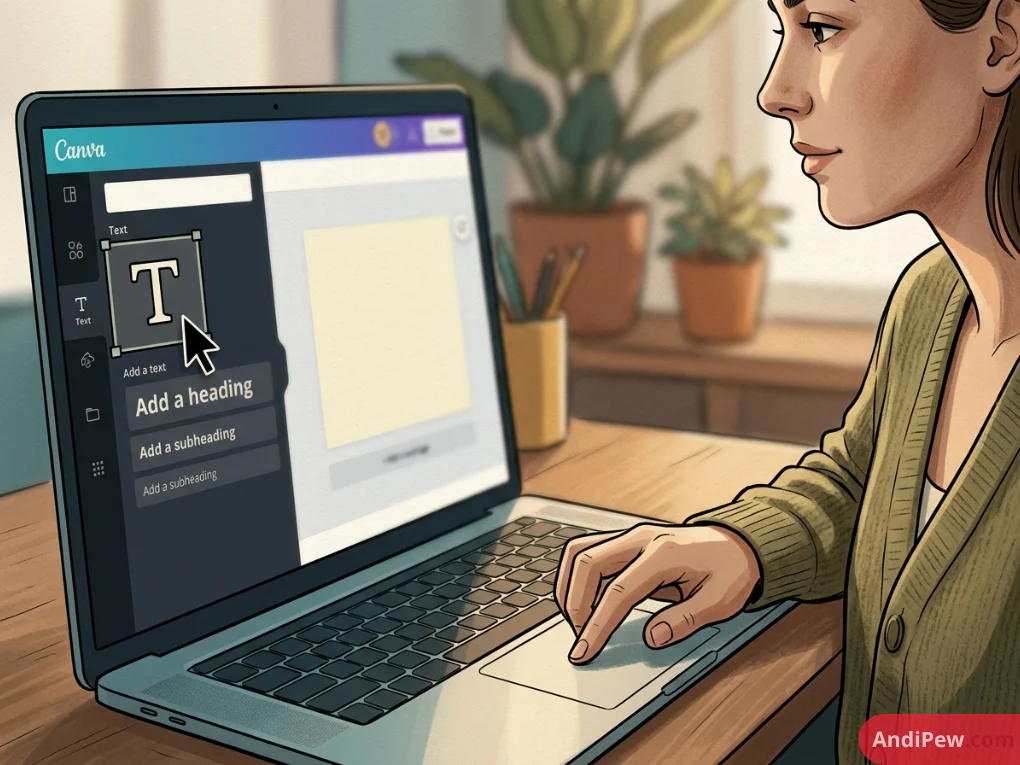
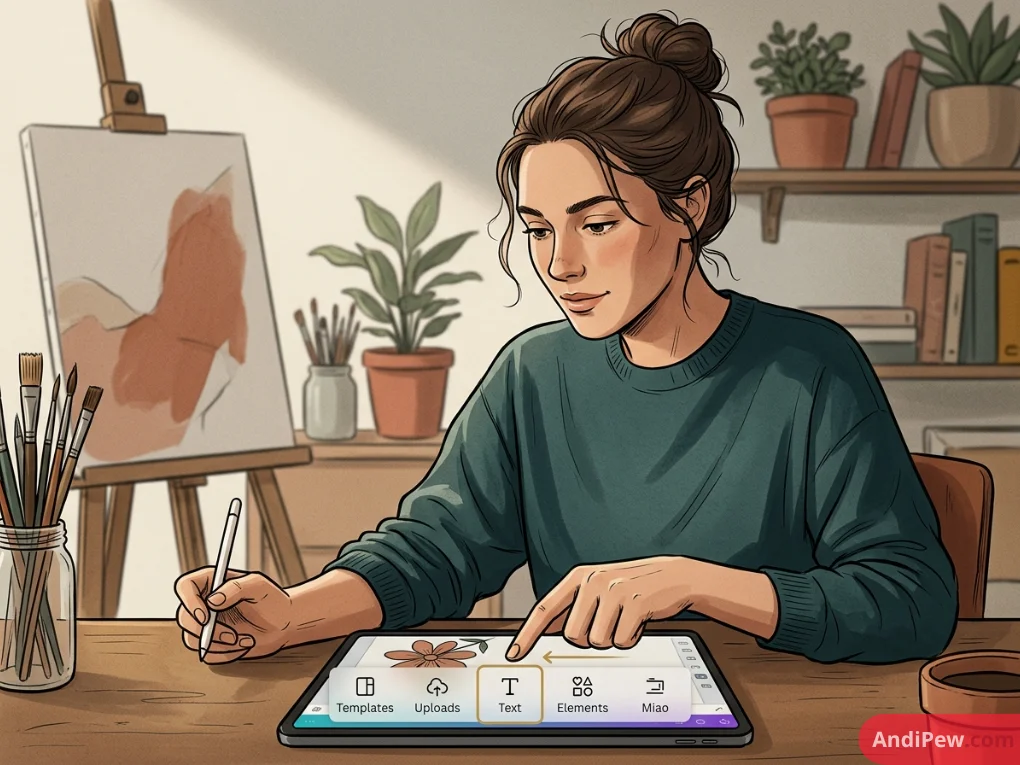
Look at the dark sidebar on the left side of your screen. Click the Text icon (represented by the letter T).
Step 3: Choose Your Text Style
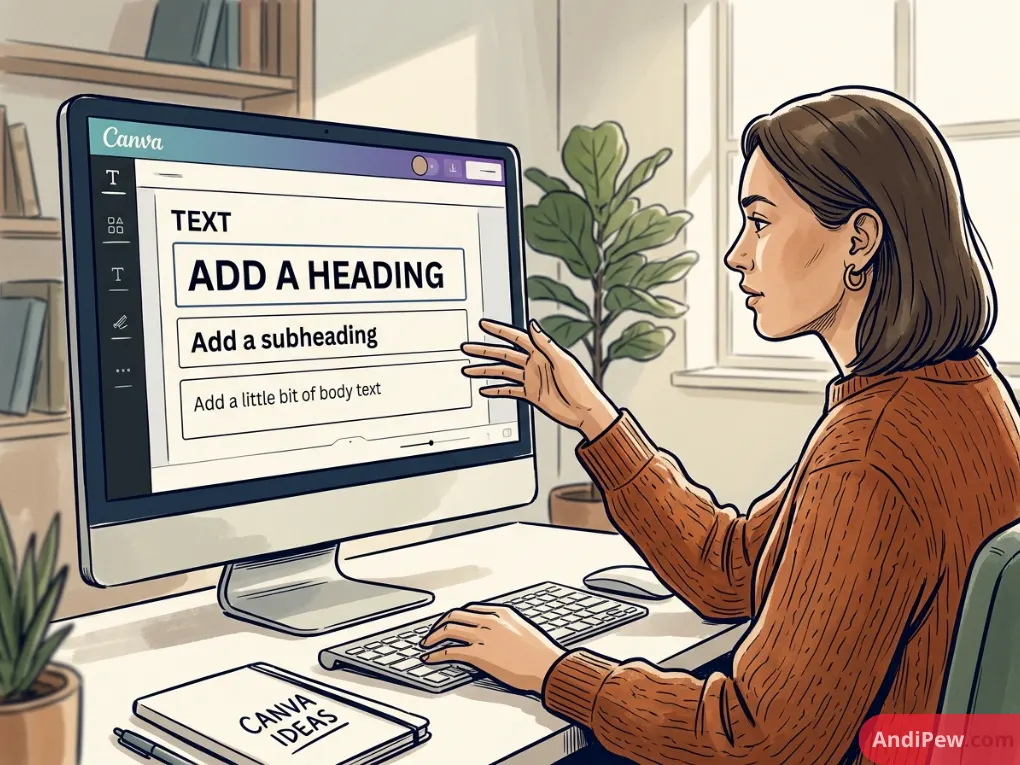
At the top of the Text panel, Canva offers three primary default sizing options:
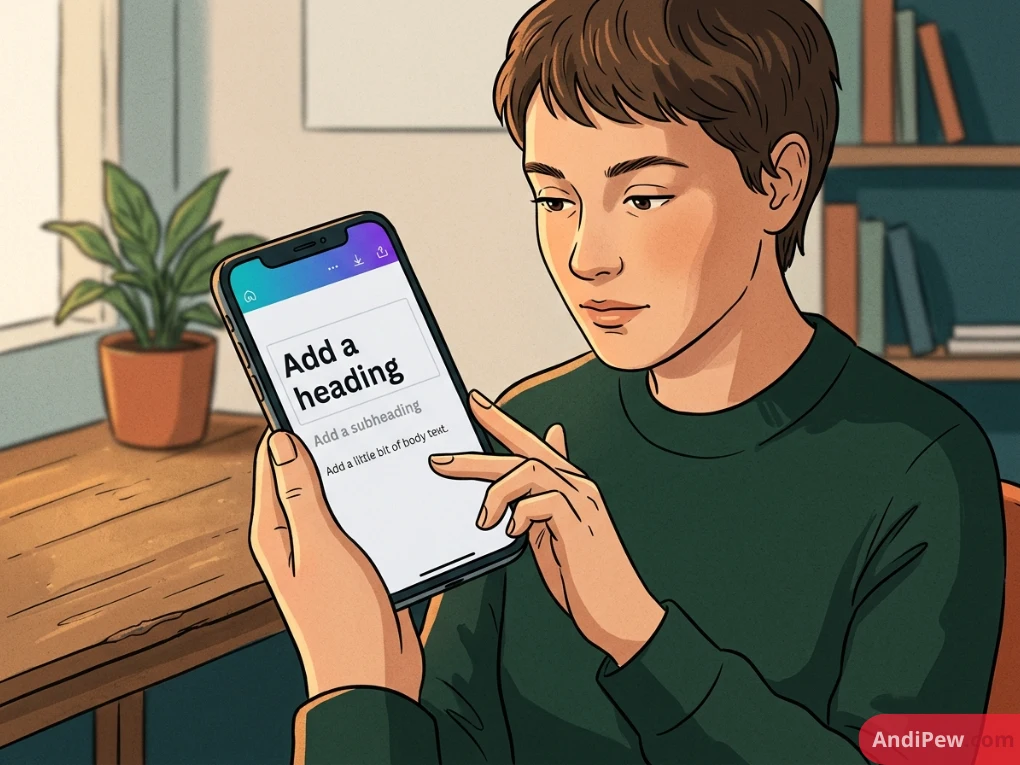
- Add a heading: Large, bold text designed for primary titles.
- Add a subheading: Medium-sized text ideal for section headers, captions, or supporting titles.
- Add a little bit of body text: Standard-sized text formatted for paragraphs and longer descriptions.
Click on any of these options to drop a placeholder text box directly onto the center of your canvas.
Step 4: Enter and Edit Your Copy
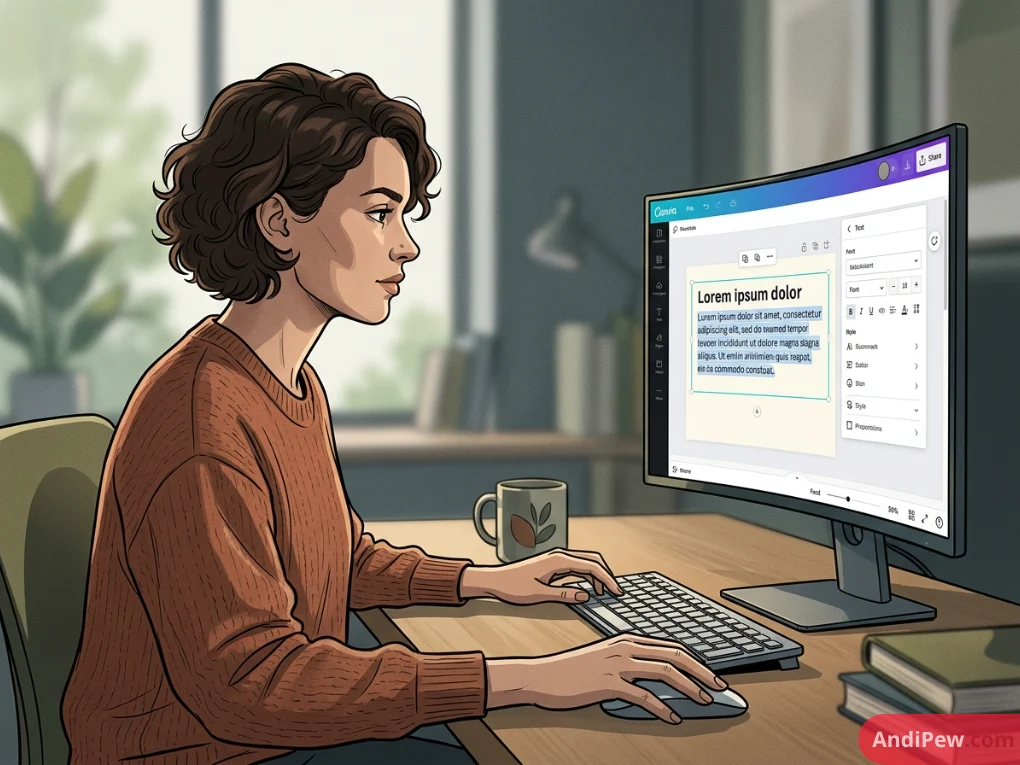
Double-click inside the new text box to highlight the default placeholder text. Type your desired content. Click anywhere outside the bounding box to finalize your input.
Keyboard Shortcuts for Instant Text Editing
Speed up your workflow using built-in Canva keyboard shortcuts on PC and Mac:
| Action | Windows Shortcut | Mac Shortcut |
| Quickly Add Text Box | T |
T |
| Bold Text | Ctrl + B |
Cmd + B |
| Italicize Text | Ctrl + I |
Cmd + I |
| Underline Text | Ctrl + U |
Cmd + U |
| Uppercase / Lowercase Toggle | Ctrl + Shift + K |
Cmd + Shift + K |
| Left Align Text | Ctrl + Shift + L |
Cmd + Shift + L |
| Center Align Text | Ctrl + Shift + C |
Cmd + Shift + C |
| Right Align Text | Ctrl + Shift + R |
Cmd + Shift + R |
| Justify Text | Ctrl + Shift + J |
Cmd + Shift + J |
| Increase Font Size (by 1pt) | Ctrl + Shift + . |
Cmd + Shift + . |
| Decrease Font Size (by 1pt) | Ctrl + Shift + , |
Cmd + Shift + , |
| Duplicate Selected Text Box | Ctrl + D |
Cmd + D |
| Group Elements | Ctrl + G |
Cmd + G |
How to Add Text in the Canva Mobile App (iPhone & Android)
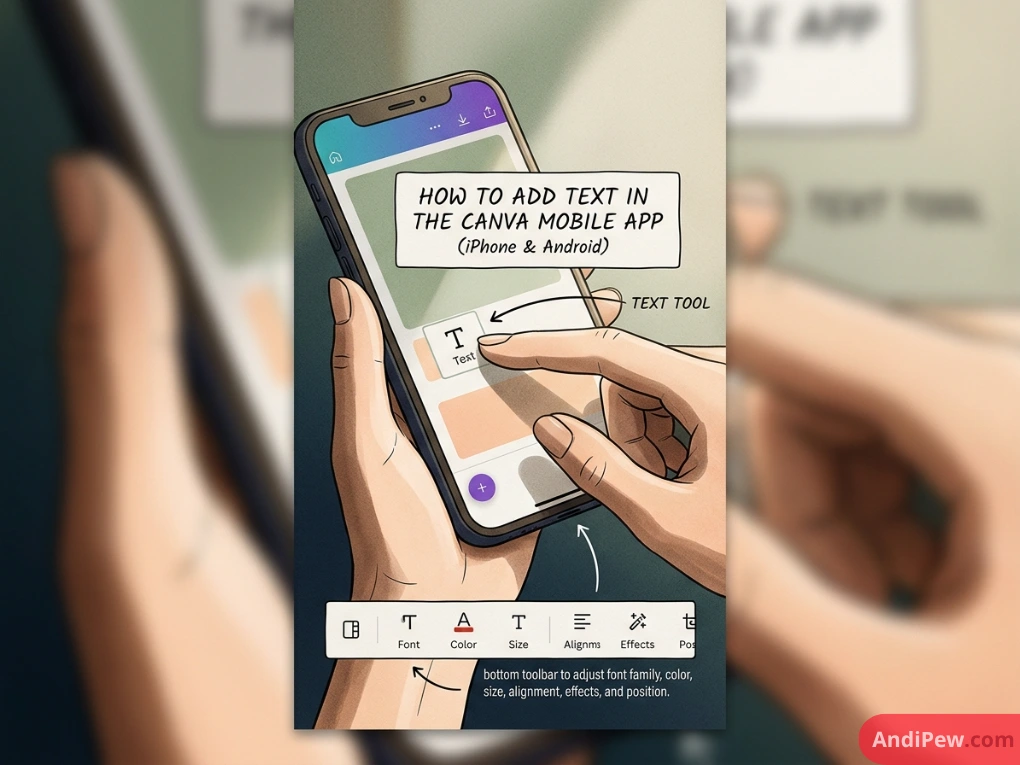
Designing on the go requires a slightly different interface navigation. Whether you are learning how to add text in Canva on iPhone or an Android smartphone, the Canva mobile app maintains consistent functionality.
[Mobile Canvas View] ➔ Tap bottom-left "+" icon ➔ Tap "Text" tab ➔ Select Heading/Body Style ➔ Type & Format via Toolbar
Step-by-Step Mobile Instructions:
- Open the Canva mobile app and load your project.
- Tap the purple “+” (Add) button located in the bottom-left corner of your screen.
- In the bottom menu that appears, swipe horizontally and tap the Text tab.
- Select Add a heading, Add a subheading, or Add a little bit of body text. Alternatively, scroll down to choose a pre-designed Font Combination.
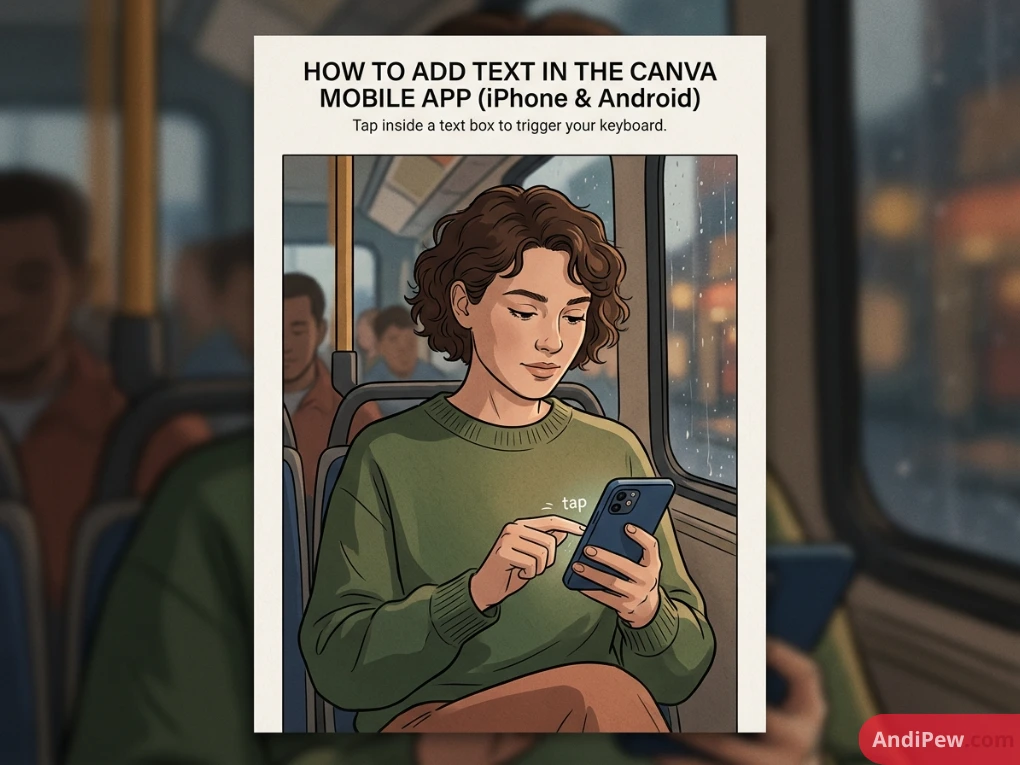
- A text element will appear on your canvas. Tap inside the box to trigger your mobile keyboard and enter your text.
- Use the bottom toolbar to adjust font family, color, size, alignment, effects, and position.
- Tap the down-arrow or anywhere outside the canvas to collapse the keyboard.


Adding Text to Specific Canvas Formats
Different design media demand different text behaviors. Here is how to handle text across Canva’s core asset formats.
How to Add Text in Canva Images & Photos
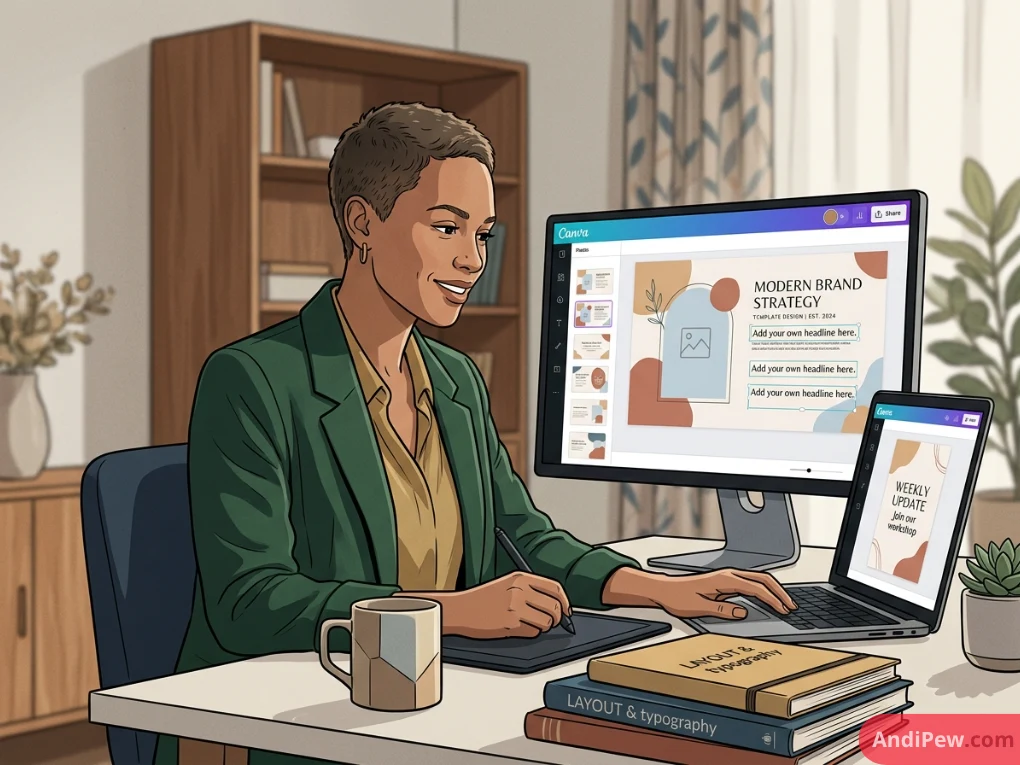
Adding clear, readable typography over photography is one of the most common graphic design tasks.
- Upload or select your picture via the Uploads or Elements > Photos tab.
- Drag the image onto the canvas so it snaps into place as the background.
- Press
Ton your keyboard to generate a text overlay. - If the photograph has high contrast or busy details, ensure readability by:
-
-
Adding a semi-transparent rectangle shape behind the text (
Rshortcut). -
Applying a Lift or Shadow text effect.
-
Adjusting the image brightness or transparency via the top toolbar (Edit Image > Adjust).
-
How to Add Text in Canva Templates
Canva templates come pre-populated with curated typography. You can either edit existing template text or add new layers.
- To edit existing template text: Double-click the text box you wish to modify, delete the placeholder words, and insert your own.
- To add brand-new text to a template: Check our detailed guide on how to use Canva templates to ensure you maintain proper layer structure without breaking locked template groups. Click the canvas background and press
Tto add supplementary elements.
How to Add Text in Canva Presentations & PPT Decks
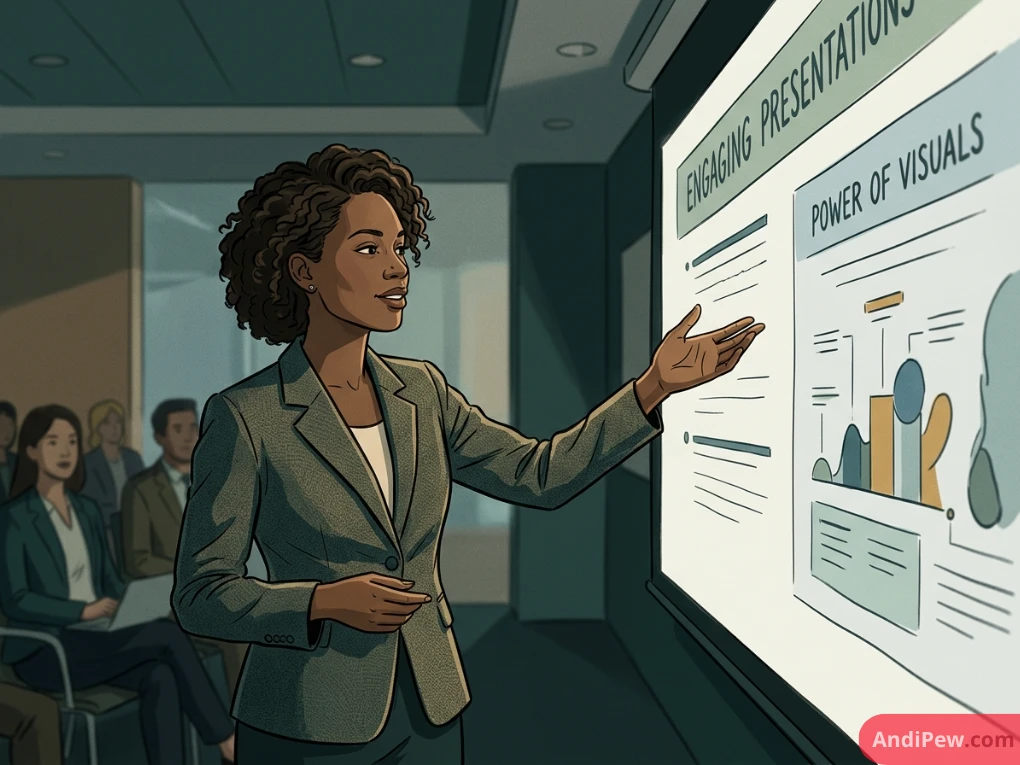
Presentations require distinct hierarchy across slides. When learning how to add text in Canva presentation slides:
- Open your presentation canvas (16:9 widescreen or 4:3 standard).
- Use the Text menu to define distinct headline containers and body text blocks.
- Maintain uniform layout boundaries across all slides by enabling guides: Go to File > View settings > Show rulers and guides.
- To export your deck for Microsoft PowerPoint, navigate to Share > More > Microsoft PowerPoint (.pptx).
How to Add Text in Canva Documents (Canva Docs)
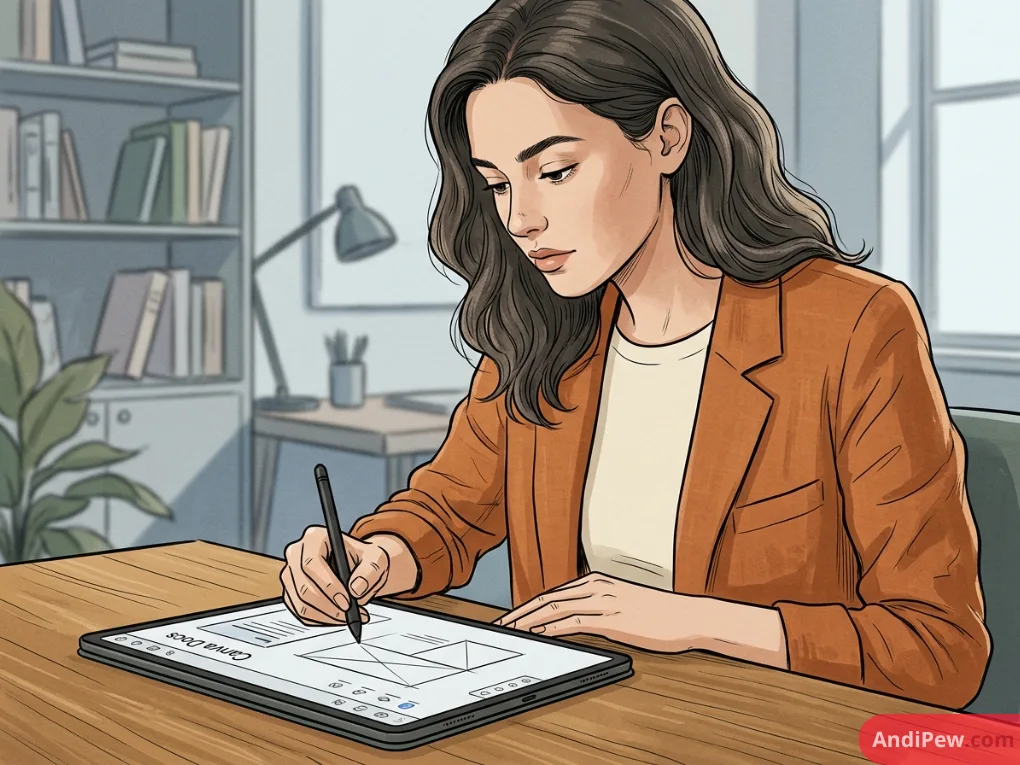
Unlike freeform graphic canvases, Canva Docs functions like a modern, responsive word processor.
- Click directly anywhere on the page to begin typing immediately.
- Type
/(Slash Command) on an empty line to bring up the Magic / Formatting Menu. - Select from Heading 1, Heading 2, Heading 3, Body, Bullet list, or Numbered list to insert structured typography blocks.
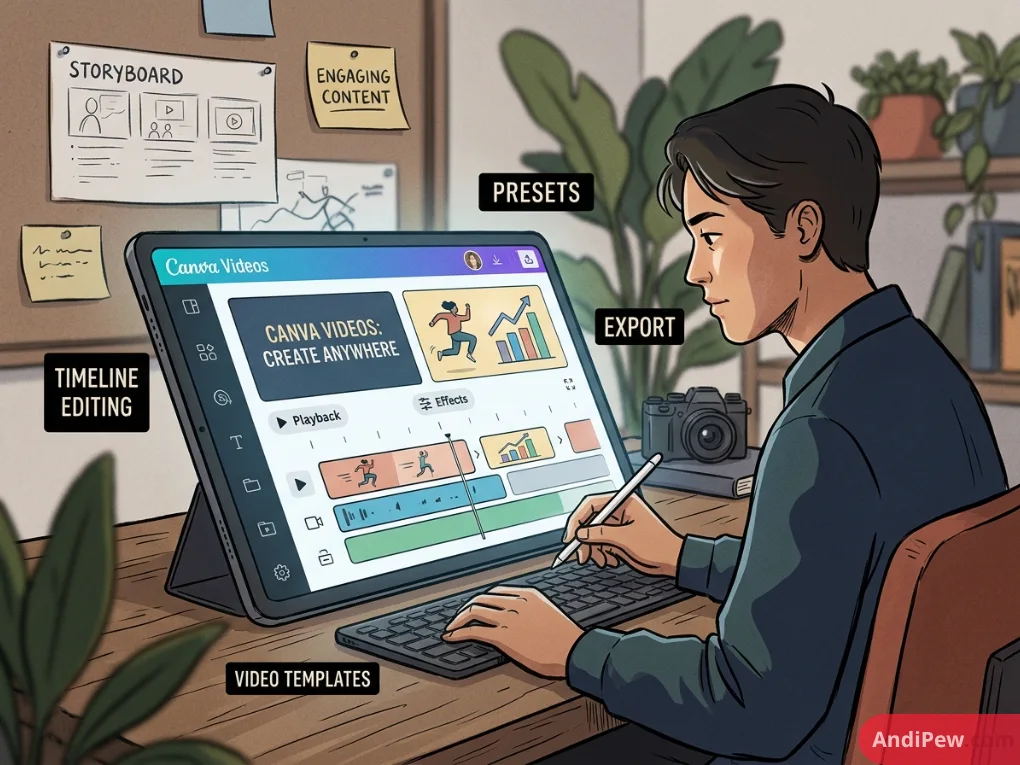
How to Add Text in Canva Videos
Adding kinetic text and captions to video content requires timeline synchronization:
- Add your video clip to the timeline.
- Press
Tto place your text overlay on the current frame. - Right-click the text box on the canvas and select Show timing.
- A dedicated text track will appear above your main video timeline. Drag the left and right purple handles of the text block to control exactly when the text appears and disappears.
- Click Animate on the top toolbar to apply motion presets like Typewriter, Fade, Ascend, or Breathe.
How to Add Text in Canva Posters
Poster design demands strong visual hierarchy that captures attention from a distance:
- Select a standard Poster dimension (e.g., 18 × 24 inches or A3 format).
- Add a strong primary headline with high-contrast display fonts.
- Add supporting details (date, venue, call to action) in clean, sans-serif body fonts.
- Ensure adequate margins: Go to File > View settings > Show print bleed and margins to keep text away from cut lines.
Mastering the Canva Text Toolbar: Essential Styling Options
Once a text box is placed on your canvas, clicking on it reveals the Text Contextual Toolbar across the top of your workspace.
+---------------------------------------------------------------------------------------------------+
| Font: [ Open Sans v ] | Size: [ 32 ] | Color: [ A ] | B | I | U | aA | Align | List | Spacing | Effects |
+---------------------------------------------------------------------------------------------------+
Font Selection & Management
Click the font dropdown menu on the left side of the top toolbar. You can browse thousands of categorized typefaces, including Sans Serif, Serif, Display, Handwriting, and Corporate styles. If you have a Canva Pro subscription, you can upload custom brand OTF/TTF files via the Brand Kit.
Font Size & Color Adjustment
- Size: Type an exact point value into the number box, click the
+/–buttons, or drag any of the four corner circles of the text box. - Color: Click the Text Color icon (represented by an “A” over a color bar). Choose from default palettes, your Brand Kit colors, photo-extracted color palettes, or enter a custom Hex code via the
+color picker.
Text Formatting & Letter Case
- B (Bold) and I (Italics): Toggle standard emphasis styles (note that some stylized display fonts do not have native bold or italic variants).
- aA (Uppercase Toggle): Instantly switch between your typed case and all-caps without retyping your text.
- Alignment: Click repeatedly to cycle through Left, Center, Right, and Justified alignment.
- Lists: Cycle through bulleted lists, numbered lists, or plain paragraphs.
Letter Spacing & Line Spacing
Click the Spacing icon (horizontal and vertical arrows next to three lines) to fine-tune layout proportions:
- Letter spacing (Tracking): Adjust the distance between individual characters. Expanding letter spacing works well for all-caps subtitles; tightening it helps large display headlines fit compactly.
- Line spacing (Leading): Adjust the vertical distance between lines of text in a paragraph. A value between 1.3 and 1.5 is standard for optimal readability.
- Anchor text box: Lock the box expansion anchor to the top, center, or bottom so the text box expands in your intended direction as you type.
Advanced Canva Text Effects & Visual Enhancements
Transform plain text into eye-catching graphic elements using the Effects panel. With your text selected, click Effects in the top toolbar to reveal the style panel on the left.
[Select Text] ➔ Click "Effects" Toolbar ➔ Choose Style (Shadow, Glow, Curve) ➔ Fine-Tune Sliders
       PLAIN TEXT                CURVED TEXT                HOLLOW / OUTLINE
   +-----------------+        . - ' ' ' - .              +-----------------+
   |    DISCOVER     |      /   DISCOVER    \            |   D I S C O V E R   |  (Outlined
   +-----------------+     |                 |           +-----------------+   stroke only)
                            \               /
                              ' - . . . - '
Text Styles Breakdown
-
Shadow: Adds a customizable drop shadow behind your letters. You can adjust:
-
Offset: Distance of the shadow from the text.
-
Direction: 360-degree angle of the light source.
-
Blur: Softness of the shadow edge.
-
Transparency: Opacity level of the shadow.
-
Color: Shadow hue (great for dark-on-light or colored glow effects).
-
- Lift: Creates a soft, circular ambient shadow behind the text. This is the fastest way to make dark text readable over varied background photos.
- Hollow: Converts solid letter fills into outlined strokes with adjustable border thickness.
- Splice: Combines an outline stroke with an offset shadow color for a vintage, retro-pop aesthetic.
- Outline: Adds an external border around each character. Ideal for YouTube thumbnails, stickers, and bold marketing graphics.
- Echo: Creates multiple cascading drop-shadow layers, producing a 3D visual echo effect.
- Glitch: Simulates digital chromatic aberration with red/cyan or purple/green color splits.
- Neon: Imparts an illuminated, vibrant glow to characters.
How to Curve Text in Canva
Curved text is perfect for circular badges, logos, seals, and rounded social badges.
- Select the text box you want to bend.
- Click Effects in the top toolbar.
- Scroll to the bottom of the Effects sidebar under Shape.
- Click Curve.
- Adjust the Curve Slider:
-
-
Drag to the right (positive numbers) to curve the text downward into a standard arch/circle.
-
Drag to the left (negative numbers) to curve the text upward in an inverted smile shape.
-
Set the slider to
100or-100for full half-circle arcs.
-
Typography Best Practices & Font Pairing Guide
A design’s visual hierarchy determines whether a reader absorbs your message or scrolls past it. Applying sound typographic principles ensures your Canva designs look clean, balanced, and professional. Explore our foundational Canva design basics guide for broader visual composition techniques.
The Three Golden Rules of Canva Typography
- Limit Your Project to 2–3 Fonts: Using too many fonts creates visual clutter. Stick to one display/headline font, one clean body font, and an optional accent font (such as a script).
- Establish Clear Visual Hierarchy: The viewer’s eye should naturally travel from primary headline (largest, boldest) to subheadings (medium size) to body copy (smallest, cleanest).
- Maintain High Color Contrast: Ensure strong tonal separation between text and backgrounds. Dark text on light backgrounds or bright white text over dark, filtered images ensures accessibility across screens.
Curated Canva Font Pairing Cheat Sheet
| Design Category | Header Font (Display) | Body Font (Readable) | Mood / Vibe |
| Modern Corporate | Montserrat (Bold) | Open Sans | Clean, trustworthy, professional |
| Editorial & Luxury | Playfair Display | Lato | Elegant, sophisticated, classic |
| Creative & Bold | League Spartan | Libre Baskerville | High-impact, authoritative, modern |
| Warm & Friendly | Quicksand (Bold) | Nunito | Approachable, soft, casual |
| Tech & Minimalist | Anton / Bebas Neue | Roboto | Direct, strong, modern digital |
| Artisanal & Craft | Apricots / Brittany | Montserrat Light | Stylish, organic, boutique |
Troubleshooting Common Canva Text Issues
Even experienced creators run into formatting obstacles. Here is how to fix the most common text issues in Canva.
Issue 1: Text Box Keeps Moving or Sizing with Other Elements
- Cause: The text is grouped with shapes, illustrations, or other text boxes.
- Solution: Click on the element, then click Ungroup in the top toolbar (or press
Ctrl + Shift + G/Cmd + Shift + G).
Issue 2: Cannot Edit Text Inside a Template Element
- Cause: The layer is locked, or the text is part of a flattened image file.
- Solution: Look for a padlock icon on the top-right toolbar. Click the Unlock icon. If no text box highlights upon clicking, the text was baked directly into a raster image before being uploaded.
Issue 3: Text Stretches or Wraps Unintentionally
- Cause: Dragging the side pill handles adjusts the width of the text container (forcing words to wrap), whereas dragging the corner circles scales the entire font size proportionally.
- Solution: Use the side handles (left/right pills) solely to define container width. Use the corner circle handles to resize without altering line breaks.
Issue 4: Text Disappears Behind Images or Graphics
- Cause: Incorrect layer ordering (z-index).
- Solution: Right-click the text box, select Layer, and click Bring Forward or Bring to Front (Shortcut:
Ctrl + ]/Cmd + ]).
Frequently Asked Questions (FAQ)
What is the shortcut to add a text box in Canva?
The fastest shortcut is pressing the T key on your keyboard while your design canvas is open. This instantly creates a new text box in the middle of your active page.
How do I add text to a photo in the Canva Photo Editor?
Open your photo in Canva, place it on your canvas, and press T to generate a text overlay. To ensure readability over detailed backgrounds, select your text, click Effects, and choose Lift, Shadow, or Outline. You can also insert a semi-transparent shape behind the text via the Elements tab.
How can I upload custom fonts to Canva?
Custom font uploads require a Canva Pro, Canva Teams, or Canva Education account. Go to your Brand Kit from the Canva home dashboard, scroll down to the Fonts section, click Upload a font, and select your .otf, .ttf, or .woff font file. Once uploaded, it will appear in your font dropdown list across all designs.
Can I curve text on the Canva mobile app?
Yes. Tap your text box on your iPhone or Android device, scroll along the bottom toolbar, tap Effects, navigate to the Shape tab at the bottom, tap Curve, and adjust the curve slider to your preferred radius.
How do I animate text in Canva?
Select your text box and click the Animate button on the top toolbar (on mobile, tap Animate on the bottom menu). Choose from entry, exit, or continuous animations such as Typewriter, Bounce, Breathe, Fade, or Pan, then adjust the speed and direction controls.
Conclusion
Adding and styling text in Canva is simple to start with, yet rich with capabilities for those who want to produce polished, high-converting visual assets. By mastering keyboard shortcuts, layer positioning, text effects, and curated font pairings, you can turn any blank canvas into an engaging piece of visual communication.
Ready to expand your Canva skillset? Browse our comprehensive library of Canva tutorials to master advanced photo editing, animation timelines, and brand management workflows today.