Have you ever tried to click on a tiny text box in Canva, only to accidentally select the large background image three times in a row? Or perhaps you spent five minutes clicking backward and forward, trying to get a design element to sit just right behind a photo frame?
If so, you are not alone. Stacking order is one of the most fundamental aspects of visual hierarchy, yet managing overlapping graphics used to be one of Canva’s biggest workflow bottlenecks.
Thankfully, modern Canva features a dedicated Layers panel alongside traditional positioning tools. Whether you are building social media graphics, multi-page presentations, or print-ready posters, mastering Canva layers transforms your workflow from frustrating guesswork into precise, fast design execution.
In this comprehensive Canva layers guide, you will discover everything you need to know about Canva layering elements, arranging objects, selecting hidden shapes, and keeping complex projects perfectly structured.
What Are Layers in Canva and Why Do They Matter?
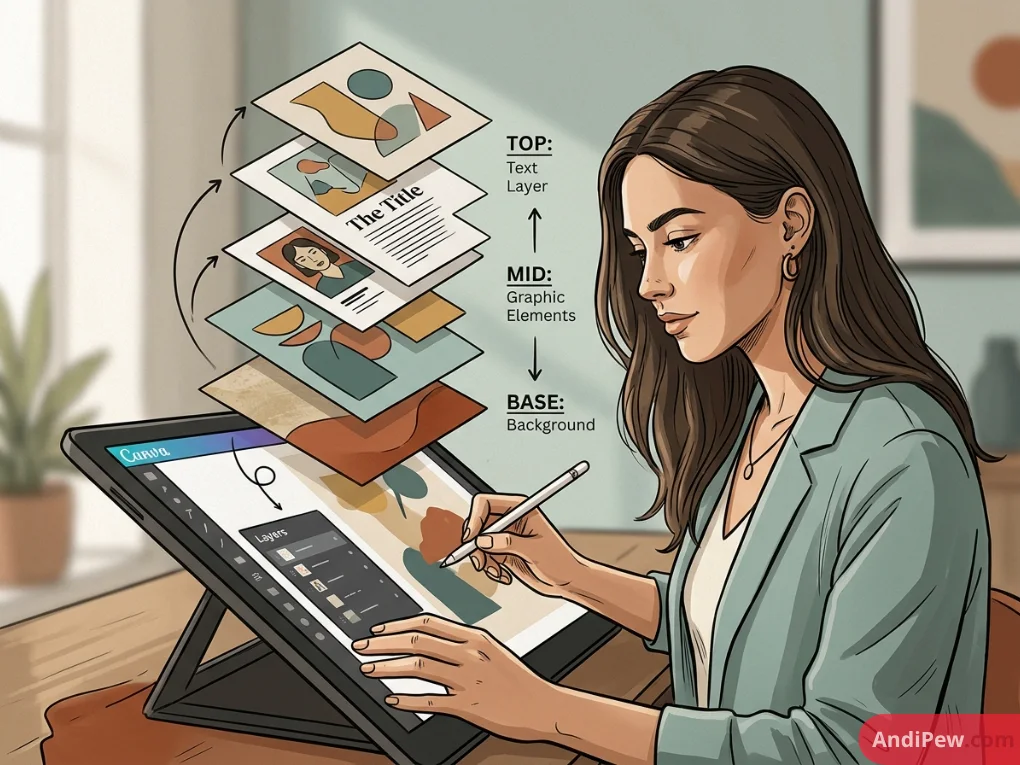
In digital design, layers are transparent sheets stacked on top of one another. Every time you insert a photo, add a shape, type a header, or drop in an icon, Canva places that item onto its own layer within the canvas canvas space.
+------------------------------------------+  <- Top Layer: Text / Call to Action
|  [ Download Free Guide ]                 |
+------------------------------------------+  <- Middle Layer: Graphic Icons / Accents
|  ( * )   ( ^ )   ( # )                   |
+------------------------------------------+  <- Base Layer: Background Photo & Gradients
|  //////////////////////////////////////  |
+------------------------------------------+
The Core Principles of Layer Hierarchy
- Top-to-Bottom Visibility: Objects situated at the very top of your layer stack will cover anything positioned below them if they overlap.
- Independent Modification: Adjusting the opacity, color, position, or size of one layer does not permanently alter the layers underneath.
- Selection Hierarchy: Clicking on the canvas selects the topmost layer first unless you actively select deeper layers via the panel or specific keyboard commands.
Understanding these canva layers guidelines is vital when reviewing canva design basics and building layered templates.
How to Access the Canva Layers Panel
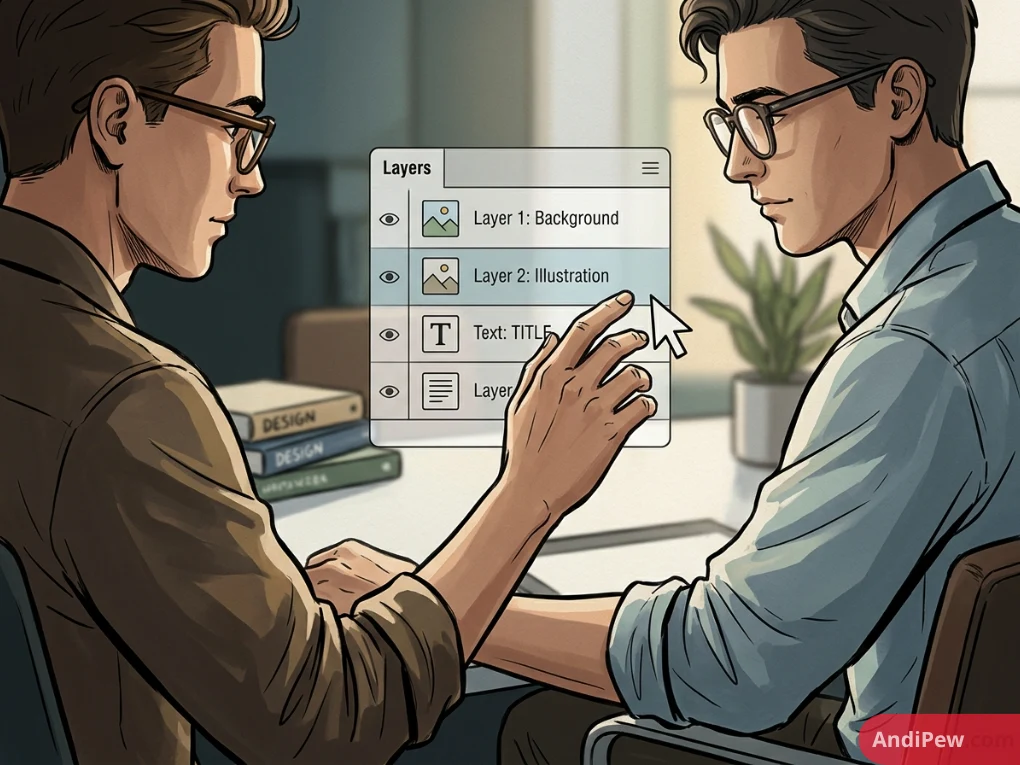
For years, Canva users relied exclusively on simple “Forward” and “Backward” buttons. Today, Canva includes an intuitive, Photoshop-style Layers panel that gives you full visual control over every object on the screen.
Step-by-Step: Opening the Layers Panel
- Open your project or explore how to use canva templates to load a pre-built layout.
- Click any element on your canvas.
- In the top white toolbar, click the Position button.
- In the side panel that appears on the left, click the Layers tab.
Top Toolbar:   [ Animate ]  [ Position ]  [ Transparency ]
                                   │
                                   ▼
Left Sidebar:  +---------------------------------------------+
               |  Arrange  |  [ Layers ]                     |
               +---------------------------------------------+
               |  [ All ]  |  [ Overlapping ]                |
               |                                             |
               |  ☰  [T] Headline Text                       |
               |  ☰  [■] Rectangle Badge                     |
               |  ☰  [🖼] Product Photo                      |
               |  ☰  [░] Background Gradient                 |
               +---------------------------------------------+
Canva Layers Panel: “All” vs. “Overlapping” Views
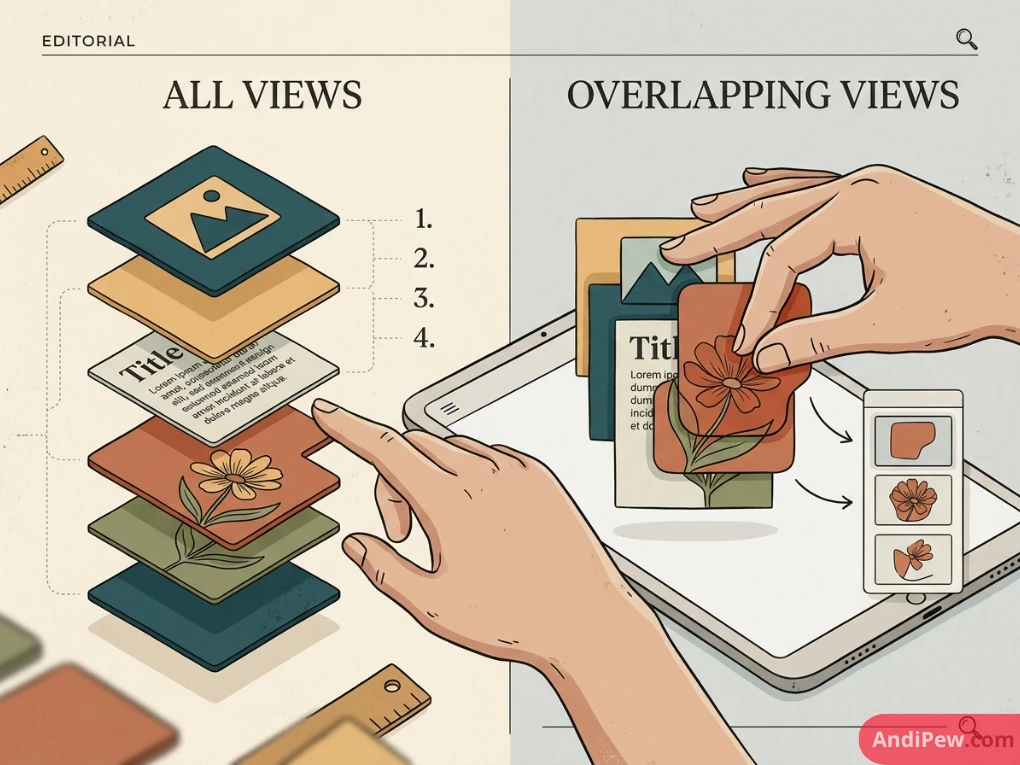
When you open the Layers panel, Canva gives you two distinct viewing modes: All and Overlapping. Knowing when to switch between these views saves substantial time.
| Feature / View | “All” Tab | “Overlapping” Tab |
| Primary Purpose | Complete document overview | Resolving specific element collisions |
| Items Displayed | Every element across the active page | Only elements touching or covering each other |
| Best Used For | Reorganizing broad layout structures | Clicking hidden text underneath images |
| Drag & Drop | Yes, across the full layer stack | Yes, within the immediate cluster |
The “All” Tab
The “All” tab displays every single design component currently on your selected page—from background textures up to the top title. You can scroll through the entire list, rename groups, lock layers, or drag items up and down the stack.
The “Overlapping” Tab
The “Overlapping” tab activates dynamically whenever elements sit on top of each other. If you click on an illustration that has three stars, two text boxes, and a shadow behind it, the Overlapping tab isolates only those interacting pieces, making micro-adjustments clean and focused.
Canva Layering Elements: 4 Essential Techniques
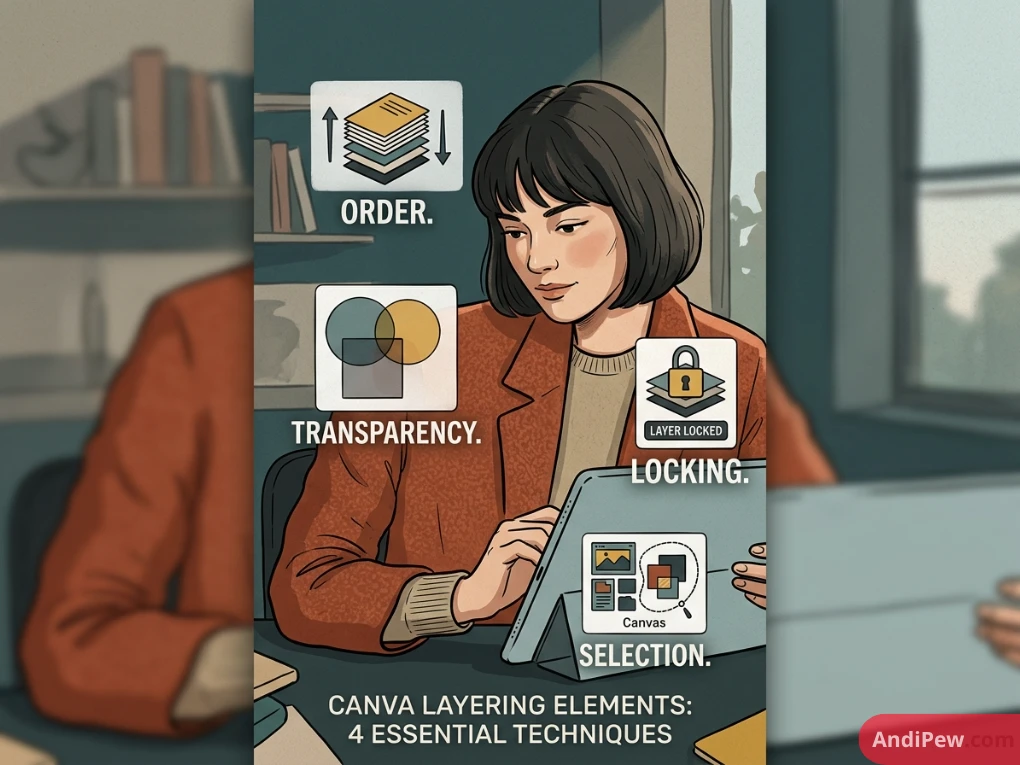
To master canva layering elements, you need to know the different methods available for moving objects along the z-axis (depth).
Method 1: Drag-and-Drop in the Layers Panel
The most reliable way to arrange objects:
- Open the Layers panel (
Position>Layers). - Hover over the thumbnail representing the item you want to move.
- Click and hold the six dots (grip icon) or the element thumbnail.
- Drag the item upward to bring it closer to the front, or downward to move it closer to the background.
- Release the mouse button when the purple indicator line appears at your target position.
Method 2: The “Arrange” Menu (Position Bar)
If you do not need the full panel open:
- Select the element on your canvas.
- Click Position > Arrange tab.
- Choose one of four directional options:
-
-
Forward: Moves the element up one step in the stack.
-
To Front: Jumps the element to the absolute top of all layers.
-
Backward: Moves the element down one step.
-
To Back: Drops the element directly above the background.
-
Method 3: Right-Click Context Menu
Right-clicking directly on any element opens a context menu with immediate layer controls:
- Right-click the object on your artboard.
- Hover over Layer.
- Click Bring forward, Bring to front, Send backward, or Send to back.
- Alternatively, click Show layers directly from this context menu to reveal the side panel instantly.
Method 4: Time-Saving Keyboard Shortcuts
Professional designers rely heavily on keyboard shortcuts to speed up canva arrange objects workflows:
| Action | Windows Shortcut | Mac Shortcut |
| Bring Forward (1 step) | Ctrl + ] |
Cmd + ] |
| Bring to Front (top) | Ctrl + Alt + ] |
Cmd + Option + ] |
| Send Backward (1 step) | Ctrl + [ |
Cmd + [ |
| Send to Back (bottom) | Ctrl + Alt + [ |
Cmd + Option + [ |
| Select Layer Underneath | Ctrl + Click |
Cmd + Click |
How to Select Hidden or Trapped Elements
One common frustration in graphic design occurs when a large transparent box, frame, or video layer completely blocks you from clicking smaller text underneath.
Canvas View:
+------------------------------------+
|  [ Transparent Image Box / Overlay ] ◄── Blocks direct clicks
|      |                             |
|      +──> [ Small Text Link ]      | ◄── Trapped underneath
+------------------------------------+
Here are three reliable ways to select trapped elements:
Use Direct Deep Selection (Ctrl / Cmd + Click)
Instead of standard clicking, hold down Ctrl (Windows) or Cmd (Mac) and click on the overlapping area.
- The first click selects the topmost layer.
- Holding the key and clicking a second time selects the layer directly beneath it.
- Each subsequent click cycles down one layer deeper in that exact screen coordinate.
Select Directly from the Layers Panel
When an element is hard to reach:
- Open
Position>Layers. - Locate the thumbnail of the hidden item in the list.
- Click the row in the panel. The item is now actively selected on the canvas, allowing you to edit text, change colors, or adjust coordinates via keyboard arrow keys.
Temporarily Lock the Top Layer
If a top background element keeps interfering:
- Select the top object.
- Click the Lock icon in the upper-right corner (or press
Alt+Shift+L). - Once locked, Canva disables mouse interaction on that item, allowing your cursor to pass through and interact directly with the lower layers.
Grouping, Aligning, and Locking Layers
When building complex compositions—such as social cards, infographics, or multi-element logos—organizing layers into logical groups keeps your canvas manageable.
How to Group Layers
- Hold down
Shiftand click all elements you want to combine (or drag a selection marquee box around them). - Click Group in the floating menu bar, or press
Ctrl+G(Cmd+Gon Mac). - In the Layers panel, the grouped items will now appear nested inside a single collapsible folder row.
Layers Panel (Grouped):
▼ [📁] Hero Header Group
   ├── [T] Main Title
   ├── [T] Subheading Text
   └── [■] Accent Line
[🖼] Background Photo
Aligning and Distributing Objects
Stacking layers evenly is crucial for polished design. Under the Position > Arrange tab, Canva provides automatic alignment tools:
- Align Elements: Quickly align items to the Top, Middle, Bottom, Left, Center, or Right.
- Space Evenly (Tidy Up): If you select three or more objects, clicking Tidy Up distributes the vertical and horizontal spacing uniformly while aligning their center points.
How to Download Your Canva Layers Guide PDF
Many educators, team leaders, and agencies prefer having an offline reference manual or desktop cheat sheet.
If you want to save or distribute a canva layers guide pdf:
- Create a 1-to-2 page Canva document compiling your team’s design standards, keyboard shortcuts, and layer conventions.
- Check how to add text in canva to format step-by-step instructions.
- Click Share in the top right corner.
- Select Download.
- Change the file type dropdown to PDF Standard (for digital reference) or PDF Print (for physical distribution).
- Click Download.
Advanced Layer Strategies for Clean Canva Projects
To keep large projects with 50+ elements organized, follow these expert guidelines:
Establish a Consistent Z-Index Order
Follow this top-down layer standard:
- Interactive / Text Elements: Headlines, CTAs, button labels.
- Foreground Graphics: Icons, badges, product mockups, cutouts.
- Overlays & Filters: Color gradients with adjusted transparency, texture patterns.
- Base Background: Brand color fills, landscape imagery, solid frames.
Leverage Transparency for Depth
Instead of leaving every element at 100% opacity, use subtle transparency settings (60%–80%) on shadows and overlays between layers to create natural visual depth and contrast.
Use Canva Guides Alongside Layers
To ensure your layered elements remain aligned across different slides:
- Enable rulers and guides via File > View settings > Show rulers and guides (Shortcut:
Shift+R). - Drag guide lines from the ruler onto your canvas to establish boundary margins for all layered assets.
Common Canva Layer Mistakes (And How to Fix Them)
+------------------------------------------------------------------------------------+
|                                COMMON LAYER MISTAKES                               |
+-----------------------------------+------------------------------------------------+
| Mistake                           | Solution                                       |
+-----------------------------------+------------------------------------------------+
| Accidentally moving background    | Lock the background layer (Padlock icon).       |
| Inability to select small text    | Use Cmd/Ctrl + Click or select via Layers panel.|
| Messy layer stack                 | Group related elements into nested folders.     |
| Elements vanishing unexpectedly   | Check if an upper opaque shape covers them.    |
+------------------------------------------------------------------------------------+
Element Disappears After Moving Backward
- Cause: Sending an object “To Back” places it behind an opaque background image.
- Fix: Open the Layers panel, find the missing element at the very bottom, and drag it just one step above the bottommost image.
Unintended Group Resizing
- Cause: Dragging the bounding box of a grouped element scales every item inside it simultaneously.
- Fix: Double-click the specific item inside the group to adjust it individually, or ungroup using
Ctrl+Shift+G(Cmd+Shift+G).
Explore More Canva Tutorials
To expand your design skills, check out our comprehensive library of design resources:
- Learn foundational layout rules in our guide to canva design basics.
- Explore workflow optimizations in our collection of canva tutorials.
- Speed up production using how to use canva templates.
- Perfect your typography hierarchy with how to add text in canva.
Frequently Asked Questions (FAQ)
Where is the Layers panel located in Canva?
The Layers panel is located under the Position button on the top white editor toolbar. Click Position, then select the Layers tab in the sidebar that appears on the left.
Can I rename layers in Canva?
Currently, Canva automatically names layers based on their content type (e.g., text preview, shape name, or element type). While arbitrary custom renaming for individual loose layers is limited, grouping elements lets you organize and collapse complex stacks into distinct folders.
Why can’t I send an element behind the background?
Canva treats the designated canvas background as the absolute bottom anchor of your project. If you want to place elements behind a specific image, ensure that the image is placed as an independent layer rather than set as the locked canvas background.
What is the fastest way to arrange objects in Canva without opening menus?
Use keyboard shortcuts. Press Ctrl + ] / Cmd + ] to bring elements forward one level, and Ctrl + [ / Cmd + [ to send them backward one level.
Conclusion
Organizing your design structure is the difference between a frustrating editing session and a seamless, enjoyable creative process. By utilizing Canva’s Layers panel, mastering shortcuts, and following structured layer stacking orders, you can build complex, professional designs with total precision.
Ready to put these techniques into practice? Open your favorite project, press Position > Layers, and organize your design canvas today!