Graphic design used to require steep learning curves, expensive software suites, and complex technical knowledge. Today, anyone with an idea can produce studio-quality visuals in minutes. Whether you want to launch a social media campaign, build print-on-demand apparel, craft assets for a cutting machine, or build a scalable digital product business, knowing how to create a design in Canva is one of the most versatile digital skills you can develop.
This comprehensive guide walks you through the entire creative process—from setting up your canva first project to leveraging generative AI, configuring custom dimensions, designing custom merchandise, managing privacy controls, and preparing commercial assets for sale.
Getting Started: Setting Up Your Canva Workspace
Before building your first graphic, you need a properly configured workspace. Canva runs directly in your web browser and is also available as a desktop application (Windows/macOS) and mobile app (iOS/Android).
Step 1: Create or Access Your Account
If you haven’t already set up an account, follow our guide on how to create a canva account. You can sign up using an email address, Google account, Apple ID, or Facebook account.
Step 2: Understand the Interface
Once logged in, you will land on the main workspace. Review our canva dashboard overview to familiarize yourself with where past designs, brand kits, projects, and custom templates reside.
+-------------------------------------------------------------------------------+
|                                CANVA WORKSPACE                                |
+-----------------------------------+-------------------------------------------+
| TOP BAR                           | Search bar, Settings, "Create a design"   |
| LEFT SIDEBAR                      | Home, Projects, Templates, Brand, Apps    |
| MAIN DASHBOARD                    | Quick formats (Docs, Whiteboards, Social) |
| EDITOR INTERFACE (Inside Canvas)  | Elements, Text, Uploads, Draw, Magic Tools|
+-----------------------------------+-------------------------------------------+
Canva Free vs. Canva Pro: Choosing the Right Tier
Canva offers both a robust free tier and an advanced subscription model. To plan your workflow effectively, here is how the two compare:
| Feature / Capability | Canva Free | Canva Pro |
| Templates Available | 250,000+ free templates | 610,000+ premium & free templates |
| Stock Photos, Graphics & Audio | 1+ million free assets | 100+ million premium assets |
| Cloud Storage | 5 GB cloud storage | 1 TB cloud storage |
| Transparent PNG Exports | No (Solid background only) | Yes (Crucial for shirts & Cricut) |
| Magic Resize & Switch | Manual recreation only | 1-Click instant canvas resizing |
| Background Remover | Limited / Not included | 1-Click photo & video background remover |
| Brand Kits | 1 color palette (up to 3 colors) | Unlimited brand kits with custom fonts & logos |
| AI Generation (Magic Media) | Standard credits | Expanded generation credits |
For an in-depth breakdown of tool allocations and pricing, check out our comparison on canva free vs pro.
How to Create a New Design in Canva: Step-by-Step
Starting your canva starter tutorial begins with opening the canvas. Follow these steps to understand how to create a new design in Canva.
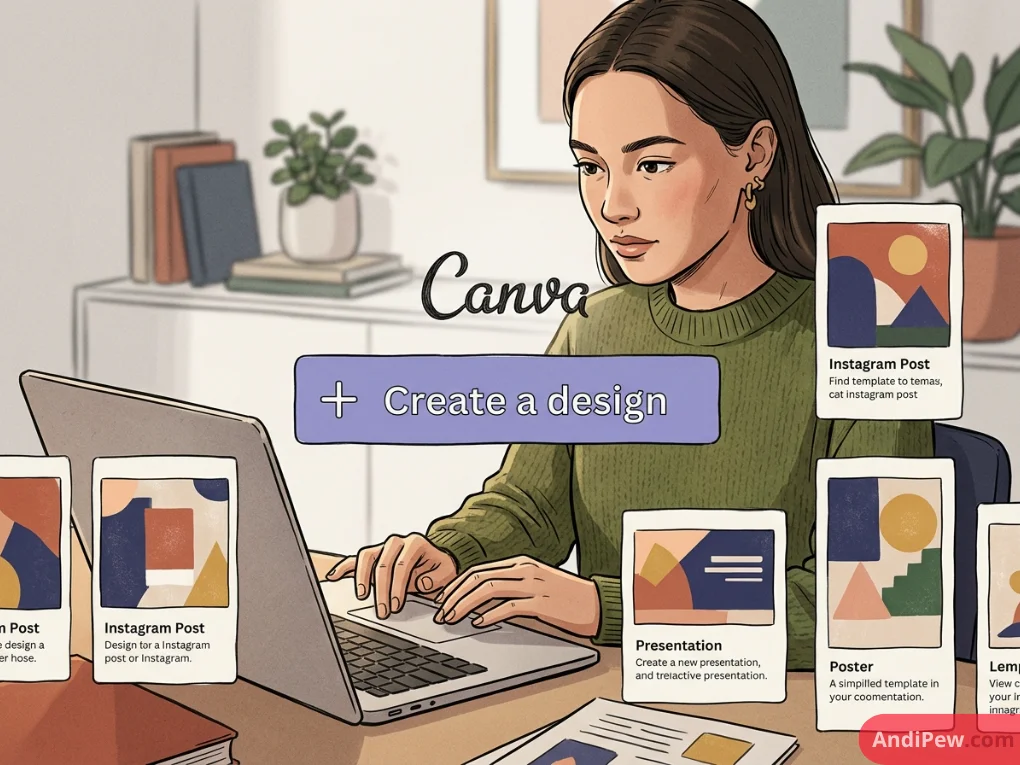
Step 1: Click “Create a Design”
Locate the purple “Create a design” button in the top-right corner of your home screen.
Step 2: Choose a Preset or Enter Custom Dimensions
A dropdown menu will appear with two main pathways:
- Search for Presets: Type an asset type (e.g., Instagram Post (Square), YouTube Thumbnail, Flyer (Letter), or Presentation (16:9)).
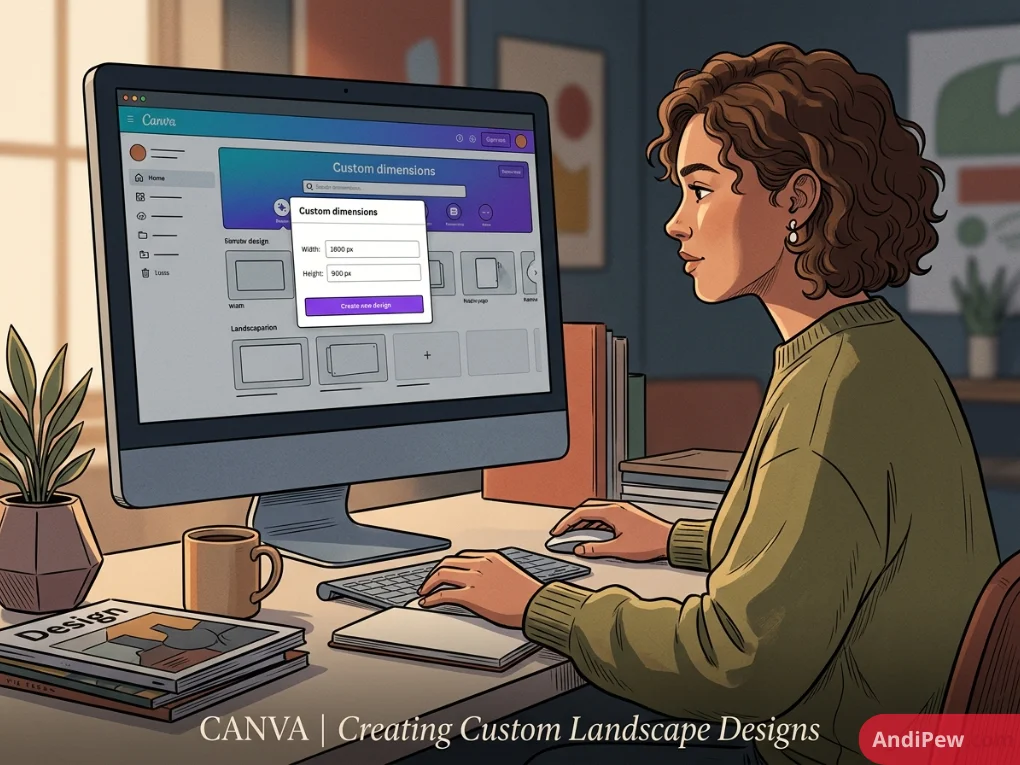
- Custom Size: Click the “+” (Custom size) icon at the bottom of the dropdown. Enter your desired Width and Height, and choose your measurement unit:
-
-
PX (Pixels — best for web, digital ads, social media)
-
IN (Inches — best for print, stickers, apparel, Cricut)
-
MM / CM (Millimeters / Centimeters — best for international print standards)
-
Step 3: Name Your Project
Once the canvas opens in a new tab, click on the title field in the top navigation bar (defaults to “Untitled design – [Dimensions]”) and enter a clear, descriptive name.
Mastering Canvas Orientation: How to Make a Design in Canva Landscape
Many projects require a horizontal layout instead of a vertical or square format. Here is how to make a design in Canva landscape and how to create a landscape design in Canva efficiently.
+-------------------------------------------------------------------------------+
|                       CANVAS ORIENTATION COMPARISON                           |
+---------------------------------------+---------------------------------------+
| PORTRAIT                              | LANDSCAPE                             |
| Width < Height (e.g., 1080 x 1350 px) | Width > Height (e.g., 1920 x 1080 px) |
| Ideal for: Instagram, Flyers, Menus   | Ideal for: Presentations, YouTube,    |
|                                       | Banners, Desktop Wallpapers           |
+---------------------------------------+---------------------------------------+
Method A: Setting Landscape from the Start
- Click Create a design > Custom size.
- Make sure your Width is greater than your Height (e.g.,
1920width by1080height for standard HD landscape, or11x8.5inches for standard landscape print paper). - Click Create new design.
Method B: Resizing an Existing Portrait Design to Landscape
-
With Canva Pro: Click the Resize & Magic Switch menu in the top bar. Select a landscape format (such as Presentation 16:9 or Facebook Cover) or manually swap the width and height numbers. Click Continue > Resize this design (or Copy & resize to preserve your original).
-
With Canva Free: Because Magic Switch is a Pro feature, open a fresh landscape canvas in a new tab, return to your portrait file, press
Ctrl + A(Windows) orCmd + A(Mac) to select all elements, copy them (Ctrl/Cmd + C), and paste them (Ctrl/Cmd + V) into your new landscape canvas. Rearrange the layout as needed.
Working with the Canvas: Core Editing Tools
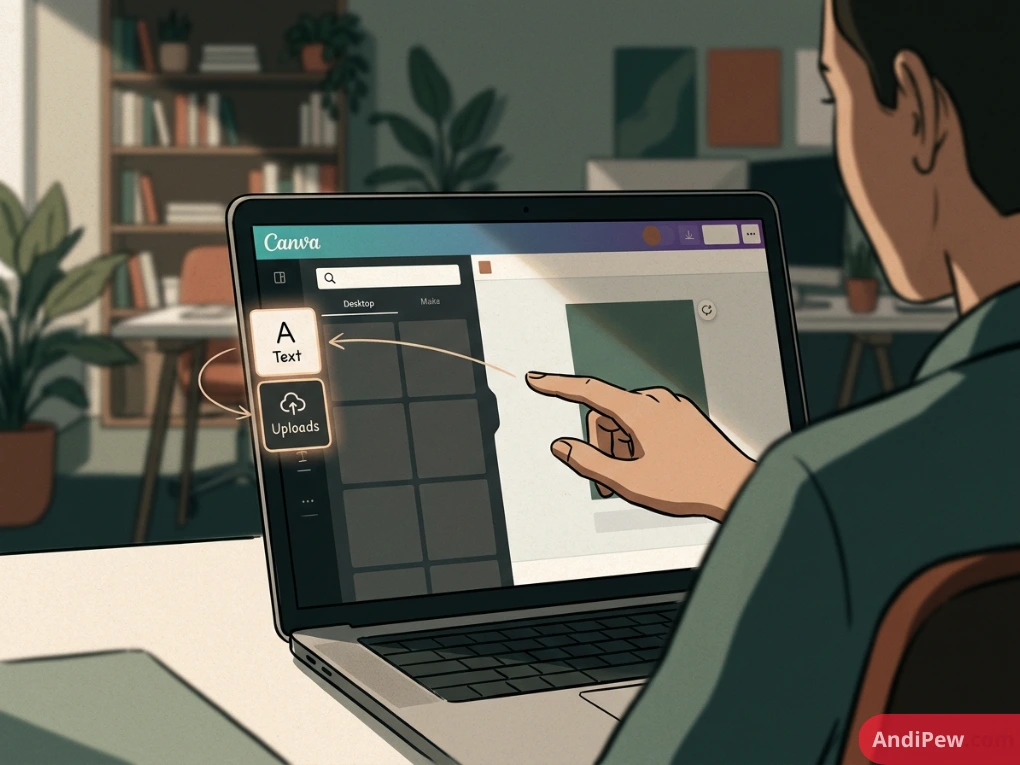
To build a professional graphic, you will use the left-hand panel. For a detailed component breakdown, read our comprehensive canva editor guide.
+-------------------------------------------------------------------------------+
|                             CANVA EDITOR TOOLBAR                              |
+-------------+-----------------------------------------------------------------+
| Design      | Access ready-made templates and styles                          |
| Elements    | Shapes, lines, graphics, stickers, photos, frames, charts       |
| Text        | Heading, subheading, body text, and font pairing styles         |
| Brand       | Brand logos, color palettes, and brand typography               |
| Uploads     | Import custom PNGs, SVGs, JPGs, audio, and video files          |
| Draw        | Freehand drawing pens, highlighters, and brush controls         |
| Apps        | QR code generators, mockups, charts, AI integrations            |
+-------------+-----------------------------------------------------------------+
Adding & Manipulating Elements
- Navigate to the Elements tab.
- Search for specific graphics, geometric shapes, photographic cutouts, or layout grids.
- Click or drag an asset onto the canvas. Use the corner bounding boxes to resize proportionally, and hold
Shiftwhile dragging to scale without maintaining fixed aspect ratios on select shapes.
Typography and Text Formatting
- Click Text > Add a heading (or press the keyboard shortcut
T). - Highlight the text to change font families, point size, letter spacing, line height, text effects (shadows, lift, curve, splice), and alignments.
Color Management
- Click any element or canvas background to open the Color Picker tile in the top toolbar.
- Enter specific Hex codes (e.g.,
#FFFFFF), choose from default document colors, or sample shades directly from images on your canvas using the Eyedropper tool.
How to Make a Design in Canva Black and White
Creating a monochrome or grayscale visual is a popular choice for minimalist branding, physical document printing, and artistic photography. Here is how to make a design in Canva black and white:
+-------------------------------------------------------------------------------+
|                       CREATING A BLACK & WHITE DESIGN                         |
+--------------------------+----------------------------------------------------+
| Images & Photos          | Edit Image -> Effects -> "Classic" or "Grayscale"  |
| Vector Elements & Shapes | Select element -> Change Fill/Stroke to Hex #000000|
| Text & Typography        | Highlight text -> Text Color -> Set to #000000     |
| Whole Canvas Filter      | Adjust panel -> Set Saturation to -100             |
+--------------------------+----------------------------------------------------+
-
Converting Photos to Grayscale:
-
Click on the photo or imported image.
-
Select Edit image (or Edit Photo) from the top bar.
-
In the Filters section, select Classic, Mono, or Grayscale.
-
Alternatively, go to the Adjust tab and drag the Saturation slider to
-100. You can also increase the Contrast (+10 to +25) to make black and white elements look clean and sharp.
-
-
Converting Vector Graphics & Illustrations:
-
Select the vector element.
-
View the color swatches on the top bar.
-
Click each swatch and replace color codes with pure black (
#000000), white (#FFFFFF), or shades of gray (#808080).
-
-
Typography:
-
Select all text blocks and apply solid black or high-contrast white fills depending on your canvas background.
-
How to Create a Design in Canva Using AI
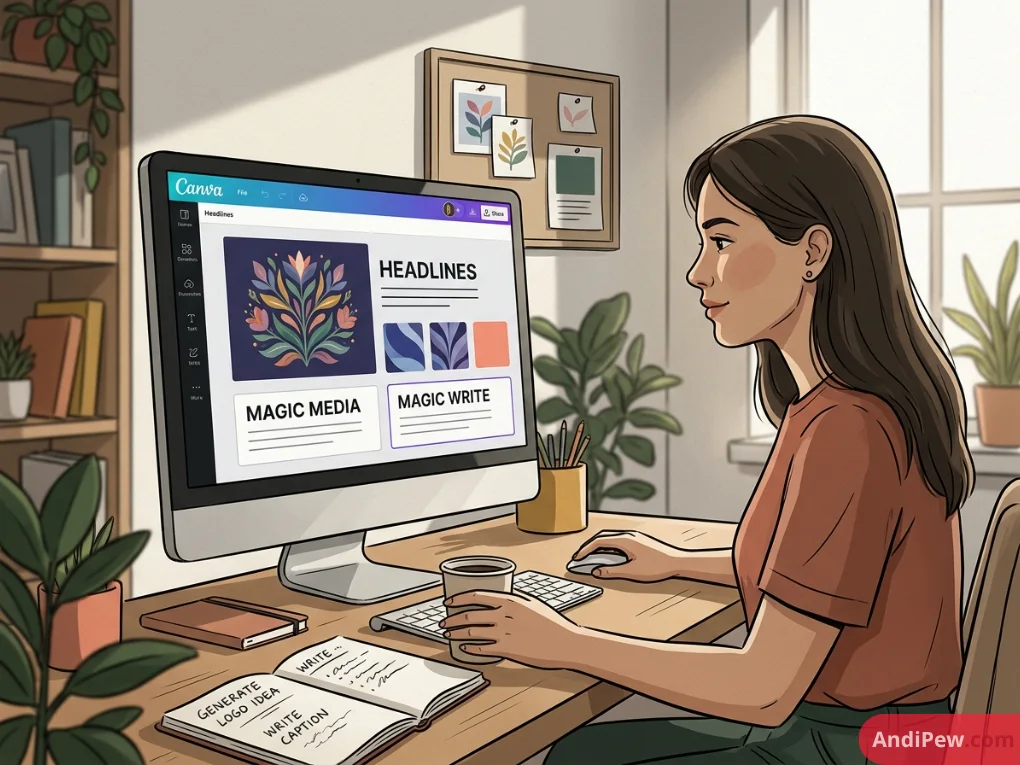
Canva’s AI ecosystem, known as Magic Studio, allows creators to generate copy, expand imagery, create presentations, and generate custom graphics from natural-language prompts. Here is how to create a design in Canva using AI:
+-------------------------------------------------------------------------------+
|                            CANVA MAGIC STUDIO (AI)                            |
+------------------------+------------------------------------------------------+
| Magic Media (Images)   | Text prompt -> Generates custom images/graphics      |
| Magic Write            | Text prompt -> Generates outlines, copy, headlines   |
| Magic Design           | Upload media/prompt -> Generates multi-page layouts  |
| Magic Eraser & Expand  | Remove unwanted items / Extend image boundaries      |
+------------------------+------------------------------------------------------+
Step 1: Text-to-Image Generation (Magic Media)
- Open your design canvas.
- On the left sidebar, click Apps > search and select Magic Media.
- In the text box, describe the image you want to create (e.g., “Vintage botanical illustration of lavender, watercolor style, isolated on white background”).
- Choose a visual style (e.g., Watercolor, Filmic, Minimalist, 3D, Anime) and an aspect ratio (Square, Landscape, or Portrait).
- Click Generate image. Canva will generate 4 unique variations. Click your favorite to place it directly onto your canvas.
Step 2: Generating Layouts with Magic Design
- From the Canva home page or within the editor’s Design tab, enter a descriptive prompt into the search bar (e.g., “Modern fitness coaching social media carousel”).
- Select Magic Design. The AI analyzes your intent and presents fully assembled templates populated with relevant headlines, layout structures, and curated elements.
Step 3: Writing Copy with Magic Write
- Select any text box or press
Ctrl + /(orCmd + /) to open the Magic Assistant. - Select Magic Write.
- Enter instructions like “Write 3 punchy marketing headlines for an organic coffee launch” to generate ready-to-use copy directly on your canvas.
Custom Apparel: How to Create a Shirt Design in Canva & Jersey Concepts
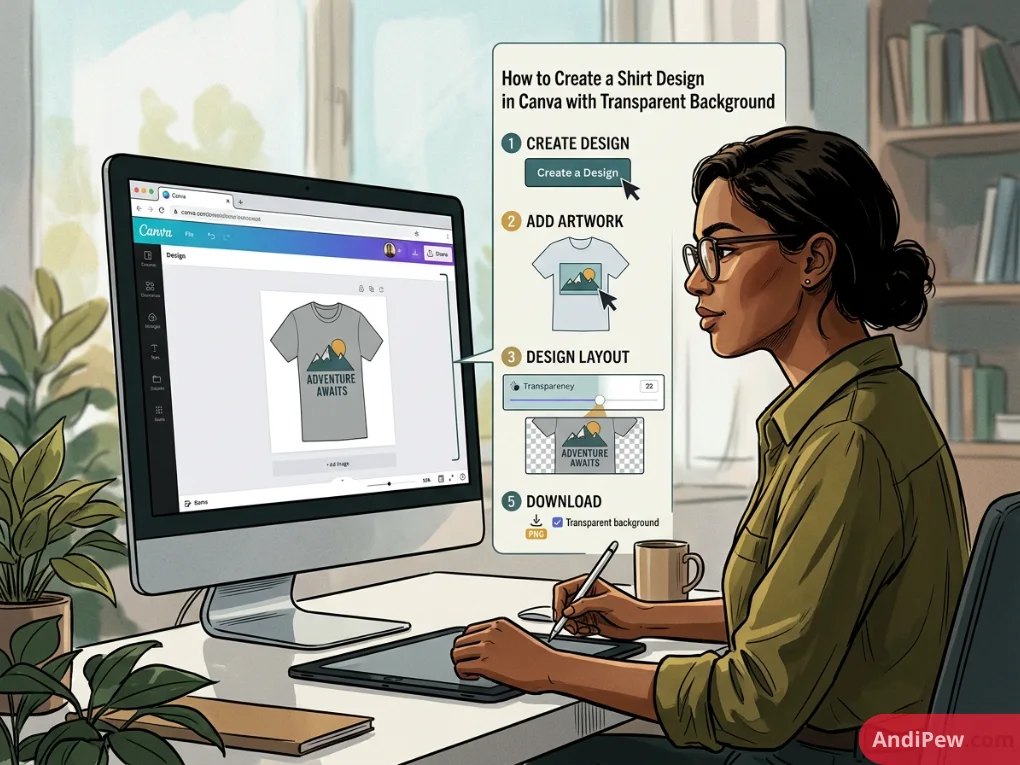
Learning how to create a shirt design in Canva, how to create a shirt design on canva, or how to create a jersey design in canva requires special attention to scale, color contrast, and export settings.
+-------------------------------------------------------------------------------+
|                       APPAREL DESIGN WORKFLOW CHECKLIST                       |
+-------------------+-----------------------------------------------------------+
| Canvas Dimensions | 4500 x 5400 pixels (Standard Print-on-Demand standard)   |
| Color Profile     | High-contrast vector elements (300 DPI target resolution) |
| Transparency      | Export with Transparent Background checked                |
| Format            | High-res PNG (Print) or SVG (Vinyl/Cricut)                |
+-------------------+-----------------------------------------------------------+
Step-by-Step Shirt Design Walkthrough:
-
Set Print-Safe Canvas Dimensions:
-
Standard apparel print-on-demand services (such as Printify, Printful, or Merch by Amazon) standardly require a resolution of 4500 x 5400 pixels (or 15 x 18 inches at 300 DPI).
-
Click Create a design > Custom size > enter
4500W by5400H pixels.
-
-
Build Your Graphic & Typography:
-
Add high-contrast typography and bold vector elements from the Elements tab.
-
If designing for a dark t-shirt, set your text and artwork to bright/light colors (white, cream, neon). If designing for a light shirt, use rich dark tones.
-
Group your text and graphics (
Ctrl/Cmd + G) and center them within the top third of your canvas so the print sits across the chest area of the garment.
-
-
Designing Jersey Concepts:
-
When building athletic uniforms or team jerseys, use athletic block fonts (e.g., Graduate, Anton, Black Ops One).
-
Add arched text using Text > Effects > Curve.
-
Add uniform numbers and sponsor banner placeholders using sharp geometric badge frames.
-
-
Export for Printing:
-
Click Share > Download.
-
Select PNG as the file type.
-
Crucial Step: Check the box marked Transparent background (Canva Pro feature). If you do not enable this, your shirt will print with a solid white rectangle around your graphic.
-
How to Create a Design in Canva for Cricut
Crafting with smart cutting machines like Cricut Explore, Maker, or Joy requires vector-ready cut files. Here is how to create a design in Canva for Cricut:
+-------------------------------------------------------------------------------+
|                       CANVA TO CRICUT DESIGN PIPELINE                         |
+-------------------------------------------------------------------------------+
| 1. Design with solid, single-color shapes or high-contrast flat graphics      |
| 2. Eliminate complex gradients, photo textures, and overlapping strokes       |
| 3. Export as SVG (Scalable Vector Graphics for multi-layer cuts) OR           |
|    Export as Transparent PNG (For Print-Then-Cut projects)                   |
| 4. Upload file into Cricut Design Space -> Select Cut or Print-Then-Cut       |
+-------------------------------------------------------------------------------+
Step 1: Design Clean Vectors
-
Use solid-color vector silhouettes and clean, bold fonts.
-
Avoid soft drop shadows, photo overlays, or subtle gradients, as cutting blades can only follow defined, hard vector paths.
Step 2: Export in the Proper Format
-
For Multi-Layer Vinyl Cuts (Best Method): Click Share > Download > Choose SVG (Canva Pro). Check the box to download elements as vectors. This imports directly into Cricut Design Space with separated, cut-ready color layers.
-
For Cricut Print Then Cut: Click Share > Download > Choose PNG > check Transparent background > slide the size slider up to maximum (3x) for clean, high-resolution edge detection.
Step 3: Import to Cricut Design Space
-
Open Cricut Design Space and click New Project.
-
Click Upload > Upload Image > select your downloaded Canva PNG or SVG file.
-
If using PNG, choose Simple image type, clean any unwanted background artifacts, and choose Save as a Cut Image or Save as a Print Then Cut Image.
Privacy & Collaboration: How to Make a Design in Canva Private or Public
Canva projects are collaborative by nature, but controlling who can view, edit, or comment on your files is vital for client confidentiality and personal workflow.
+-------------------------------------------------------------------------------+
|                         CANVA ACCESS CONTROL LEVELS                           |
+------------------------+------------------------------------------------------+
| Only you               | Completely private. Restricted to account owner.     |
| Anyone with the link   | Public URL. Configurable as View, Comment, or Edit.  |
| Team / Organization    | Shared across members of your Canva Team workspace.  |
| Template Link          | Allows others to copy design without editing original.|
+------------------------+------------------------------------------------------+
How to Make a Design in Canva Private
By default, every new project you start is private to your account unless you work in a shared team folder.
- Open the design.
- Click the Share button in the top-right corner.
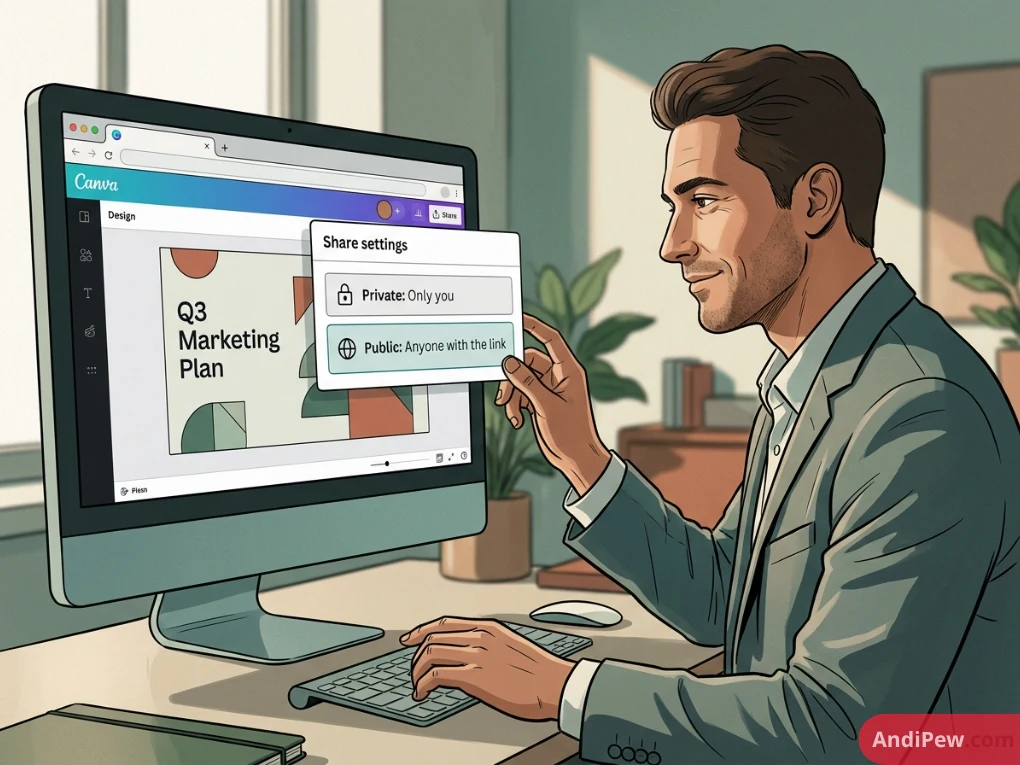
- Under the Collaboration link section, ensure the access dropdown is set to “Only you can access” (or “Only people added”).
- Remove any individual email addresses listed under the sharing permissions list to ensure total privacy.
How to Make a Design in Canva Not Private
When you need to share a draft with clients, team members, or friends:
- Click the Share button.
- Under Collaboration link, click the dropdown and change it from “Only you can access” to “Anyone with the link”.
- Set the permission level to:
-
-
Can view (Read-only presentation mode)
-
Can comment (Clients can leave feedback pins without altering elements)
-
Can edit (Full collaborative co-editing privileges)
-
-
Click Copy link and send it to your recipients.
Monetization: How to Create a Design in Canva and Sell It
Building a digital product business by selling Canva-created designs on Etsy, Shopify, Creative Market, or your personal website is a popular and viable business model. Here is how to create a design in Canva and sell it ethically and legally.
+-------------------------------------------------------------------------------+
|                       MONETIZATION: DO's AND DON'Ts                           |
+------------------------------------+------------------------------------------+
| DO                                 | DON'T                                    |
+------------------------------------+------------------------------------------+
| Create original multi-page layouts | Resell standalone unmodified stock items |
| Deliver as a Canva Template Link   | Resell pre-made Canva native templates   |
| Use free/custom commercial fonts   | Trademark designs made of standard stock |
| Flatten end-product PDFs for print | Claim copyright on raw third-party clips |
+------------------------------------+------------------------------------------+
Step 1: Understand Canva’s Commercial Licensing Rules
- You Cannot: Take an existing Canva template, make minor tweaks (like changing a single color or font), and sell it as your own template. You also cannot sell standalone stock photos or graphics as raw image files.
- You Can: Create original design compositions combining multiple elements, typography, and original layouts to sell as end products (e.g., flattened PDF planners, printable wall art, t-shirt prints) or as editable Canva templates.
Step 2: Use Commercial-Safe Assets
-
If selling editable templates to customers using Canva Free, ensure you only use Free elements and fonts in your base composition. If you use Pro assets, your buyer will see watermarks unless they also own a Canva Pro subscription.
Step 3: Generate a Template Delivery Link
- Once your template is complete, click Share.
- Click More (
...) at the bottom of the menu > Select Template link. - Copy this generated URL.
- Paste this link into a branded PDF delivery sheet. When the customer purchases your listing on Etsy or Shopify, they download the PDF, click your link, and Canva opens a clean, fresh duplicate of your design in their personal account without altering your original master file.
Exporting and Quality Optimization Checklist
Exporting your design using the right file format ensures crisp typography, accurate print colors, and optimal digital load times.
+-------------------------------------------------------------------------------+
|                            EXPORT FORMAT MATRIX                               |
+-----------+-------------------------+-----------------------------------------+
| Format    | Best Used For           | Key Advantage                           |
+-----------+-------------------------+-----------------------------------------+
| JPG       | Web, social media, blog | Small file size, fast loading speeds    |
| PNG       | Digital graphics, logos | Lossless quality, transparent backgrounds|
| PDF Print | Home & commercial print | 300 DPI, CMYK color support, crop marks |
| SVG       | Web vector, Cricut      | Infinite scaling without pixelation     |
| MP4 Video | Reels, TikTok, motion   | High-definition video with audio sync   |
+-----------+-------------------------+-----------------------------------------+
Pro Tip for Commercial Printers:
When sending files to professional print shops, click Share > Download > choose PDF Print. Check the box for Crop marks and bleed, and switch the color profile dropdown from RGB (best for digital screens) to CMYK (best for physical ink printers).
Frequently Asked Questions (FAQs)
How do I make a design in Canva from scratch?
Click Create a design in the top right corner of the dashboard, select Custom size, enter your desired dimensions in pixels or inches, and click Create new design. From there, use the Elements, Text, and Uploads tabs in the left sidebar to add shapes, photography, copy, and colors onto your blank white canvas.
Can I legally sell designs made on Canva?
Yes, you can sell original designs created on Canva as flattened end products (such as printable art, t-shirts, eBooks) or as editable Canva template links. However, you must create an original design composition. You cannot resell unmodified Canva stock elements, templates created by other designers, or trademark designs containing standard Canva stock assets.
How do I make my Canva design transparent?
Open your design, click Share in the top-right corner, select Download, choose PNG as the file type, and check the box marked Transparent background. Note that transparent PNG exporting requires a Canva Pro subscription.
Why do my designs look blurry when printed?
Designs usually print blurry if they were created at screen resolution (72 DPI) rather than print resolution (300 DPI), or if low-resolution raster images were scaled up past their native size. Always set your canvas using large dimensions in inches/centimeters, and export your final file using the PDF Print format.
How do I group elements together in Canva?
Click and drag your cursor over the elements you want to combine, or hold down the Shift key while clicking on each element individually. Once highlighted, click the Group button in the floating top toolbar (or press Ctrl + G on Windows / Cmd + G on Mac).
Conclusion
Learning how to make a design in Canva gives you the tools to create professional marketing collateral, launch print-on-demand brands, and build digital design products. By understanding how to manipulate canvas dimensions, harness generative AI tools, format print-ready files for Cricut and apparel, and manage your access settings, you can produce consistent, high-impact visuals for any project.
Ready to dive deeper into practical design workflows? Explore our step-by-step canva tutorials to master typography pairings, advanced photo manipulation, and multi-page layout design.