How to upload images to canva? To upload images to Canva, open your design project, select the Uploads tab from the left sidebar, click Upload files, and choose your image file directly from your device or cloud storage. You can also drag and drop images straight onto your Canva workspace on desktop or access your mobile camera roll via the Canva mobile app.
Whether working with raster graphics or vector artwork, the platform stores imported media automatically in your cloud library for immediate editing across devices. This comprehensive 2026 guide covers multi-device upload workflows, cloud integrations, file specifications, and instant fixes for upload failures.
Quick Summary
- Desktop Methods: Click Upload files in the side panel, drag media onto the canvas, or paste directly with Ctrl+V / Cmd+V.
- Mobile Flow: Tap the + (Plus) button, select Uploads or Camera Roll, and confirm OS media permissions.
- Direct Cloud Sync: Connect Google Drive, Dropbox, or OneDrive via the Apps panel to import assets without local downloads.
- File Thresholds: Raster images cap at 25 MB; vector SVGs cap at 3 MB; free accounts include 5 GB total cloud storage.
- Post-Upload Editing: Drag images directly into frames, assign them as backgrounds, or apply AI tools inside Edit Image.
What Does Uploading Images to Canva Entail?
Learning how to upload images to canva means transferring external visual files—such as personal photographs, branding vectors, or raw product shots—from local storage or third-party cloud drives into Canva’s media server. Once imported, your files become permanent, reusable elements within your private project library.
The process operates entirely in the cloud, syncing your library across web browsers, desktop applications, and mobile devices automatically. Understanding technical requirements ensures your graphics retain maximum clarity without triggering server rejection errors.
How to Upload Images to Canva on Desktop (Web & App)
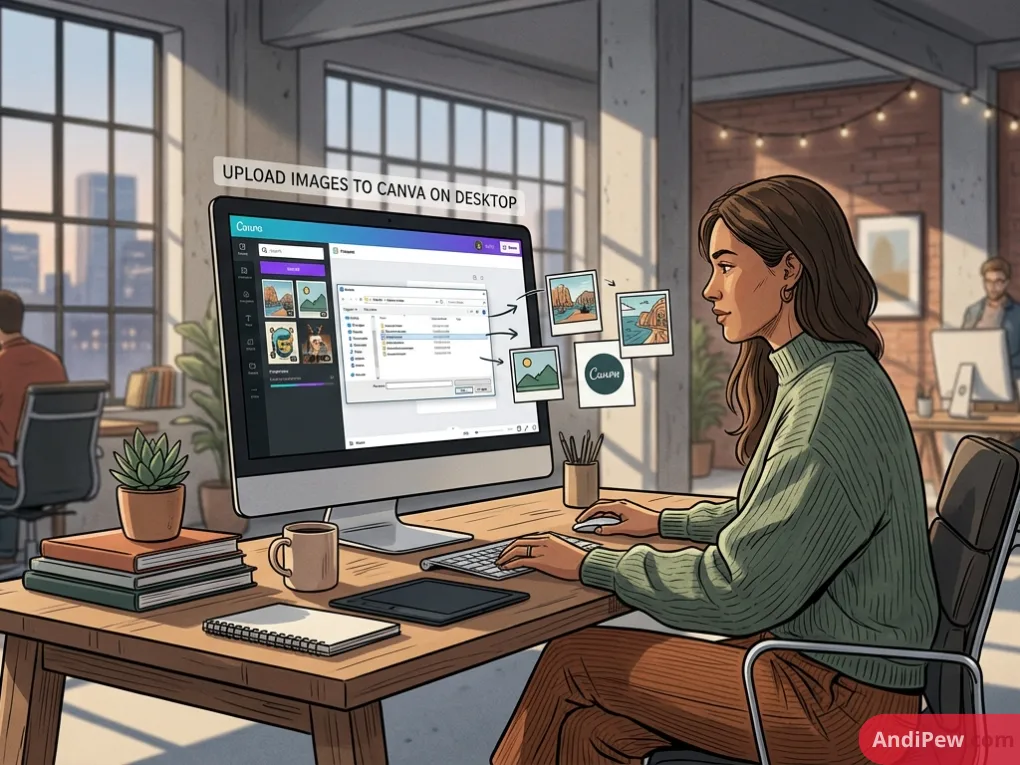
To execute a canva photo upload on desktop, open your design canvas, click the Uploads icon on the left-hand panel, select Upload files, and choose your media from your computer. Your file will process immediately and appear in your asset drawer ready for placement.
Step-by-Step Desktop Walkthrough
- Open your target design: Navigate to Canva via browser or desktop application and open any existing project or blank template.
- Access the media drawer: Click the Uploads tab located on the vertical toolbar on the far left edge of the screen.
- Select your files: Click the purple Upload files button at the top of the panel. Choose your file in the native file picker window and click Open.
Alternatively, utilize the drag and drop image canva feature. Drag any image file from your desktop or folder directly onto the Canva canvas area. Canva uploads the asset to your library and places it on your active canvas simultaneously.
Pro Shortcut: Direct Clipboard Paste
Copy any image directly from a website, screenshot tool, or local photo viewer using Ctrl+C (Windows) or Cmd+C (Mac). Click onto your Canva workspace and press Ctrl+V or Cmd+V. Canva automatically ingests the image file into your Uploads panel and drops it onto the page instantly without opening your system file browser.
Organizing Uploaded Assets into Folders
To keep workspaces organized, group incoming images directly after uploading:
- In the Uploads panel, hover over the uploaded image thumbnail.
- Click the three horizontal dots (…) in the corner of the thumbnail.
- Select Move to folder, choose an existing folder or click Create new, and confirm.
How Do You Upload Photos to the Canva Mobile App (iOS & Android)?
Uploading pictures to the Canva app requires tapping the + (Plus) icon on the bottom toolbar, selecting Camera Roll or Uploads, selecting your desired photograph, and tapping Add to page. The mobile app handles uploads natively across both iOS and Android platforms.
Step-by-Step Mobile Walkthrough
- Open your project: Launch the Canva app on your mobile device and open your design.
- Open the bottom menu: Tap the purple + (Plus) button located in the lower-left corner of the interface.
- Select your source: Tap Uploads to access previously uploaded media, or tap Camera Roll to access your on-device storage.
- Import to canvas: Select one or multiple images and tap Add to page at the bottom of the screen.
Mobile Permissions Checklist
If your photos do not appear or the asset gallery shows blank thumbnails, adjust operating system permissions:
- iOS (iPhone/iPad): Open system Settings > scroll down to Canva > tap Photos > select Full Access. Enabling limited access restricts Canva to specifically pre-selected images.
- Android: Open device Settings > Apps > Canva > Permissions > tap Photos and videos (or Storage) > select Allow.
Native HEIC File Handling
The Canva mobile application natively reads and converts Apple’s HEIC/HEIF photo formats during import. You do not need to convert live iPhone photos to JPG manually before uploading. The app converts the file into a compatible raster asset automatically during upload.

How to Import Canva Custom Images Directly from Google Drive, Dropbox, and OneDrive
Importing canva custom images from third-party cloud storage is done through Canva’s integrated apps drawer, allowing you to access remote folders directly within the editor sidebar without downloading large files to your local drive first.
This zero-storage approach avoids filling local hard drives when working with high-resolution brand libraries or enterprise asset repositories.
Connecting External Cloud Platforms
- Open your project editor and scroll down the left sidebar to click Apps.
- Type your cloud service name (Google Drive, Dropbox, Google Photos, or Microsoft OneDrive) into the search bar.
- Click the app icon and select Open (or Connect).
- Complete the secure authentication window to authorize Canva’s read access to your cloud directories.
- Browse your folders directly inside the Canva side panel and click any photo to place it onto your canvas.
Managing Credentials and Sync Security
If shared drive permissions change or authentication tokens expire, refresh or revoke your connected cloud integrations:
- Go to Canva home screen > click Account settings (gear icon) > navigate to Connected apps.
- Find the linked cloud provider and click Disconnect to revoke access, or re-enter credentials to restore interrupted connections.
What File Formats and Upload Limits Does Canva Support?
Canva supports standard raster image types including JPG, PNG, WebP, and GIF, as well as vector SVG files and mobile HEIC images. Standard raster uploads cannot exceed 25 MB per image, while vector SVGs are capped at 3 MB.
The table below summarizes Canva’s file format parameters, boundaries, and performance recommendations:
| Image Format | Maximum File Size | Best Practical Application | Core Technical Restriction |
| JPG / JPEG | 25 MB | Photography, complex realistic scenes | No transparency support; lossy compression |
| PNG | 25 MB | Graphics, product mockups, logos | Flatten to 8-bit or 24-bit RGB; no CMYK |
| SVG | 3 MB | Vector logos, scalable interface icons | Max 1000 x 1000 px viewbox; no nested raster [cần nguồn] |
| WebP | 25 MB | Modern web banners, compressed visuals | Older external browser caches may render inconsistently |
| HEIC / HEIF | 25 MB | Direct uploads from Apple mobile cameras | Best processed natively through the Canva mobile app |
| GIF | 50 MB | Looping animated stickers and simple motion | High frame counts may experience playback latency |
Print Resolution vs. Scalable Vectors
- High-DPI Raster (PNG/JPG): For professional print layouts, export source images at 300 DPI prior to uploading. Canva preserves original pixel density, but raster assets degrade if scaled beyond their native pixel dimensions.
- Scalable Vector Graphics (SVG): Use vector SVG files for logos and typographic artwork. SVGs scale indefinitely across billboard and print dimensions without edge pixelation and allow individual layer recoloring directly inside Canva’s interface.
Why Can’t I Upload Images into Canva? (Troubleshooting Common Errors)
Upload failures in Canva occur when files exceed size caps, use unsupported CMYK profiles, encounter browser extension blocks, or face network firewall restrictions. Verifying your file specifications and clearing browser roadblocks resolves most upload errors immediately.
File Specification and Color Profile Mismatches
- Issue: Canva displays an alert stating “File upload error” or leaves a permanent grey progress bar.
- Root Cause: The file exceeds 25 MB, dimensions exceed 100 million total pixels [cần nguồn], or the image uses a print-specific CMYK color space.
- Resolution: Open the image in an editing tool or converter, change the color profile mode to sRGB / RGB, compress the file below 25 MB, and re-upload.
Browser Cache, Cookies, and Ad-Blocker Bottlenecks
Issue: Clicking the upload button triggers no response, or uploads freeze indefinitely at 99%.
Root Cause: Aggressive content blockers, script blockers, or corrupted browser caches interrupting the multipart upload script.
Resolution:
- Whitelist
[*.]canva.comin extensions like uBlock Origin or AdBlock. - Test the upload using an Incognito / Private Browsing window.
- Clear cached images and files in your browser settings.
Corporate and School Firewall Blocks
- Issue: Uploads fail across all browsers on a specific local network, but work on mobile data.
- Root Cause: Enterprise networks and academic Wi-Fi systems frequently restrict media upload endpoints.
- Resolution: Request that network administrators whitelist Canva upload endpoints, specifically
[canva.com/api](https://canva.com/api)and associated media distribution subdomains [cần nguồn].
What Should You Do After Uploading? (Frames, Backgrounds, and Magic Studio)
Once an image finishes uploading, click or drag it directly from your Uploads drawer onto the artboard. You can insert it into structured layouts, pin it as a background, or enhance it using built-in editing controls.
- Snapping Images into Frames and Grids: Navigate to Elements > Frames. Add a shape (such as a circle or computer mockup) to your design. Drag your uploaded image over the frame until it snaps into place, clipping the photo neatly to the frame’s boundary. Double-click the frame to reposition or scale the image inside.
- Setting Image as Design Background: Right-click the photo on desktop (or long-press on mobile) and select Set image as background. Canva automatically scales the image to fill the canvas and locks it to the bottom layer.
- AI Adjustments via Magic Studio: Select the image and click Edit Image on the top toolbar. Use BG Remover to isolate subjects with one click, run Magic Grab to separate the subject from its background while leaving both editable, or make manual adjustments to white balance, contrast, and drop shadows.
Frequently Asked Questions (FAQ)
Where do uploaded photos go in Canva?
Uploaded photos are stored automatically in the Uploads tab on your editor side panel and within your Canva account’s Projects > Uploads directory. They remain saved across all your devices indefinitely until you manually move them to the trash.
Can you upload images to Canva for free?
Yes, Canva allows free account users to upload standard raster images, including JPG, PNG, and WebP files, without any subscription. Free accounts receive 5 GB of total cloud storage for uploaded media and creative assets.
How do I upload an image to Canva without losing quality?
To preserve image quality, upload high-resolution PNG or JPG files exported in the sRGB color space at original pixel dimensions. For logos and vector illustrations, upload SVG files to maintain infinite scalability without raster pixelation.
Why does Canva say my upload failed?
Canva displays an upload failure when your file exceeds the 25 MB size limit, uses an unsupported format (like RAW or CMYK EPS), or faces network interruptions. Compressing the file or converting it to an sRGB PNG usually resolves the problem.
How do I delete uploaded images from Canva?
To remove an uploaded image, go to the Uploads tab in the sidebar, hover over the image thumbnail, click the three dots (…), and select Move to Trash. This removes the photo from your library while keeping existing placements in completed designs intact.
How many images can you upload to Canva at once?
Canva allows batch uploads of up to 100 files simultaneously [cần nguồn] through desktop file browser selections or multi-file drag-and-drop operations, provided the combined queue respects browser memory limits and individual file caps.
Uploading images to Canva is simple across desktop and mobile workflows, whether you use traditional file browsing, keyboard shortcuts (Ctrl+V / Cmd+V), or direct cloud storage imports. Sticking to standard sRGB color profiles, keeping raster files below 25 MB, and using vector SVGs for scalable assets ensures your media uploads smoothly without quality loss. Open your current Canva project now, drop your image directly onto the canvas, and use these workflows to speed up your design production.
Explore more information and other interesting articles: