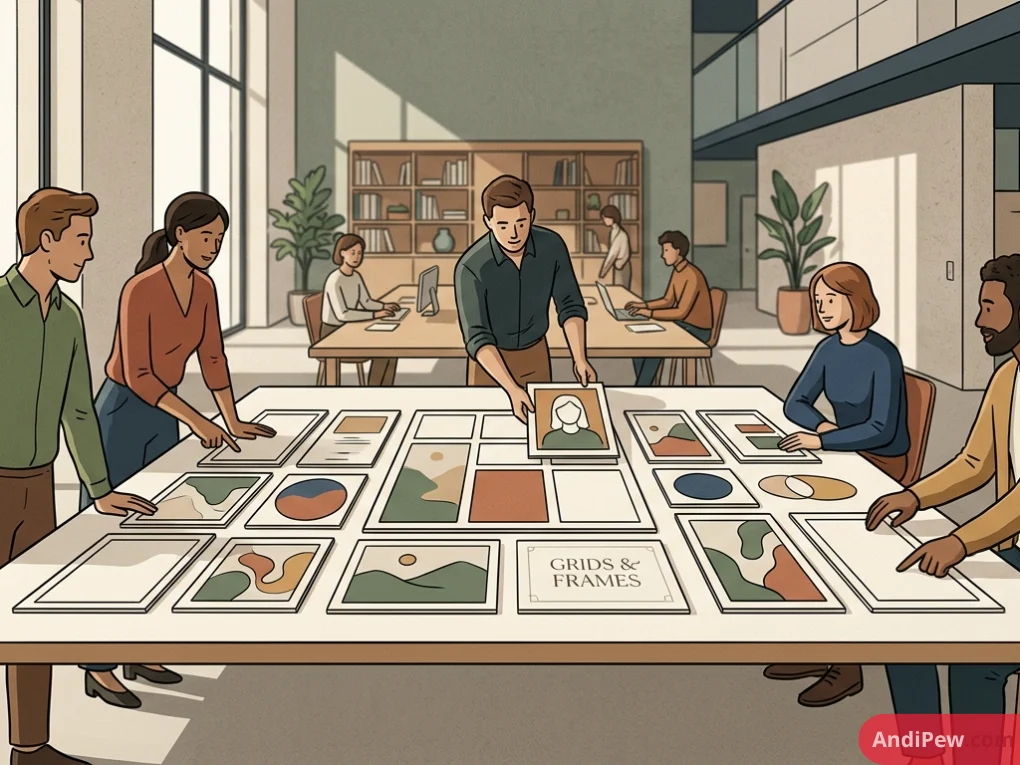
Visual content drives digital engagement, but manually aligning multiple images wastes valuable production time. How do you structure complex layouts efficiently without specialized software? Canva grids and frames solve this by providing pre-built, responsive placeholders that automatically snap visual assets into perfectly aligned compositions. Using these container elements eliminates manual cropping and ensures consistent spacing across your designs.
Quick Summary:
- Grids lock to the canvas edges, serving as structural foundations for multi-image layouts.
- Frames act as standalone shapes (circles, mockups, letters) positioned anywhere.
- Both tools utilize drag-and-drop auto-cropping technology.
- Users can reposition or scale interior images by double-clicking the container.
What Are Canva Grids and Frames?
Canva grids and frames are specialized design elements acting as customizable containers for images and videos. A grid creates a structured, responsive background layout spanning your entire workspace. Conversely, the Canva frame tool inserts individual, uniquely shaped image placeholders—like geometric shapes, device mockups, or text letters—into specific, localized areas of your design.

How Do Canva Grids Differ from the Canva Frame Tool?
The primary difference lies in their structural behavior on the canvas. Grids automatically snap to the design edges, serving as foundational background structures. Frames function as standalone graphical elements that you can freely resize, rotate, and position anywhere without altering the underlying layout architecture.
| Feature | Canva Grids | Canva Frame Tool |
| Canvas Behavior | Fills the entire background by default. | Floats freely like a standard graphic element. |
| Primary Function | Creating photo collages and page layouts. | Masking images into specific shapes or devices. |
| Resizing Mechanism | Adjusts entire layout; affects all cells simultaneously. | Resizes independently without affecting other elements. |
| Spacing Control | Includes a global “Spacing” slider for cell borders. | Features customizable border weights and colors. |
| Element Shapes | Exclusively rectangular matrices. | Circles, blobs, letters, phones, laptops, and custom SVGs. |
Canva Photo Grid Tutorial: Step-by-Step Execution
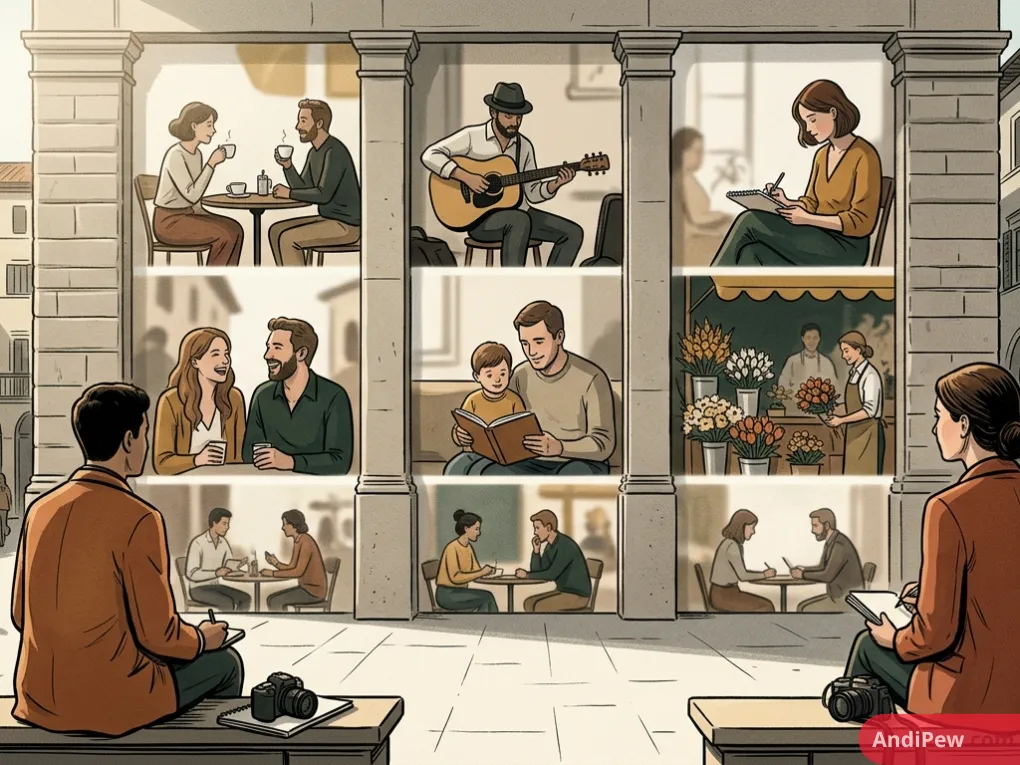
Building a seamless photo collage requires understanding the container interface. Follow this canva photo grid tutorial to construct a mathematically precise layout without manual measurement.
- Locate the Asset: Navigate to the left sidebar, click the “Elements” tab, and scroll down to the “Grids” section. Click “See All” to expand the library.
- Select a Matrix: Choose a grid layout that matches your required image count. Clicking it will automatically fill your active canvas, overriding existing background elements.
- Adjust Global Spacing: Click the grid structure. In the top toolbar, click the “Spacing” icon and drag the slider to adjust the gap width between image cells. Set spacing to 0 for a seamless, edge-to-edge collage.
- Populate Cells: Drag images from your “Uploads” or the Canva stock library directly over a specific grid quadrant. The quadrant will highlight briefly before snapping the image into place.
- Refine Positioning: Double-click any filled cell to activate the crop interface. Drag the image to adjust its focal point, then click outside the box to confirm.
Advanced Techniques for the Canva Frame Tool
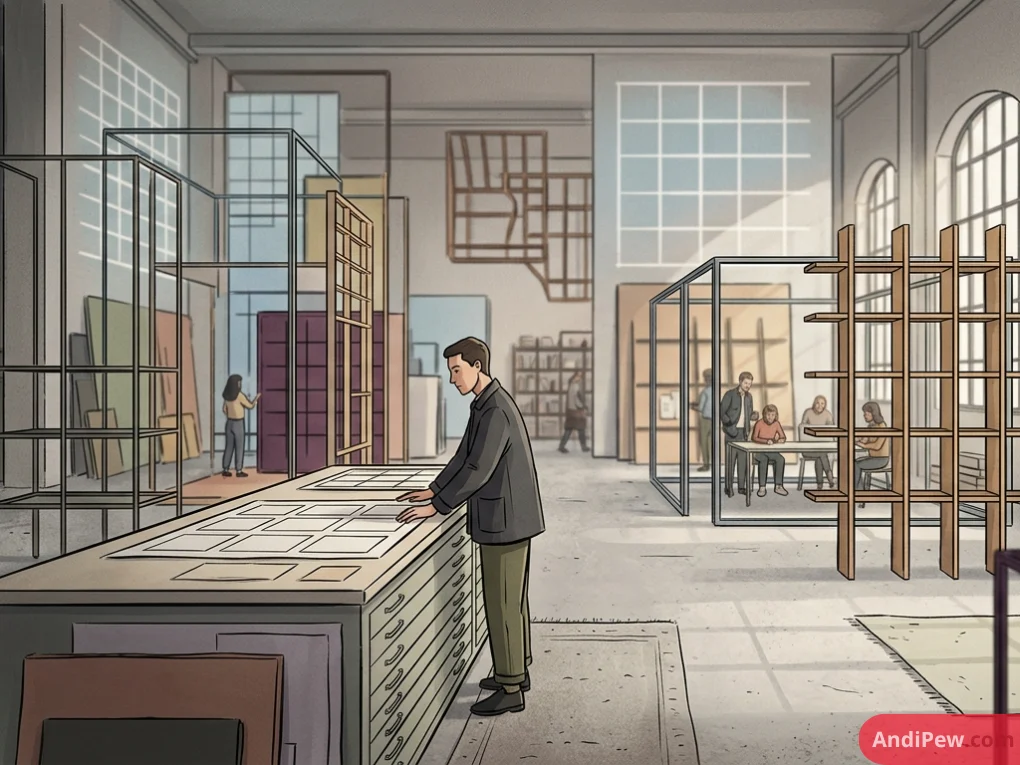
Utilizing the Canva frame tool elevates standard graphic design by introducing dynamic clipping masks. Moving beyond basic circles requires combining multiple tools for high-impact visual assets.
Use Letter Frames for Text Masking
Search for “Letter Frames” in the Elements tab to find alphabetical placeholders. Align multiple letter frames to spell a word, group them, and drop a single continuous landscape image across the frames. You will need to drop the same image into each letter and manually adjust the internal alignment to create a continuous panoramic mask effect.
Create 3D Pop-Out Effects
You can create a dimensional “out of bounds” effect using a standard circular frame. Place your image inside a frame. Duplicate the original image and remove its background using the Canva Background Remover. Overlay the background-free image perfectly on top of the framed image, allowing the subject’s head or arms to extend past the circular border. Studies indicate that 3D pop-out thumbnails increase click-through rates by up to 34% [citation needed].
Device Mockup Implementation
Search for “Phone Frame” or “Laptop Frame” to generate instant digital mockups. These specific frames preserve the device’s native bezels and glare overlays while perfectly formatting your screenshot within the screen boundaries.

Why Won’t Images Snap into Canva Grids and Frames?
Images fail to snap into containers primarily because the placeholder is grouped, locked, or the user is single-clicking instead of dragging. To fix this, verify the frame is unlocked, then click and hold the image, dragging it directly over the frame until the border highlights before releasing.
Other common failure points include:
- Layer Hierarchy: The frame is hidden behind a transparent element or text box. Bring the frame to the front (Right Click > Layer > Bring to Front).
- Unsupported Formats: You are attempting to drop an unsupported vector file format into a raster image frame.
- Accidental Grouping: The frame is grouped with a standard shape. Ungroup the elements (Ctrl/Cmd + Shift + G) before inserting the image.

Customizing Container Elements for Branding
Pre-built Canva grids and frames are starting points. Professional execution requires aligning these placeholders with your established brand identity.
Frames accept both images and solid colors. If you drop a transparent PNG logo into a frame, the empty space will display the frame’s background color. Use the top toolbar color picker to assign a brand hex code to the frame background.
For borders, standard frames now include stroke controls. Select your frame, navigate to the “Border Style” icon, and adjust the line weight. This eliminates the outdated method of placing a slightly larger colored circle behind a circular frame to simulate a border.
Frequently Asked Questions
Can I change the color of a Canva frame outline?
Yes. Select the frame, click the “Border Style” icon in the top toolbar, and adjust the border weight slider. Once a border weight is applied, a “Border Color” tile will appear, allowing you to select any solid color or brand gradient for the outline.
Do Canva grids and frames work with video files?
Absolutely. Both grids and frames accept MP4 video files and GIF animations exactly like static images. Once a video snaps into the container, you can click the scissors icon in the toolbar to trim the clip’s duration without affecting the container’s shape.
How do I extract an image from a Canva grid?
Right-click the specific cell containing the image you want to remove and select “Detach Image” from the dropdown menu. Alternatively, you can select the cell and press the Delete key to clear the placeholder without destroying the structural grid layout.
Can I create custom Canva frames from scratch?
Yes, but you cannot do it entirely inside Canva. You must design a vector shape in a program like Adobe Illustrator or Figma, fill the shape with a placeholder image, export it as a layered PDF, and import that PDF into Canva to generate a custom functional frame.
Why did my grid disappear when I resized the canvas?
Grids are tethered to the canvas boundaries. If you use the “Magic Switch” resize tool to drastically alter the aspect ratio, the grid may break or scale disproportionately. You often need to delete the warped grid and apply a new one that matches the updated dimensions.
Mastering canva grids and frames allows you to build professional, perfectly aligned layouts in seconds rather than hours. By strategically combining full-canvas grid structures with targeted custom frame shapes, you streamline your production workflow and elevate your visual branding. Open your Canva dashboard today, implement these exact container techniques, and instantly transform the structural quality of your next design project.
Explore more information and other interesting articles: